
 Save
Save
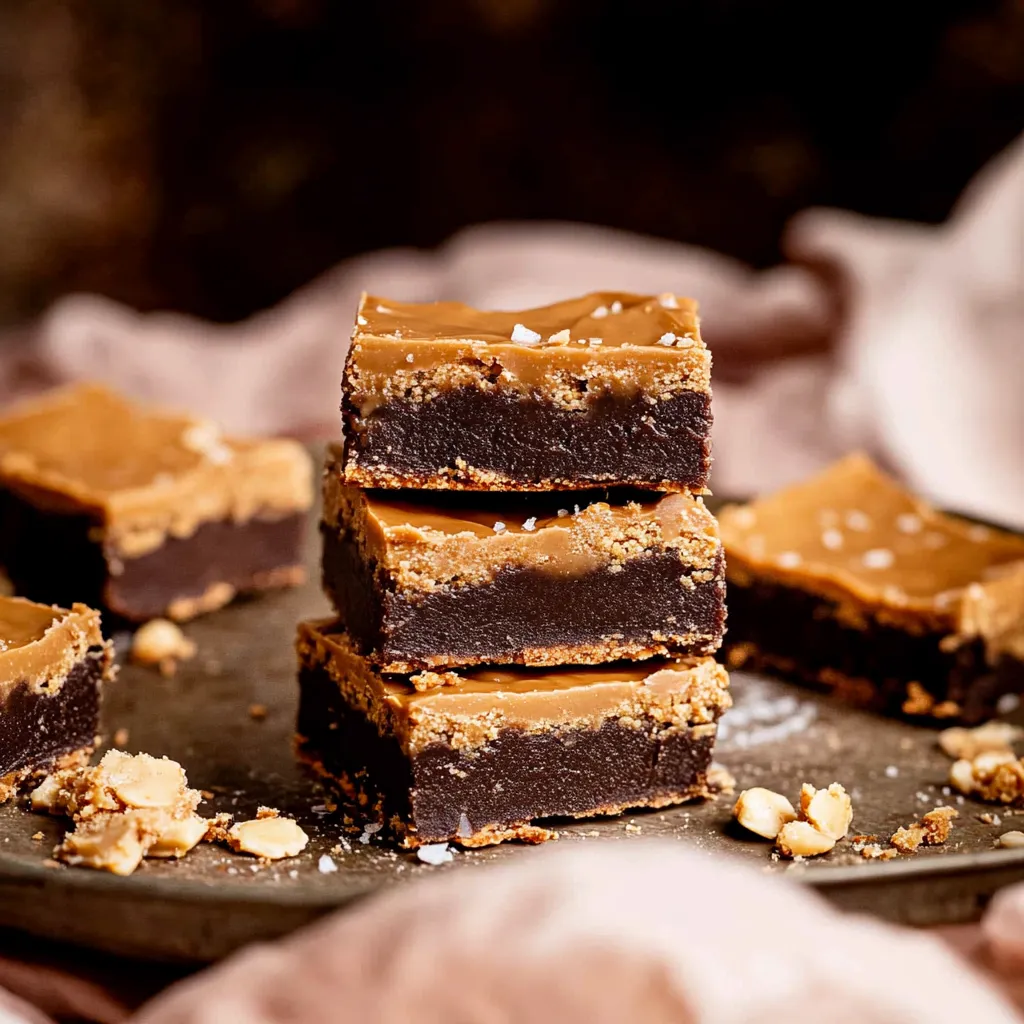
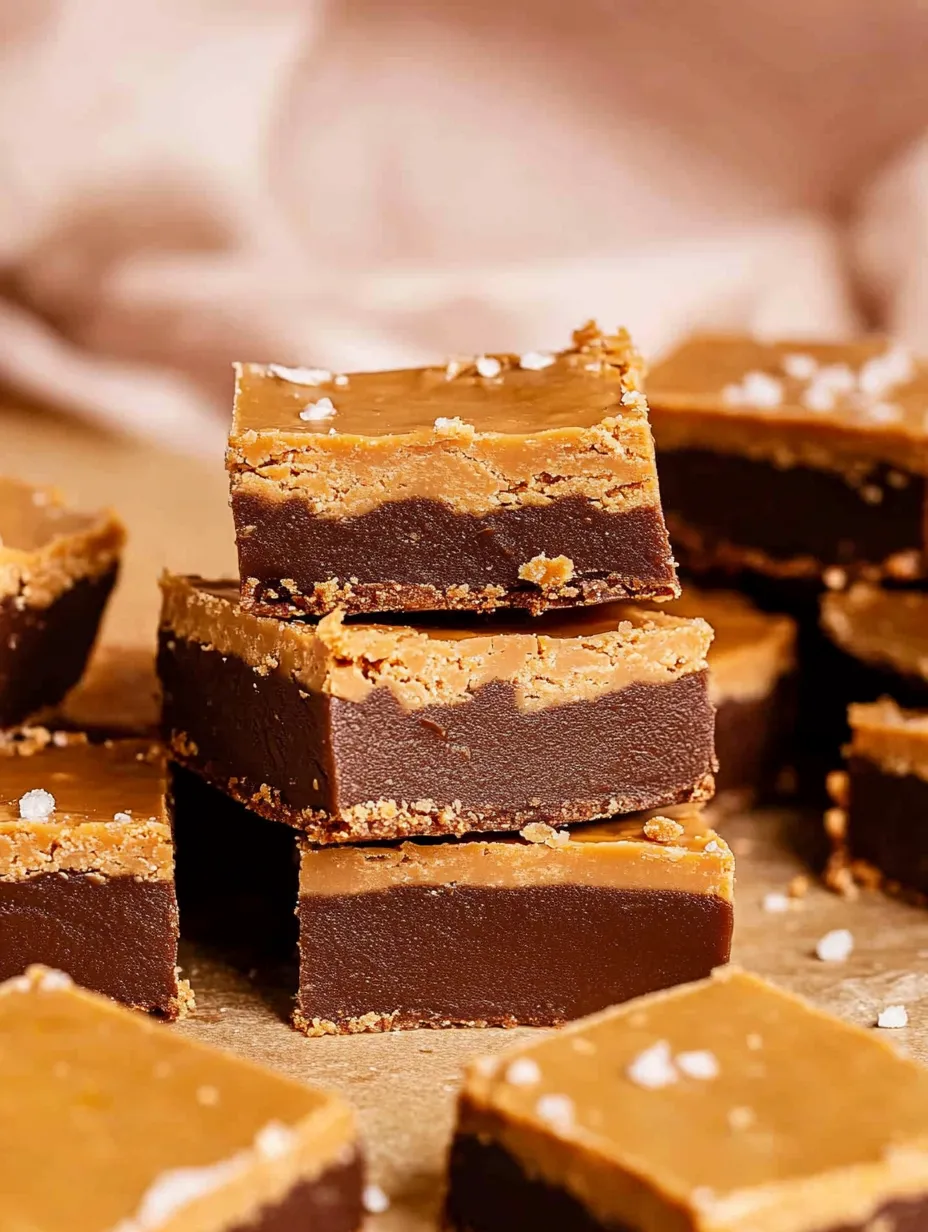
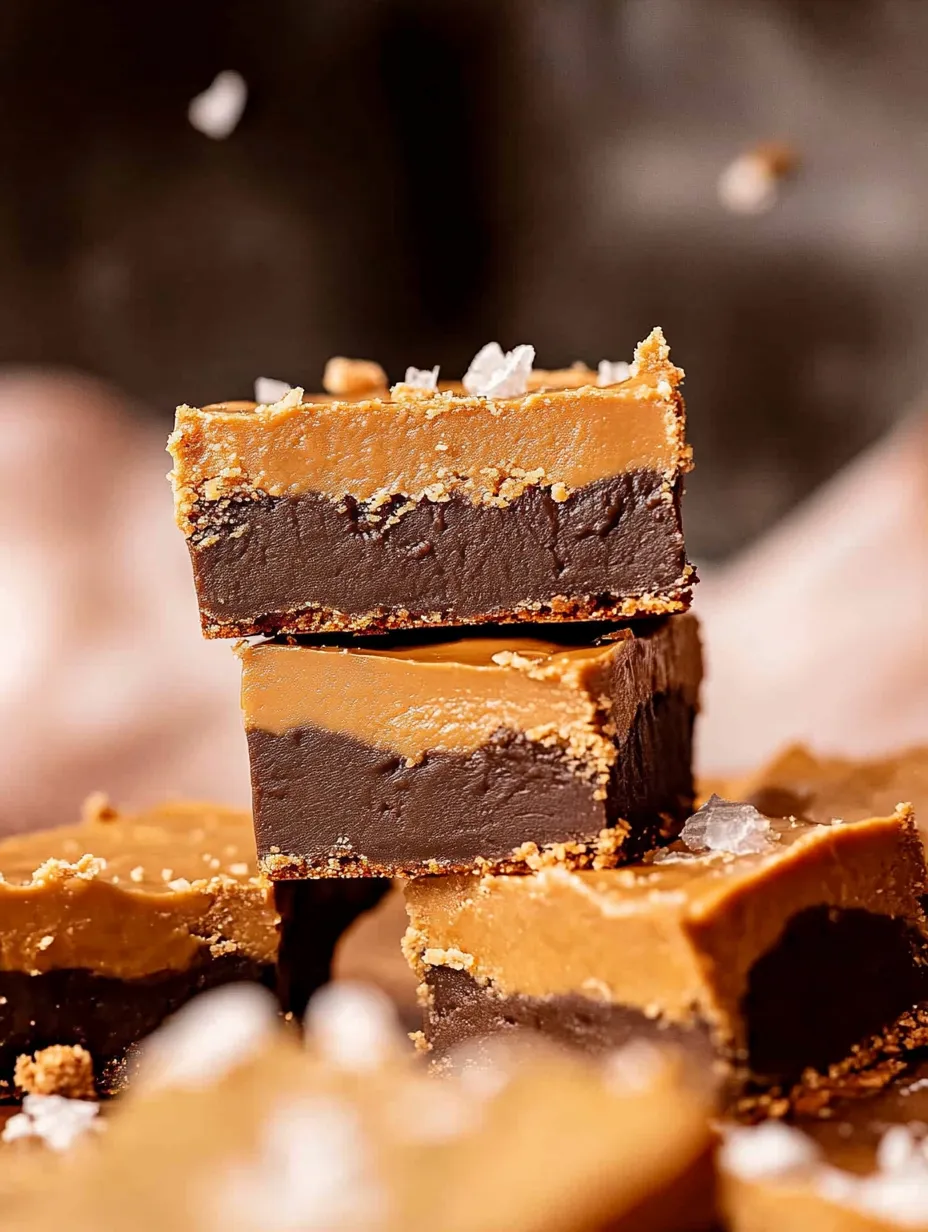
PB Chocolate Crunch Squares
Creamy peanut butter meets luscious dark chocolate for a simple, no-bake bite that's surprisingly good for you. Skip the oven and mix up these quick bars with basics from your pantry. That chocolate and nutty combo hits just right when you're craving something sweet, and you'll find yourself fixing them again and again.
I keep tossing these together for my family; we always want something sweet with zero fuss. That rich chocolate topping over the peanutty bottom reminds me of snacks I loved growing up, only now I feel way better about the ingredients.
Tasty Ingredients Guide
- Almond flour: Gives you a soft, gluten-free bottom layer
- Natural peanut butter: Go for the smooth, runny kind for blending easily
- Pure maple syrup: Brings a gentle sweetness
- Dark chocolate: Melt high-quality chunks or chips for best flavor
- Vanilla extract: Makes everything taste fuller
- Sea salt: Rounds out the sweet flavors
- Coconut oil: Makes chocolate set up nicely
 Save
Save
Effortless Bar Making
Start the Base
- Stir up maple syrup, almond flour, and peanut butter:
- Keep going till smooth and blended well.
Layer Up
- Push the mix into your lined pan:
- Try to make it the same thickness throughout.
Chocolate Prep
- Gently melt coconut oil and chocolate together:
- Stir till you see no lumps.
Top It Off
- Spread that melted chocolate over your base:
- Careful to get an even coat.
Chill Time
- Refrigerate:
- Wait until solid, then slice into pieces.
My mom always tossed a pinch of sea salt onto her chocolate sweets. I stuck with that habit, and it's awesome how it cuts the sweetness and makes the peanut butter and chocolate stand out.
Fun Ways to Serve
Lay these out on a cutting board for chill hangouts, or dress them up on a fancy plate for parties. Cold milk or hot coffee work great on the side. If you wanna go big, add some berries or a scoop of vanilla ice cream.
Easy Mix-Ups
Try swapping in cashew or almond butter for a change, or use milk chocolate if you like things sweeter. Give a marbled look by swirling dark and milk chocolate together. Chopped nuts or coconut flakes on top add crunch before the chocolate sets.
Storing Them Right
Pop bars in an airtight box in the fridge—they'll last about two weeks. Freeze up to three months if you want. Stick some parchment between layers so they don't clump. When frozen, move to the fridge for half an hour to thaw before eating.
Portion Planning Made Easy
Slice these into any size you need. Tiny squares work for parties, bigger pieces are great for lunches. Always use a sharp blade warmed under hot water for the cleanest pieces.
 Save
Save
These PB bars have saved me at bake sales and group lunches more times than I can count. They're crazy fast, wholesome, and always a hit. Seriously, just be patient with the chilling—they look way prettier when fully set and you get those neat layers.
Recipe FAQs
- → What makes natural peanut butter better?
- The thinner consistency of natural peanut butter makes it easier to stir and gives the right texture for these bars.
- → Is it okay to freeze them?
- Absolutely! Keep them in an airtight container, and they’ll be good in the freezer for up to 90 days.
- → What’s a good substitute for almond flour?
- You can swap almond flour for oat flour, but expect a slightly different feel in the final product.
- → Can I swap maple syrup with honey?
- Sure, but they won’t stay vegan. Honey still makes them taste great as a sweetener.
- → Why do you use coconut oil in the chocolate?
- It's added to keep the chocolate layer glossy and soft enough to cut through easily.