 Save
Save
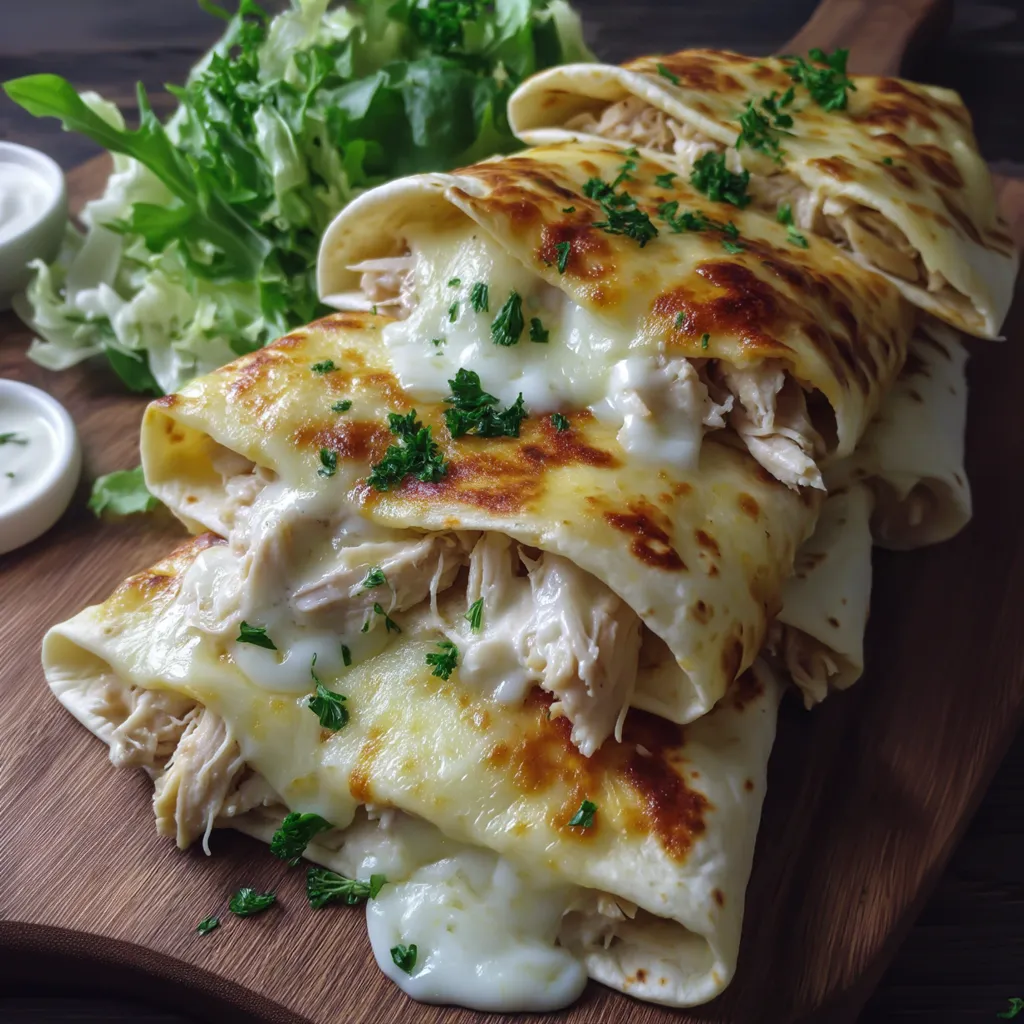
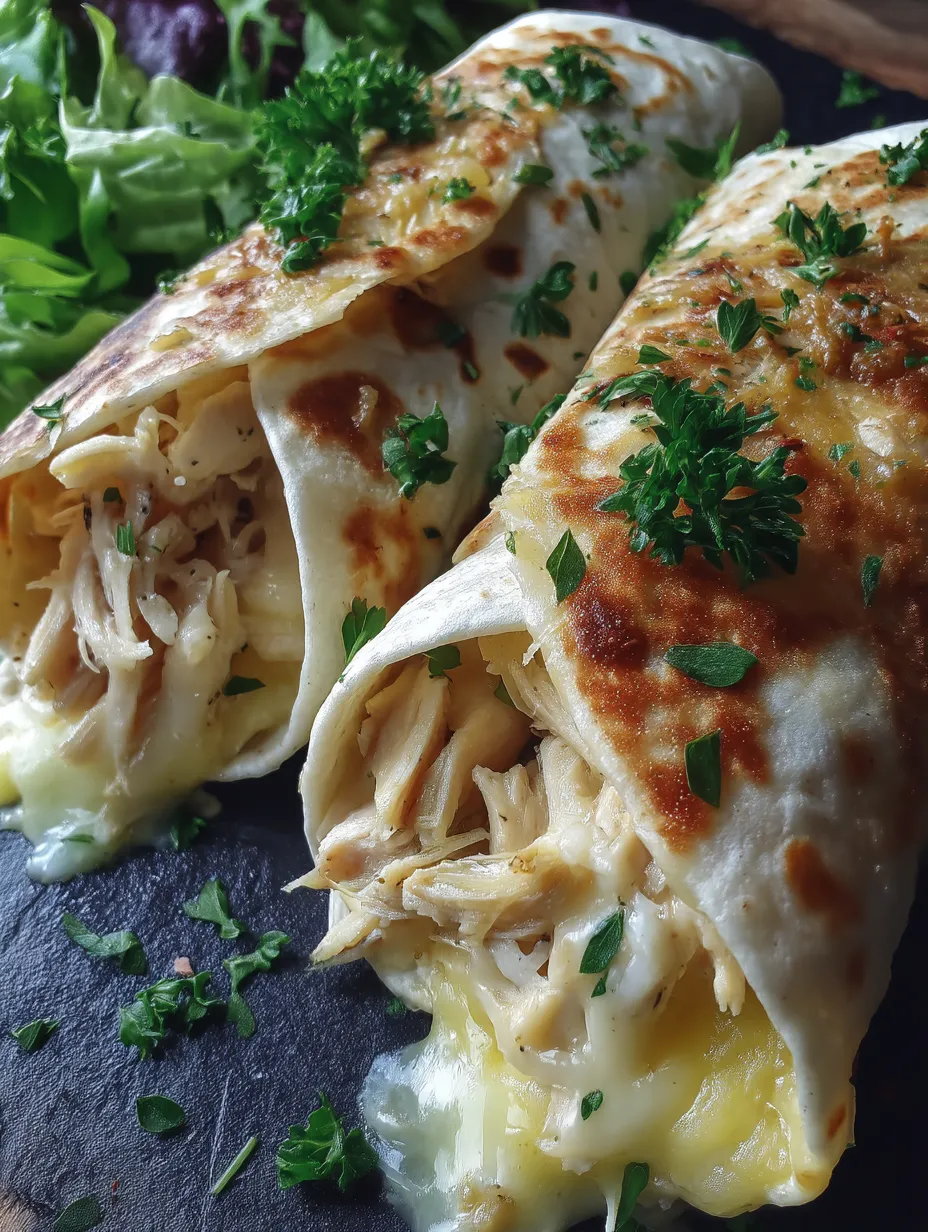
I've fallen head over heels for this garlicky chicken and cheese wrap. It's become my go-to when I want something tasty but don't wanna spend forever cooking. When tender chicken meets melty cheese and bold garlic, you get this awesome flavor combo that hits the spot without weighing you down.
These wraps came about when I was trying to use up some leftover store-bought roast chicken, and now my family asks for them all the time. My teens even send me messages from school wondering if those "killer chicken wraps" will be waiting when they get home.
Ingredients
- Cooked shredded chicken: forms your main protein base and works great whether it's from a store-bought rotisserie, yesterday's grilled chicken, or something you cooked up just for this
- Mozzarella cheese: gives you that amazing stretch when it melts and has a subtle taste that lets the garlic take center stage
- Cream cheese: makes everything luxuriously creamy and holds all the filling stuff together
- Sour cream: adds just enough tang to cut through the rich elements
- Fresh garlic cloves: pack a punch that spreads through every bite of your wrap
- Fresh parsley: adds a pop of green and fresh herby notes
- Paprika: brings a gentle warmth and nice reddish color to your mixture
- Salt and pepper: pull all the tastes together
- Large flour tortillas: are your best bet since they can handle lots of filling without tearing
- Mixed salad greens: give you crunch, nutrients, and balance out the heavier ingredients
- Olive oil: helps you get that satisfying crunch on the outside when cooking
Step-by-Step Instructions
- Create the Filling:
- Mix your shredded chicken, mozzarella, softened cream cheese, sour cream, minced garlic, chopped parsley, paprika, salt, and pepper in a big bowl. Stir everything up until it's well combined and the cream cheese is fully mixed in. You want a creamy mix that still has some texture from the chicken chunks. This mixture is where all those yummy flavors start coming together.
- Assemble the Wraps:
- Lay a flour tortilla flat on your counter and put about half a cup of chicken mixture in a line across the middle, leaving an inch of space on each side. Scatter a handful of greens over the top, spreading them evenly. The greens aren't just healthy—they add a nice fresh crunch against the creamy filling.
- Roll the Wraps:
- Fold in the sides of your tortilla toward the middle, then roll it up from the bottom, keeping everything tucked in as you go. You want it tight enough to stay together but not so tight that stuff squeezes out. When rolled right, everything will stay put during cooking.
- Cook to Crispy Perfection:
- Put a nonstick pan over medium heat and add a little olive oil. Place your wraps with the seam facing down first to seal them shut. Cook for 3-4 minutes until they turn golden, then flip and cook the other side too. You'll hear them sizzle and see that nice golden color develop. The outside gets crispy while the cheese inside turns all gooey and amazing.
 Save
Save
Fresh garlic really makes these wraps special. I once tried making them with the pre-minced stuff from a jar, and while they weren't bad, they missed that strong garlic kick that makes everyone remember these wraps. My daughter actually noticed and asked what I'd changed. Trust me, taking the time to chop fresh garlic cloves makes your kitchen smell amazing and gives these wraps their signature taste.
Storage and Meal Prep
These wraps keep really well in the fridge for up to 3 days. Just wrap each one in foil or parchment paper and stick them in a sealed container. When you want to eat one, unwrap it and heat it in a dry pan over medium heat for about 5 minutes, flipping it halfway. This brings back the crispy outside and warms up the filling.
You can also freeze these before cooking for up to 2 months. Put them on a parchment-lined baking sheet, freeze until hard, then transfer to freezer bags. When you're ready to eat, cook them straight from frozen—just add a few extra minutes to your cooking time.
Customization Ideas
What's great about these wraps is how easy they are to change up. Try throwing in some chopped bell peppers or spinach with the chicken mix for extra veggies. Switch out the mozzarella for pepper jack if you want some heat, or mix up different cheeses like cheddar and Monterey Jack.
Want something with Mediterranean flair? Add some chopped sun-dried tomatoes, olives, and a bit of oregano. Bacon bits or diced avocado can take these wraps in totally different directions too. The basic method stays the same but gives you tons of options.
 Save
Save
Serving Suggestions
These wraps taste even better with the right sides and dips. A simple green salad with vinaigrette makes for a complete meal. For dipping, try ranch, spicy mayo, or even warm marinara sauce which all go great with the garlic and cheese.
If you're having friends over, cut the wraps into smaller rounds and serve them as finger food with toothpicks. They're perfect for picnics too since they taste good at room temp and won't get soggy while you're out.
Recipe FAQs
- → How do I keep my wraps from falling open?
Put the filling in the middle, fold in the edges first, then roll up tightly. Placing the seam side down while cooking helps hold it together.
- → Can I replace some ingredients?
Absolutely! Swap mozzarella for cheddar if that's your favorite, or use Greek yogurt instead of sour cream for a lighter option.
- → What are some good dipping sauces?
Garlic aioli, ranch, or spicy salsa work really well to take the flavor to the next level.
- → Can I prepare these in advance?
You can make the filling ahead and keep it in the fridge. Assemble and cook your wraps fresh to keep them tasting their best.
- → What's the trick to making crispy wraps?
Heat up a skillet, add a little olive oil, and cook the wraps until both sides are golden and crunchy.
