
 Save
Save
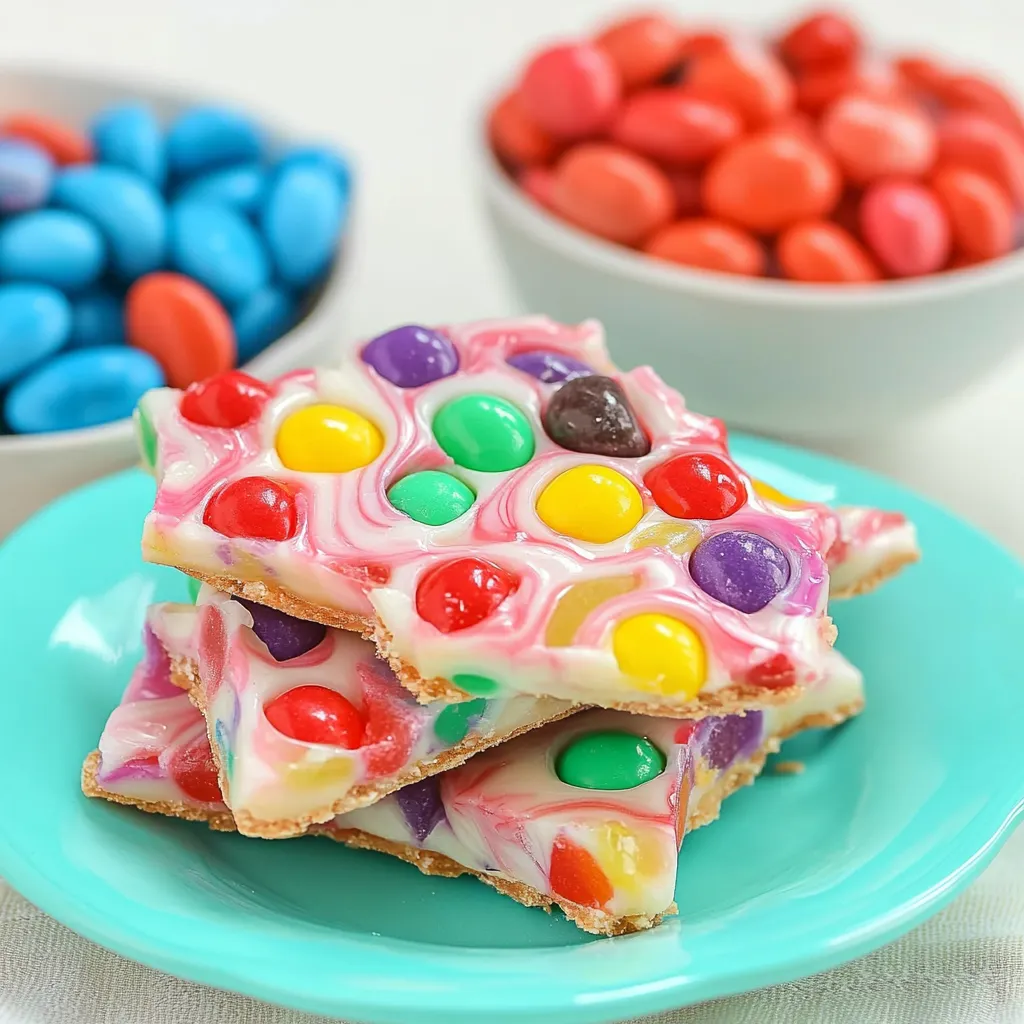
I love watching chocolate colors twist and mix, making patterns that look totally one-of-a-kind. This jelly bean bark showed up in my life during a spring where I basically needed simple kitchen ideas to keep my kids entertained. It all started as a get-rid-of-Easter-candy plan, but now we do it every year—my kid refuses to skip it! I still picture that first try: him balancing on his step stool, concentrating so hard while carefully plopping blobs of blue and pink candy melts on a pool of white chocolate. "What do I do now?" he asked, and when I ran a toothpick through to make swirls, he looked at me like I'd pulled off a magic trick. Moments like that are just pure happiness, especially when all you need is a little melted chocolate and some colorful candies.
On Easter, my son's teacher sent me a picture of him, giving the whole class step-by-step advice on how to make "swirly candy." He told every detail with the confidence of a pro baker, proudly impressing all his classmates. Sometimes the things kids remember aren’t the hard projects. It’s the ones where they got to take charge and show their own style.
Irresistible Ingredients
- White Chocolate Chips: This is your base, so aim for one that melts easily—chips for baking melt better than chocolate bars. Pick the creamiest, dreamiest kind you can find.
- Candy Melts in Fun Colors: Check out craft stores for these—they come in lots of cool shades and melt perfectly without any fuss. Get a mix of colors for extra eye candy.
- Bright Jelly Beans: Go for jelly beans with loads of color and flavor. The speckled kind look amazing, and you want ones that are firm so they don’t turn your chocolate weird colors.
- Parchment Paper Sheets: The true clean-up superhero here. Grab a sheet that’s big enough to hang over the edges of your tray so you can lift everything out later.
 Save
Save
How to Make It
- Lay Down the Canvas:
- Start by covering your tray with parchment paper—make sure the sides are hanging over so cleanup’s easy. Now melt the white chocolate slowly, using the microwave in quick bursts, stirring in between. Spread that chocolate out into a rectangle (go for 1/4 inch thick). Get it as even as you can. This is where the fun starts!
- Make the Spots:
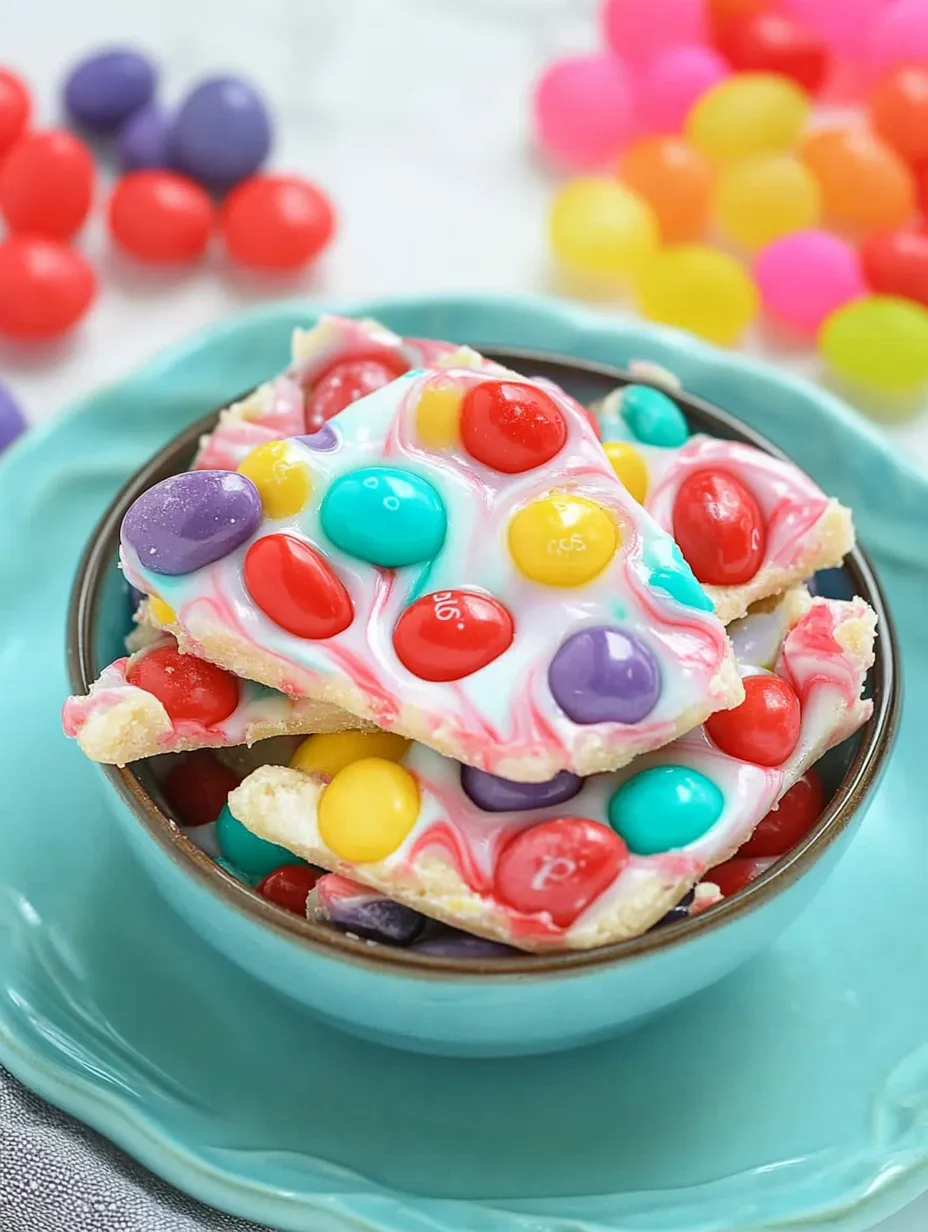
- Get your colored candy melts all gooey in separate bowls. You can drop on spoonfuls or squeeze spots from a plastic bag. Mix up the sizes and toss the blobs around however you like—don’t stress, randomness totally works.
- Time for Swirls:
- Grab a toothpick or something similar, and drag it through the candy spots to make wild patterns. Pull in all different directions. Make loops, squiggles, whatever feels right. Kids usually get totally lost in the magic of seeing the colors twist together. Let them have at it!
- Add the Jelly Beans:
- When everything’s still soft, gently press jelly beans on top. Spread them around evenly or make designs—up to you! Act quickly so the chocolate doesn’t harden before you finish. Let kids pick their favorites for that final personal touch.
 Save
Save
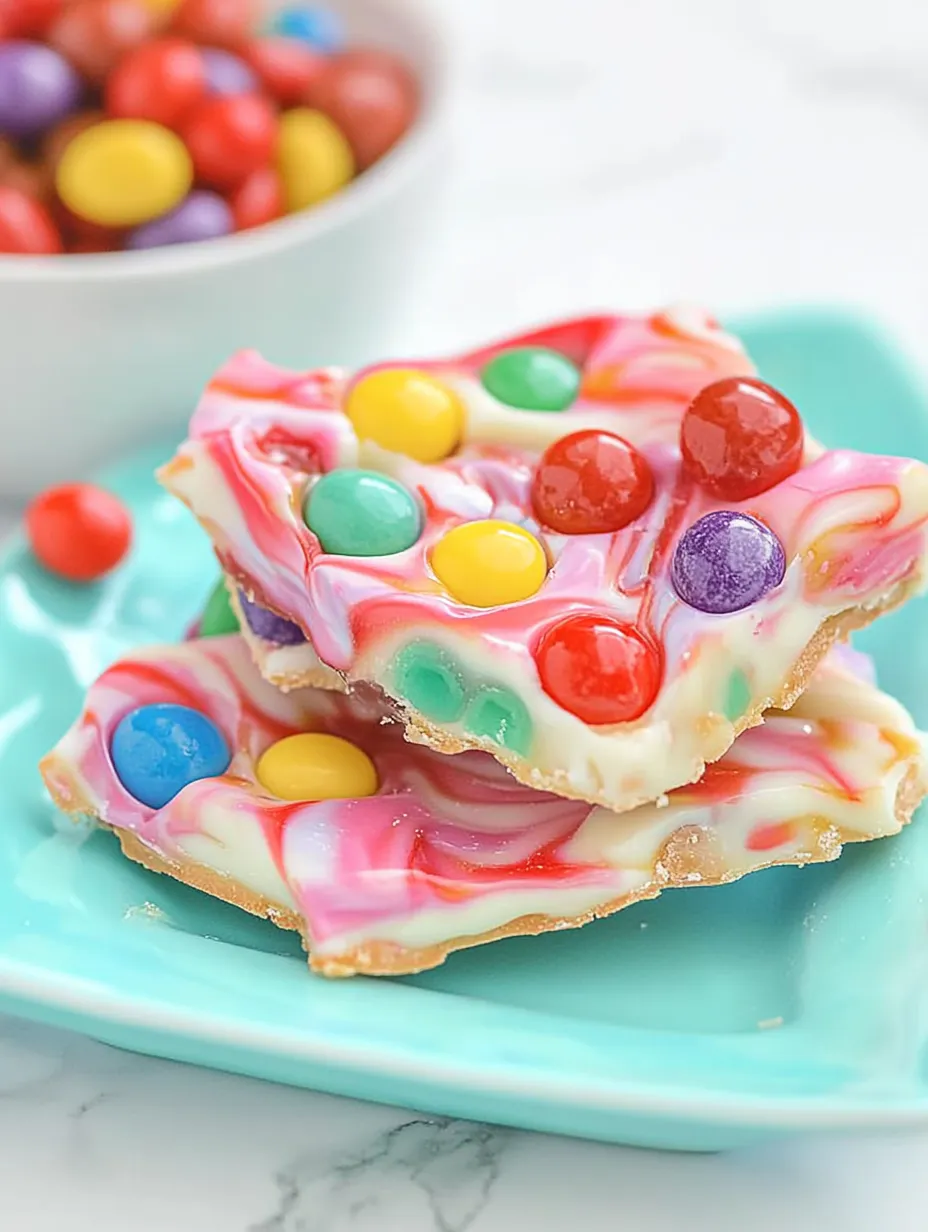
After countless spring parties, end-of-year teacher gifts, and just-because surprises, this simple candy bark has become what we’re known for making at home. Turns out, the kitchen projects everyone remembers most aren’t the hardest ones—they’re the ones where you ended up with something awesome together. Swirl by swirl, you get to give people a treat that makes everyone smile.
Recipe FAQs
- → What exactly are candy melts?
- They're colored melting wafers used for coating. You can buy them in lots of colors at craft or bake shops.
- → Can I choose other colors for the swirls?
- Of course! Match the colors to suit your party theme or preference.
- → What's the best way to store this candy bark?
- Keep it in a sealed container at room temperature, and it'll stay fresh for 14 days.
- → Are other toppings an option?
- Sure thing! Add sprinkles, crushed nuts, or mini chocolate eggs to mix it up.
- → How does the double boiler method work?
- It warms chocolate slowly to stop it from getting grainy or gritty.