
 Save
Save
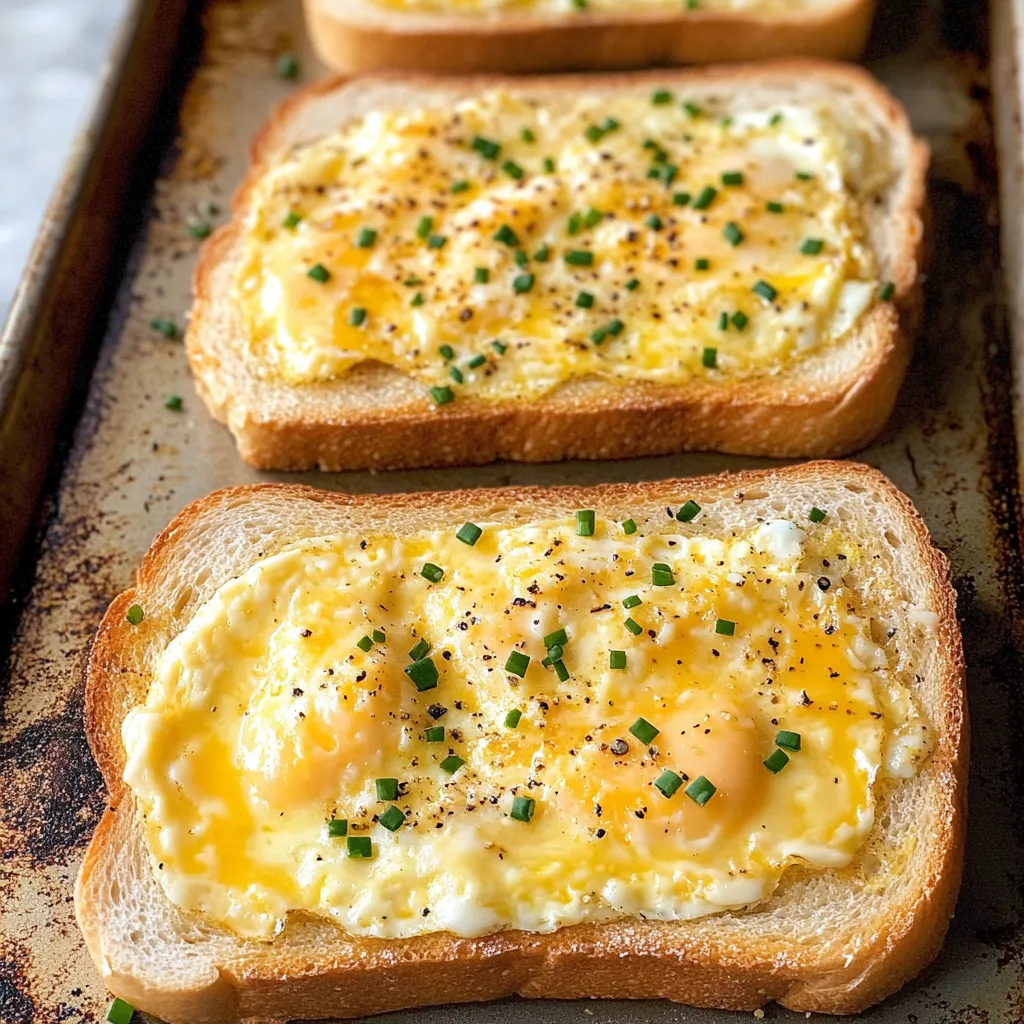
Warm, crunchy bread covered in airy, cheesy deliciousness — it’s my rainy day go-to. I stumbled onto this combo years ago, totally out of groceries except for the bare basics. That bubbly, golden crown and the hint of mustard turned scraps into something I crave all the time. The first time I pulled these out, my kitchen smelled so good that everyone came sniffing around wanting a bite.
Just last month, my cousin swung by totally unannounced while I was pulling the tray out of the oven. She swore up and down she wasn't hungry, but still managed to eat two pieces right at the counter. Now she texts ahead to see if “those cheesy snacks” might be showing up. This is one that wins folks over every single time.
Tasty Ingredients
- Bread - Don’t worry about anything fancy. In fact, slightly stale slices actually work better than fresh ones here. I’ve tried everything from plain white to hearty seeded loaves and it always works. What matters is that the bread holds up under the toppings.
- Sharp Irish cheddar – That crumbly, aged punch with little crystals is key. If I’m pinching pennies, any good sharp cheddar can step in, just don’t pick mild or it’ll taste blah.
- Eggs – This is what takes it above just cheese on toast. The eggs bake up super light and fluffy like a mini soufflé. Farm eggs are great if you have them, but regular eggs get the job done too.
- Dijon mustard – It gives the perfect zippy bite to break up the richness. Smooth Dijon goes best. If you run out, whole grain mustard works okay—just a bit more texture.
- Worcestershire sauce – Don’t leave this out! Even a splash makes everything pop with that something-special flavor. I once tried skipping it and you could totally tell something fun was missing.
 Save
Save
Simple Steps
- Quick Serving:
- Pull these out and serve ASAP. The magic is all about those textural layers before they cool off. Call everyone over first so you can all dig in right away. They're still good after a bit, but fresh is best.
- Bake 'Em Right:
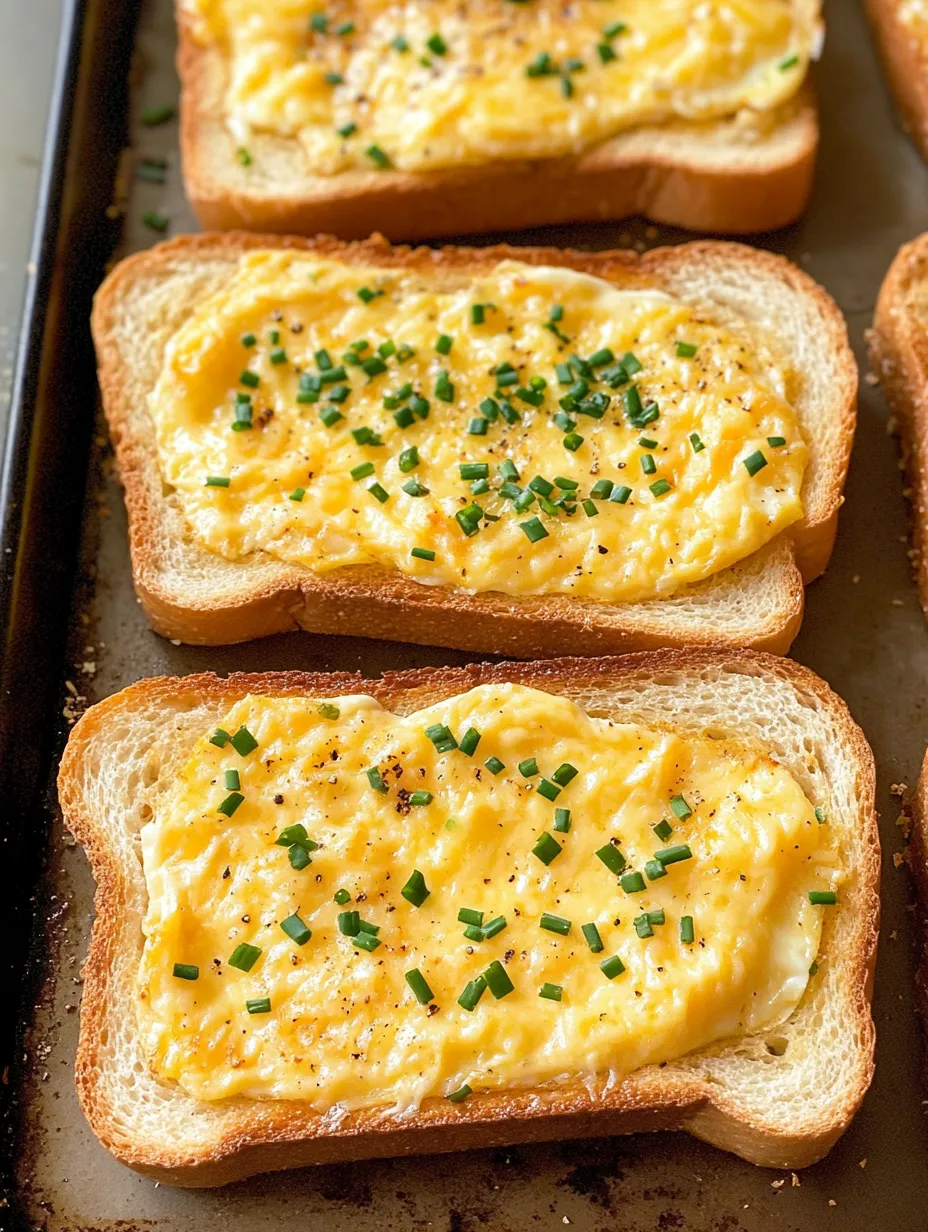
- Don’t wander off at the end—keep a close watch! It goes from beautifully golden to too well-done fast. My oven’s a bit hot, so mine only last around 9 minutes. Aim for crispy edges and a just-set, moist middle.
- Cheese Smarts:
- Spread the topping on thick, edge to edge. I use a spoon and push more to the edges, even making a little dip in the middle. Any bits that fall off? Scoop them right back—those golden, crispy edge pieces are epic.
- Mix Magic:
- First, really beat your eggs (a fork’s easier for cleaning). Then fold in the cheese gently, so it keeps some fluffy texture—don’t stress over lumps.
- Bread Layer:
- Slather butter over every bit of bread, then flip it face-down on the sheet. Sounds odd, but that buttery bottom keeps things crunchy, not soggy, underneath all the cheesy goodness.
I almost messed these up the first go by using slices of cheese instead of grating it. It just sat there like a rubbery blanket, barely melted. Now I always keep a block handy for shredding. My husband loves hot sauce on his. My kid? She’ll drizzle honey on top—which sounds wild but actually works with the sharp cheese.
Best Mates
You honestly don’t need much on the side for these, but some pairings are just magic. A steaming bowl of tomato soup with these is unbeatable when you’re chilled. For brunch, I’ll serve slices of fruit to balance the richness. When friends drop over, I use baguettes for tiny party bites and pour crisp white wine alongside.
Switch Ups
I usually leave these classic, but swapping things around can be fun. Toss in sliced scallions for a pop of green and flavor. Use half blue cheese and half cheddar for a bolder, tangy vibe. When tomatoes are everywhere, I set some thin slices on top for the last bake minutes. For my meat lovers, crumbled bacon or bits of ham get thrown into the mix.
Time Tricks
If I know it’ll be a crazy morning, I’ll grate my cheese and whip the egg-mustard-Worcestershire mix the night before and stash both in the fridge. In the morning, it’s just spread and bake. Sometimes I even make the toasties entirely ahead, then just reheat at 350°F for 5 minutes before eating—they’re not as perfect as brand new, but still totally tasty.
 Save
Save
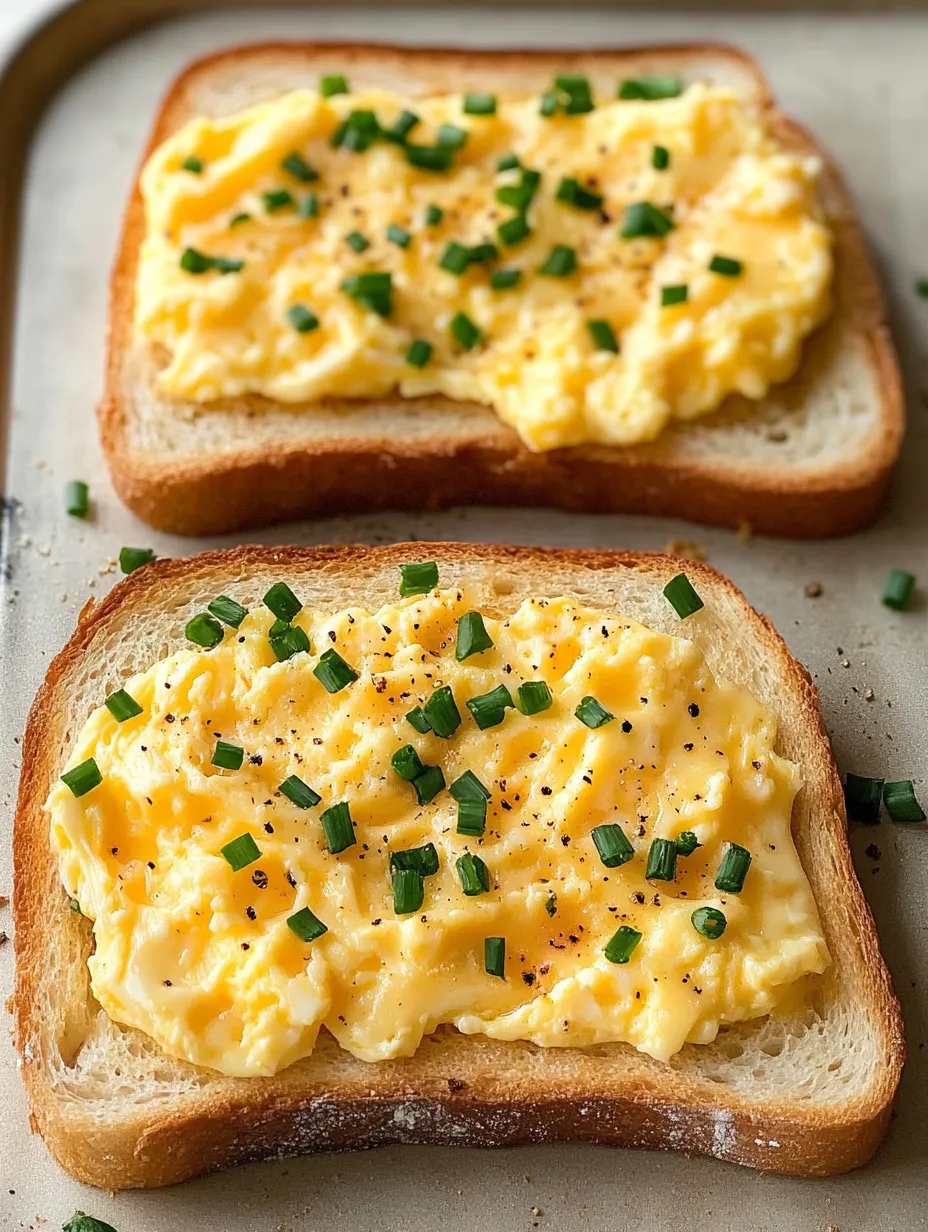
I’ve whipped up these Irish cheese toasties for everything from lazy solo lunches to last-minute friend visits. Something about the mix of simple basics turning into something people go wild for just feels right. My kids ask for them whenever there’s a sleepover, and even choosy eaters dig in. They’re 100% a staple in my kitchen anytime I want easy comfort without much hassle.
Recipe FAQs
- → What makes this different from basic cheese toast?
- This version mixes eggs with cheddar, creating a light, airy topping when you bake it. Worcestershire sauce and mustard also give it an extra savory lift that basic toast lacks.
- → Which bread works best for this dish?
- You can use most breads! Hearty options like sourdough or white bread work great, and potato bread adds a unique touch. Avoid anything too soft that might collapse under the cheese mixture.
- → Can I prep these in advance?
- They’re best hot out of the oven with crisp edges. But you can whip up the cheese mixture a day early, keep it in the fridge, and bring it to room temp before spreading.
- → What should I serve with these cheesy toasts?
- Pair them with tomato soup for an unbeatable combo. For something heartier, add bacon or sausage at breakfast. Or you could keep it light with a small green salad.
- → Can I tweak the cheese mixture with extras?
- Of course! Toss in some cooked bacon bits, chopped ham, sautéed onions, or herbs like parsley or thyme. Just steer clear of anything too watery, or you’ll risk soggy bread.