
 Save
Save
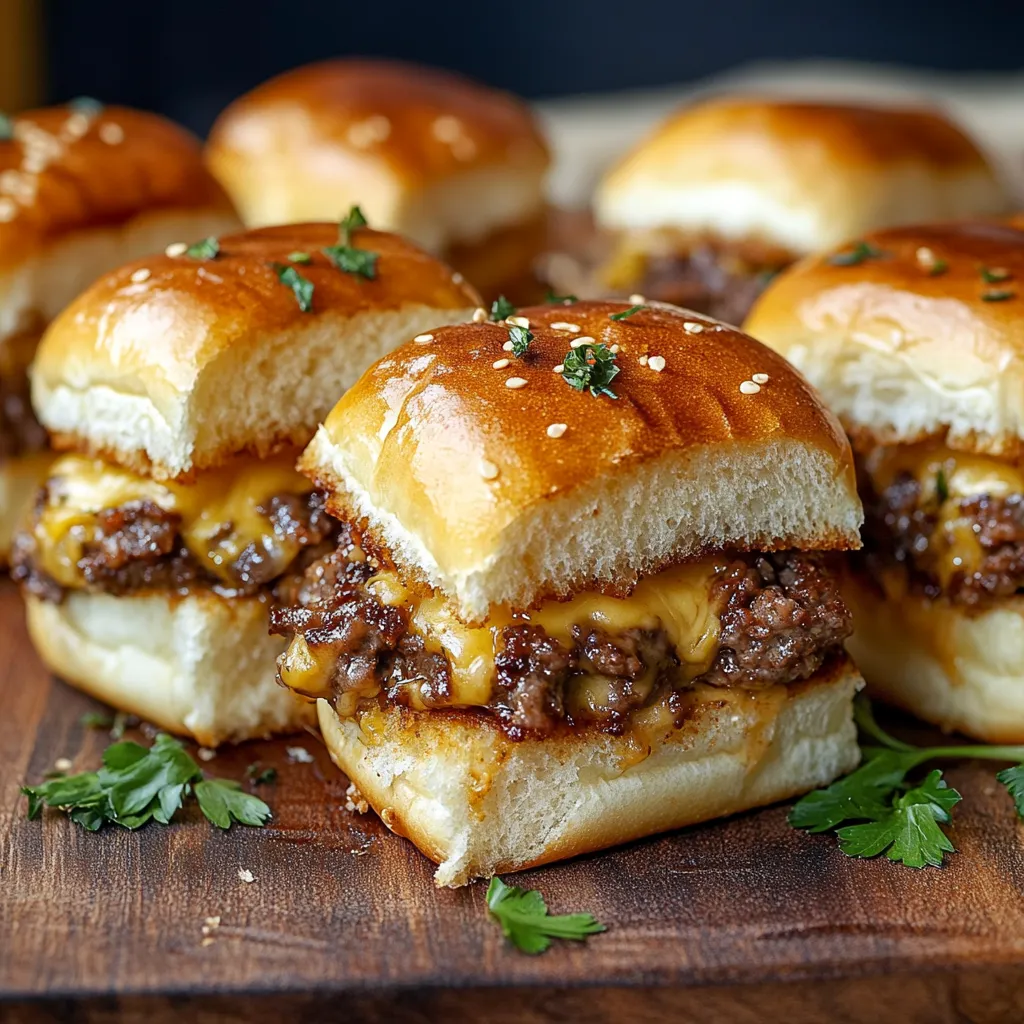
Cheeseburger Sliders with Hawaiian Rolls: Party-Ready Favorite
Sticky sweet Hawaiian rolls, gooey cheese, and tasty seasoned beef all snuggle together to become everyone's go-to bite at any hangout. These little sandwiches vanish fast whenever friends swing by. They're such a hit—trust me, you'll see empty plates in minutes.
 Save
Save
I've made this for so many family events, I lost count. These sliders always disappear first. My nephew? He loves helping out with brushing on the glaze. Makes it feel like we're doing a fun little project, not just dinner.
Tasty Ingredients You Need:
- BBQ sauce: A little smoky flavor and just enough sauciness to keep everything moist
- Yellow onion: Chopped up small so it cooks through and gives a boost of mellow sweet flavor
- Sharp cheddar cheese: Go for freshly grated—makes for the dreamiest melt and amazing cheese pulls
- Hawaiian sweet rolls: Soft, sweet, and meant to stay in a sheet when cut—way less mess when putting everything together
- Ground beef (80/20): That bit of extra fat keeps every bite juicy as it bakes
- Dijon mustard: This zippy mustard mixes into your glaze, giving you those shiny golden tops
Straightforward Steps:
- 1. Start Beef & Onion:
- Get your pan hot with a splash of olive oil, medium heat
- Toss in your finely chopped onions; let those cook around 8-10 minutes, mixing every now and then, until they look golden and feel soft
- Push the onions aside, add your meat to the open space
- Break the beef up as it cooks—takes about 7-8 minutes, make sure all the pink is gone
- Afterward, tilt the pan and spoon off extra fat, but leave a bit for taste
- 2. Season Everything:
- Turn the heat down, mix in 3 tablespoons BBQ sauce and 2 big spoons of mayo
- Sprinkle with a teaspoon each garlic powder and salt, plus half a teaspoon black pepper
- Mix everything up, let it bubble on low for another 2-3 minutes so the flavors come together
- Taste—if you want, add a little more salt or BBQ to your liking
- 3. Time to Build:
- Fire up your oven to 350°F (175°C)
- Leave the rolls all stuck together, slice across them to make a full top and bottom slab
- Lay the bottoms into a buttered 9x13 pan
- Drop half the cheese on those buns, spreading out nicely
- Next, spoon on your hot beef, push it out evenly
- Load up with that extra cheese leftover, so every spot’s covered
- Finish with the tops of the rolls—carefully line 'em back up
- 4. Top It Off:
- In a little bowl, melt 4 tablespoons butter in the microwave
- Whisk in a spoonful each Dijon and brown sugar until smooth
- Slather this mix all over the tops
- Scatter some sesame seeds to get that burger-shop look
- Bake (don't cover) for 12 to 14 minutes—you're looking for golden tops and totally melted cheese
Every time I bake these, my place fills up with that mouthwatering, can’t-wait smell. Next thing you know, everyone’s circling the kitchen, trying to sneak a peek at the pan.
Fun Ways I've Tweaked It:
You can change these up however you want. Sometimes I toss in crispy bacon bits for crunch and smoky goodness. Feeling spicy? Jalapeños or even some pepper jack cheese wake up the adults at the table! If it's summertime, I like sliding in some fresh tomato and lettuce after baking for a cool, fresh crunch.
Surprising Trick for the Best Buns:
 Save
Save
If you want great texture, here's what I figured out—you gotta let the beef chill out briefly before stacking everything. That stops the buns from getting soggy and keeps that nice mix of crispy top, soft middle going strong.
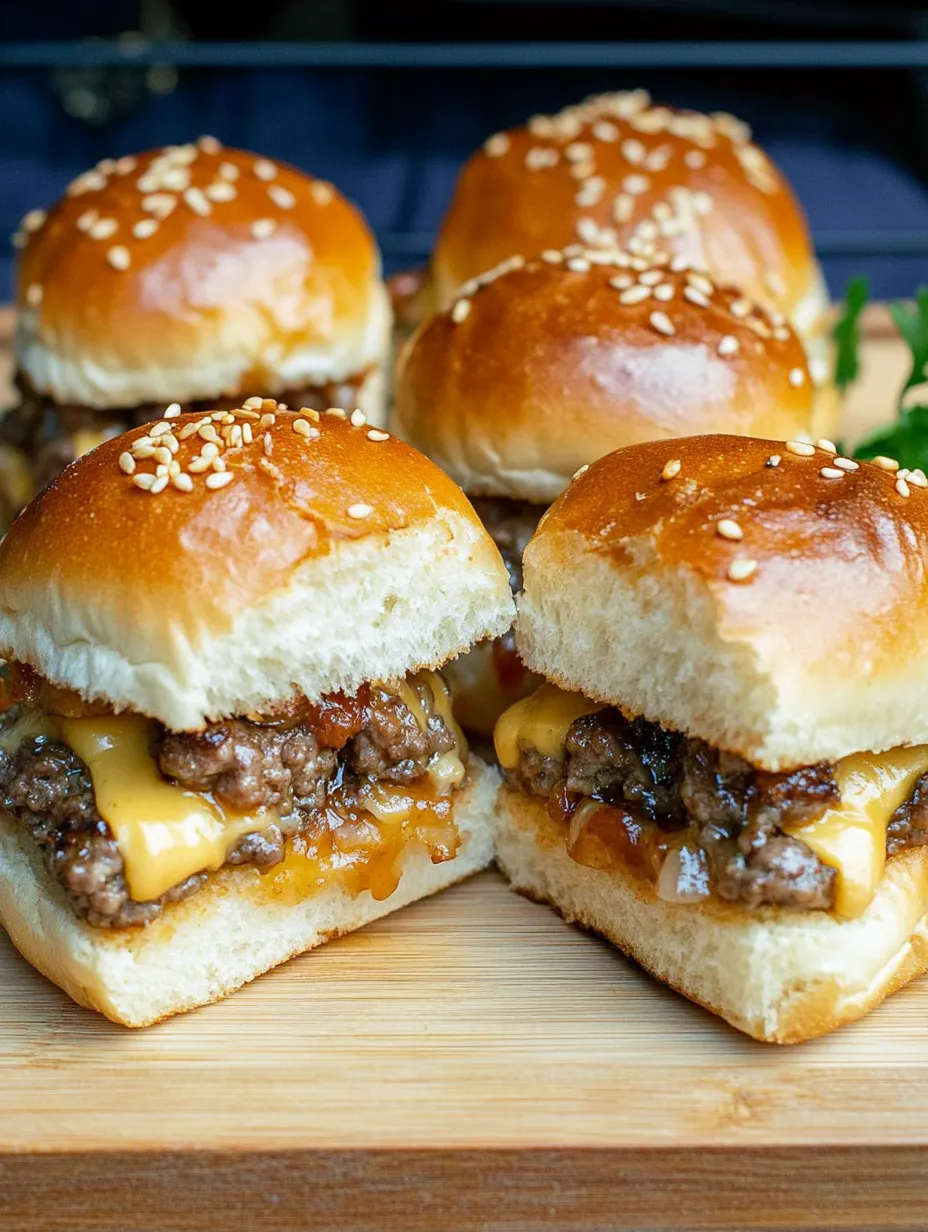
There's this awesome crispy cheese edge that forms at the bottom of the rolls. My crew loves that so much, I throw on extra cheese just to boost that effect.
Honestly, after making these over and over, I've realized they're more about good times than just food. You can put them out at any party, game night, or simple dinner, and they bring people together. Between the pillowy sweet buns, savory beef, and melty cheddar, you can't stop at just one—everyone at the table agrees!
Recipe FAQs
- → Is it possible to prep these in advance?
- Sure thing! Get them ready and store them in the fridge for up to 48 hours. Pop them in the oven when you're ready.
- → Any suggestions for the cheese?
- Go with melty ones like provolone, cheddar, American, or even pepper jack!
- → Can these be kept in the freezer?
- Totally! Assemble them as usual, wrap tightly, and freeze for 3 months. Toss them in the oven without thawing.
- → I don’t have Hawaiian rolls—what works as a replacement?
- Try dinner rolls, mini brioche, or slider buns instead.
- → How about using turkey instead of beef?
- Go ahead! Ground turkey, chicken, or even veggie meat can all be used here.