
 Save
Save
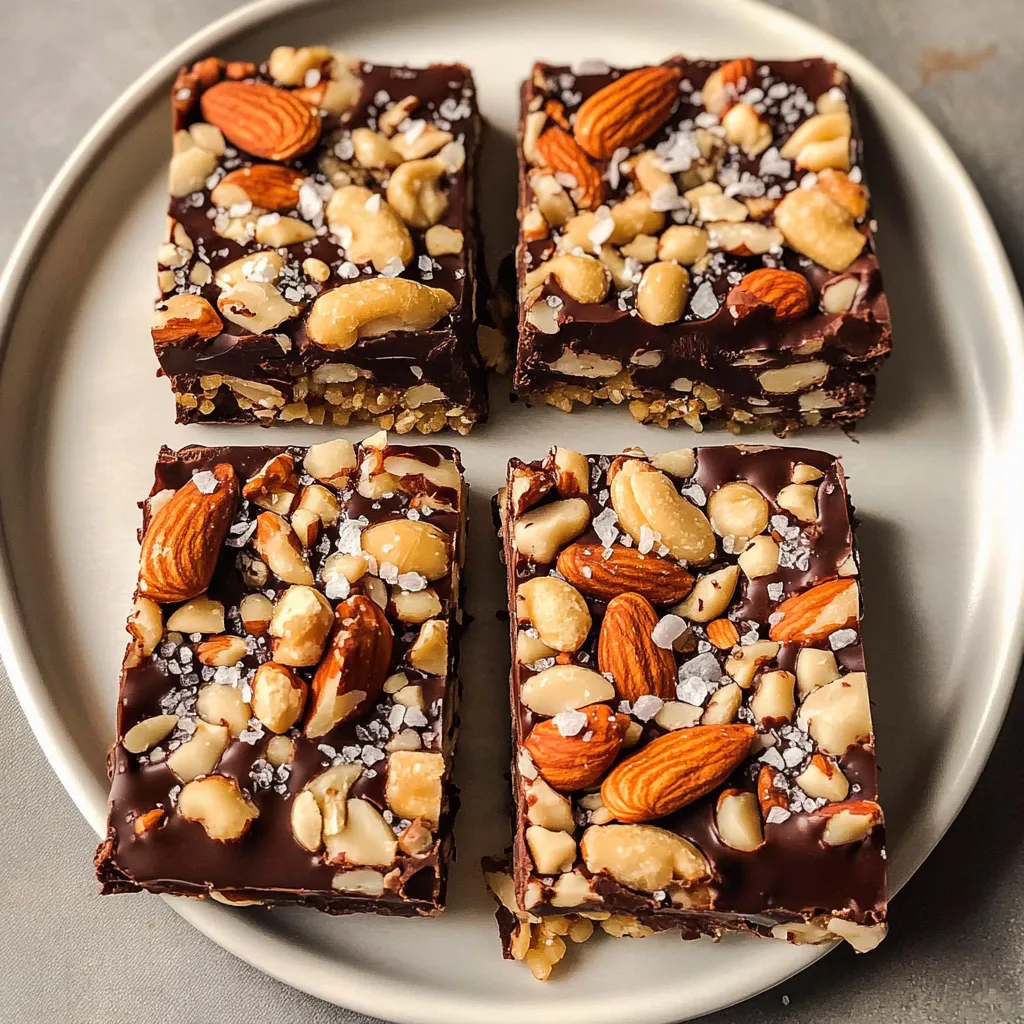
I started making these nut bars at home because I just couldn't stomach the price of those trendy store-bought ones anymore. After a bunch of kitchen fails (I'm talking real sticky messes), I tweaked things until I found the combo that hit all the right notes—sweet, salty, uber crunchy. The epic dark chocolate layer and flaky salt on top? That takes them from "pretty good" to straight-up irresistible. They're my snack of choice for road trips, my kids' lunchbox favorite, and my trusty pick-me-up for those afternoons when I want something filling but not sugar overload.
My husband used to reach straight for a bag of chips when he wanted crunch, but now he grabs one of these bars. Even my neighbor was convinced they came from a pricey specialty shop until I let her in on my secret. It's really just that combo—the toasted nuts, sticky-sweet glue, and deep dark chocolate—that wins almost everyone over.
Chill Ingredients
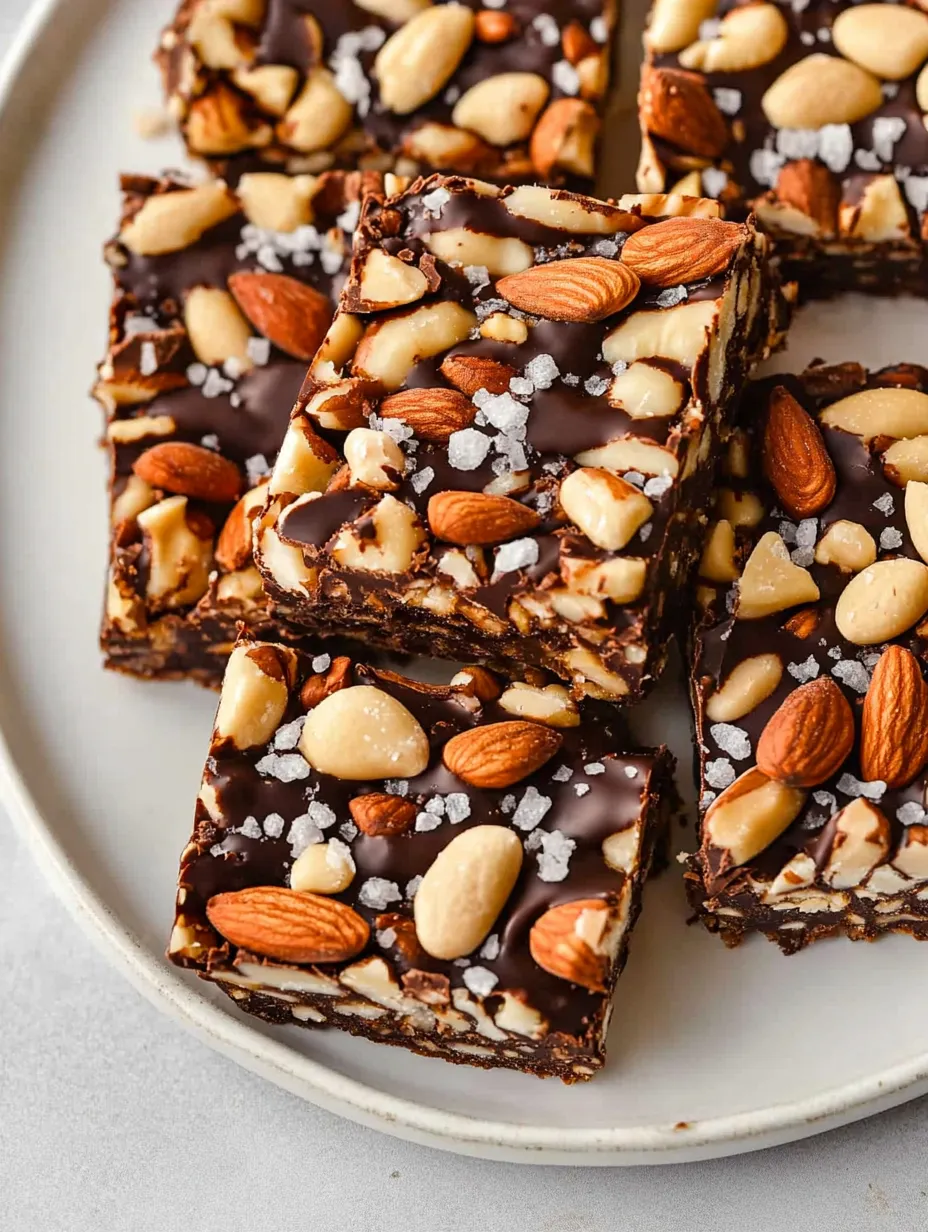
- Mixed nuts: Grab all sorts if you can. Cashews give creaminess, almonds crunch things up, peanuts bring salty goodness, but toss in whatever's handy—pecans and hazelnuts are amazing too.
- Puffed rice: Lightens everything up so they don't feel heavy. I go for plain puffed rice, but have tossed in puffed quinoa as a twist for a nutty bite.
- Brown rice syrup: Here's what keeps it all together! It's got less sugar than honey and is way stickier, which helps that perfect chewy snap. If you sub in honey, the bars might crumble more.
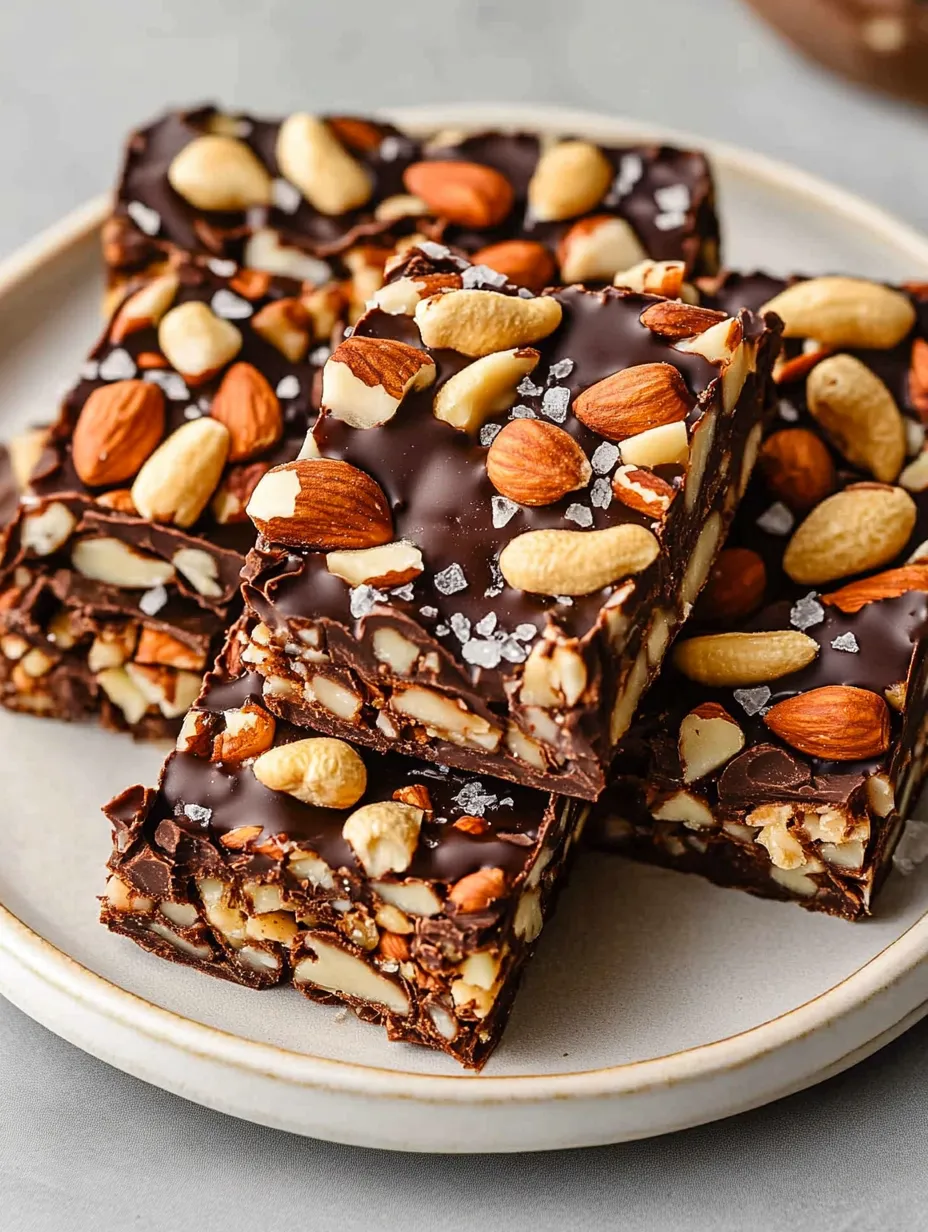
- Dark chocolate: Use solid chocolate, around 70% is best! You can totally use the big bags of chips from those warehouse stores.
- Flaky sea salt: Don't forget the sprinkle! That fancy salt on top totally makes it. I love Maldon, but any flaky kind does the trick. Table salt is no match here.
 Save
Save
Detailed Steps
- Getting nuts nice and toasty
- Pop your nuts in the oven and keep a sharp eye on them—they go from golden and aromatic to burned in a heartbeat. You want them just starting to brown and smelling great. I once got distracted and ended up with bitter bars! Now I stick a timer at 5 minutes and check after that.
- What holds it together
- For that perfect chewy-but-still-snappy bite, gently warm the brown rice syrup first. It’ll coat things easier and not stay in gooey puddles. Work quickly—this stuff sets fast! I spritz my silicone spatula with a bit of oil so mixing isn't a sticky nightmare.
- Packing the mixture
- If you want bars that don't fall to bits, you gotta compress them. Dump everything into your lined pan and really push it down. I use an oiled measuring cup bottom to press it flat, giving extra muscle to the skinny edges. This is not the time to be gentle—compacting it well keeps everything together later.
- Cutting without crumbling
- Patience is your friend here. Wait about 30 minutes before slicing—the bars will be set but still a bit bendy. Cut too soon and you’ll have a sticky mess, too late and they can crack. Grab your sharpest kitchen knife, cleaning it every few cuts for neat pieces.
- Chocolate magic
- If you want smooth, shimmery chocolate, add a bit of coconut oil to your melted chocolate before dipping or drizzling. Straight chocolate gets too thick and won't give you that nice snap. I nuke it in the microwave in small bursts, stirring lots—otherwise, it can seize up quick.
- Keeping them fresh
- Wait until the chocolate is firm, then store these in a lidded box with parchment in between layers. They stay just fine at room temp for about seven days—but usually disappear faster here! If it's hot, I pop mine in the fridge so the chocolate doesn't melt.
My first go at these bars ended up a flop—I skipped toasting the nuts and barely pressed the mix, and shocker, they fell apart everywhere. I fiddled through at least a half dozen batches before I nailed the just-right snap and flavor. Swapping up the nuts keeps things interesting; for fall, I do pecans, almonds, and pumpkin seeds with extra cinnamon. For a cheery, beachy twist, I toss in coconut, plus cashews, macadamias, and almonds.
Snack Hour
Honestly, these bars need a moment to shine! They're perfect with a midday coffee when I need a little treat, or tossed in a backpack—they don’t fall apart or turn messy. For the kids’ lunches, I wrap each one in parchment and stick ’em into reusable bags. They're awesome pre-workout too, giving you that mix of carbs, protein, and good fats to keep you powered up. Serving friends? I pile them on a cutting board with fresh berries for a super easy crowd-pleaser.
Fun Twists
You can totally remix these bars and still get that satisfying chew and crunch. If you like spices, add about a teaspoon of cinnamon and a hint of cardamom to your syrup. Around the holidays, dried cranberries and some orange zest give a merry bump of flavor. For that extra chocolate fix, toss some mini chocolate chips into the mix (just wait till everything cools off so they don't melt). And if you're going all-out, a white chocolate drizzle on top makes for a pretty killer finish.
Storage Tips
They’ll stay fresh in an airtight container on the counter for about a week, parchment between each layer so they don’t stick. Want to keep them longer? Freeze on their own in plastic wrap plus foil; they'll be good for three months. When you're ready, thaw on the counter for a half hour and you're good to go. On muggy days, I stick them in the fridge to stop the chocolate going soft, but they’re best eaten at room temp for max chewiness.
 Save
Save
Making these dark chocolate, sea salt nut bars started as my budget answer to expensive store snacks, but now I love them for so many reasons. It's just a good feeling making your own snacks from scratch—you get to pick your ingredients, set the sweetness, and know exactly what's going in. They do take a bit of time, but honestly, most of it is just waiting for them to cool off. The happy sounds from everyone biting into one makes all the effort totally worthwhile—I end up making them again and again because no one ever seems to get tired of them!
Recipe FAQs
- → Can I use another sweetener instead of brown rice syrup?
- Brown rice syrup is best since it’s thick and helps the bars stick together. Honey is a decent swap but may make softer bars. Avoid maple syrup as it’s too runny.
- → What other nuts are good in this?
- Feel free to mix things up! You can go for hazelnuts, macadamias, walnuts, Brazil nuts, or pecans, sticking to a total of 2 1/2 cups.
- → Why are my nut bars breaking apart?
- They might not have been pressed tightly into the pan, baked enough, or fully cooled before cutting. Be sure to press the mix down firmly and wait until it’s completely cool to slice them.
- → How can I make these bars vegan-friendly?
- Simply pick vegan dark chocolate chips. Many dark chocolate chips are already vegan, but it’s always smart to double-check the label.
- → How long do these bars stay fresh?
- In a sealed container in the fridge, they’ll last about 2 weeks. You can also pop them in the freezer for up to 3 months.