
 Save
Save
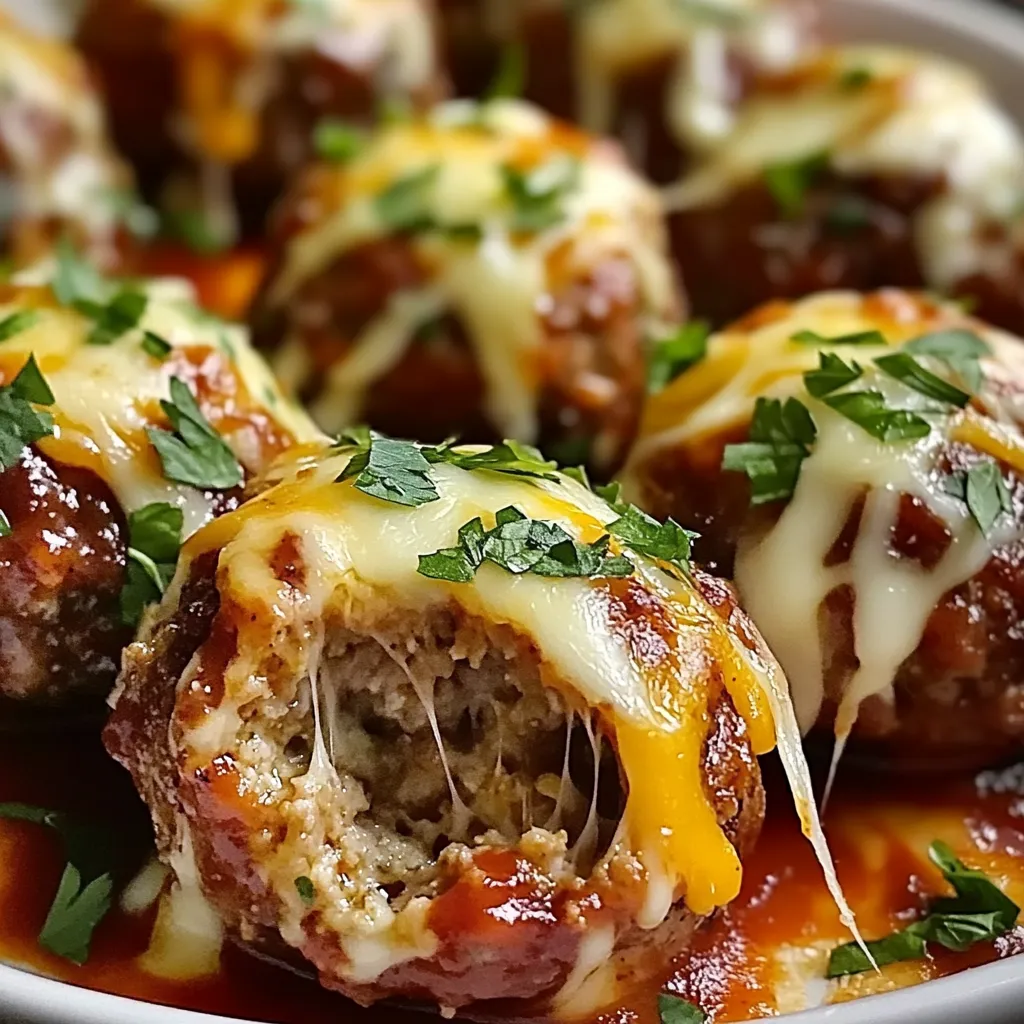
You get all the nostalgic flavors of your favorite comfort meal, but with melty cheese hidden inside every bite. These mini meatloaf balls are a hit—super easy for weeknights, great for parties, and just plain fun to eat. Ground beef wrapped around gooey cheddar gives every mouthful a mix of tender, savory, and creamy. Brushing on a sweet-tangy sauce before baking means the outside gets sticky and caramelized, ticking all the right boxes for flavor.
This whole thing started when I needed hearty finger food for a get-together. Instead of a boring sit-down, I wanted everyone mingling. These disappeared fast! Everybody raved about the cheesy centers, and now my kids ask for them constantly. Turns out, they think mini meatloaf is way more fun than a big slice.
Irresistible Ingredient List
- Bread choice: Fresh crumbs keep these super soft, not dry like the old-school stuff
- Beef type: Go for 85/15—the right mix so things are juicy, but not greasy
- Cheese swap: Cheddar gives that classic taste, or grab pepper jack if you want some kick
- Flavor punch: A splash of Worcestershire boosts the savory, you won’t want to skip it
Simple Steps For Success
- Finishing move:
- Let them cool off for a couple minutes before placing on your platter so nothing falls apart.
- Baking:
- Pop bites onto the parchment sheet, keeping some space around each. Bake until your thermometer says 160°F in the middle.
- Glazing:
- Mix ketchup with mustard in a bowl, then slather the mix on each bite so they’re totally coated.
- Closing up the cheese:
- Fold the meat up and over the cheese, seal it so the cheese can’t escape, then roll into a neat ball between your hands.
- Cheese stuffing:
- Grab about two tablespoons of mixture, flatten in your hand, pile a teaspoon of shredded cheese in the middle.
- Mixing it up:
- Toss beef into a big bowl with crumbs, milk, egg, and whatever spices you like. Use your hands, but don’t mash it too much or they’ll get dense.
- Get started:
- Switch on your oven to 375°F. Lay out a baking sheet and cover with parchment—easy cleanup and no sticking.
 Save
Save
We realized by accident one night that putting a little less cheese inside made for an even crazier cheese pull as soon as you bite in—so now we do it on purpose. It looks awesome in photos and tastes even better hot out of the oven. Perfect for surprising everyone at the table!
Nutrition Made Easy
You’d never guess these are pretty smart nutrition-wise. Beef delivers the protein your body needs, and tossing in diced veggies—like peppers or carrots—ups fiber and vitamins. Because they're mini, it's way easier to stick to one or two versus a giant slice, so you can enjoy without overdoing it.
Show-Off Serving
Arrange these on a big wooden board, throw on some fresh herbs, and watch people hover. Put the bites in circles with dips in between for everyone to scoop. If you want more of a meal, set them next to roasted veggies and mashed potatoes. Holiday party? Stack on a tiered tray with cranberry sauce in between for something pretty and festive.
Fun Ways To Change It Up
Switch up the flavors as often as you like. Try stuffing with feta and mixing oregano and lemon zest into the meat for a Greek twist. Go southwest by using taco spices, pepper jack, and jalapeños. Need it lighter? Grab ground turkey and plant-based cheese. Every version’s got the same cheesy fun with a new taste spin.
How To Store And Reheat
Keep extras safe and tasty by popping them into shallow containers in the fridge—eat within three days. Want to freeze? Lay them out in one layer (add parchment if stacking). Let frozen ones defrost in the fridge, not on the counter, to keep things safe to eat. Bake leftovers at 350°F to get them hot and toasty, instead of nuking them and making the cheese rubbery.
There’s nothing quite like these—they’re a smash with both grown-ups and kids, every time. Layers of taste and a hidden cheese hit make simple ground meat and cheese feel totally special. Serve at a family table or with fancy drinks, and watch your crew’s faces light up as they spot that melted middle. The best bites really do come in small packages!
 Save
Save
Recipe FAQs
- → Can I prep these bites before cooking?
- You sure can! Assemble the meat bites a day ahead, keep them cold in the fridge, and wait to glaze and bake until you're ready. Add 2-3 extra minutes to the cook time. Or bake fully, then warm them in the oven at 350°F for 10 minutes.
- → What pairs nicely with these bites?
- If using them as an appetizer, they're great served alone with toothpicks. For a meal, they're awesome with mashed potatoes, oven-roasted veggies, creamy mac and cheese, a crisp green salad, or even zucchini noodles for something lighter.
- → Is there a different meat I can use?
- Of course! Try turkey, pork, or chicken—any of those work great. Mixing meats like pork and beef can be tasty too. If you're using a super lean meat like chicken, add a little olive oil to keep everything juicy.
- → How can I tell if they're ready?
- They’re done when the inside hits 160°F for beef or pork, or 165°F for chicken or turkey. No thermometer? Cut one open—the meat should be cooked through with clear juices and no pink inside.
- → Can I make this gluten-free?
- Yep! Swap out the breadcrumbs for gluten-free versions or use crushed gluten-free crackers instead. Be sure to double-check your Worcestershire sauce label, as some have gluten in them.