
 Save
Save
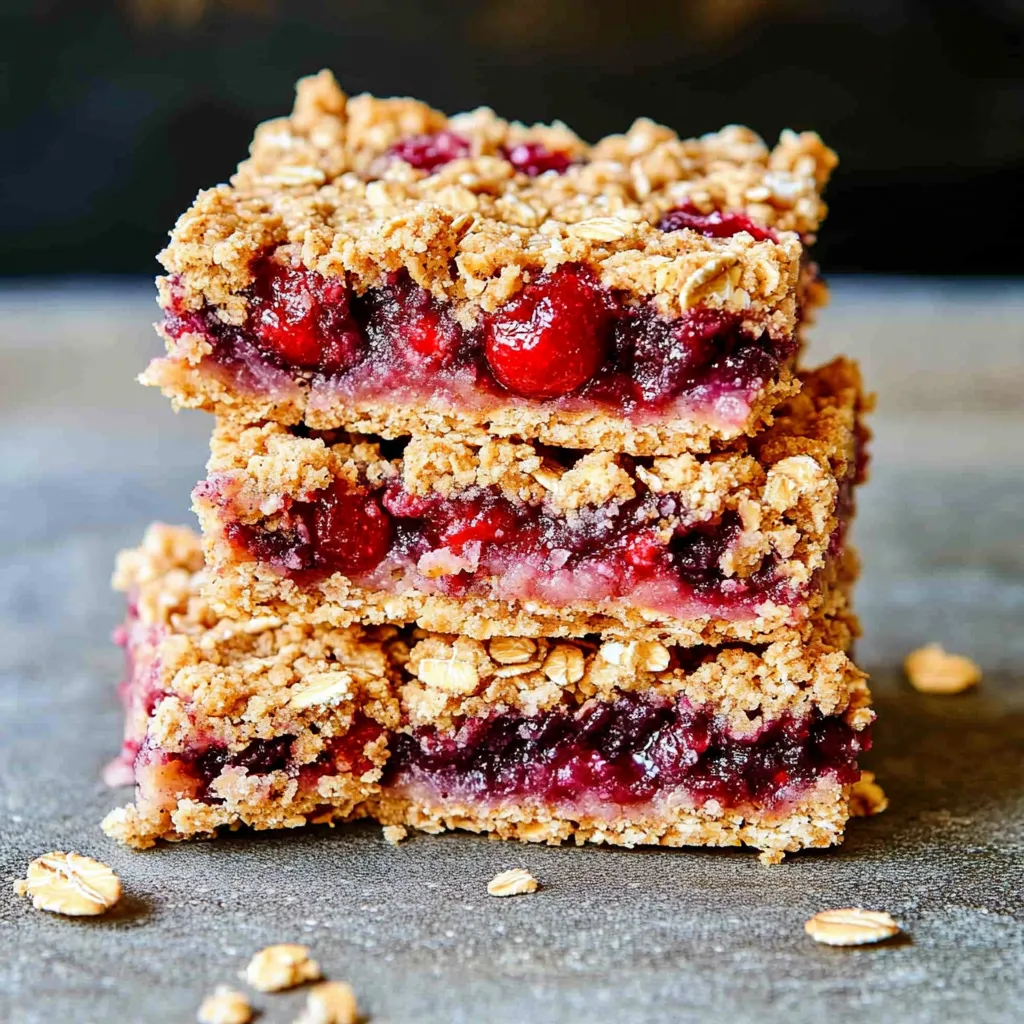
I discovered these bars on a morning when I was running out of ideas. My kid is super picky and I needed something for breakfast that wasn’t a sugar bomb. After making so many bland so-called healthy breakfast bars that just turned into crumbs or tasted awful, I tried these berry oat bars thinking it was my last shot. Shockingly, my kid—who usually rejects anything healthy—went back for a second one.
Just last week, my neighbor’s kid had one during a playdate and ended up asking to take a few home with her. Honestly, if another kid wants more, that’s when you know you’ve got a winner.
Tasty Ingredients
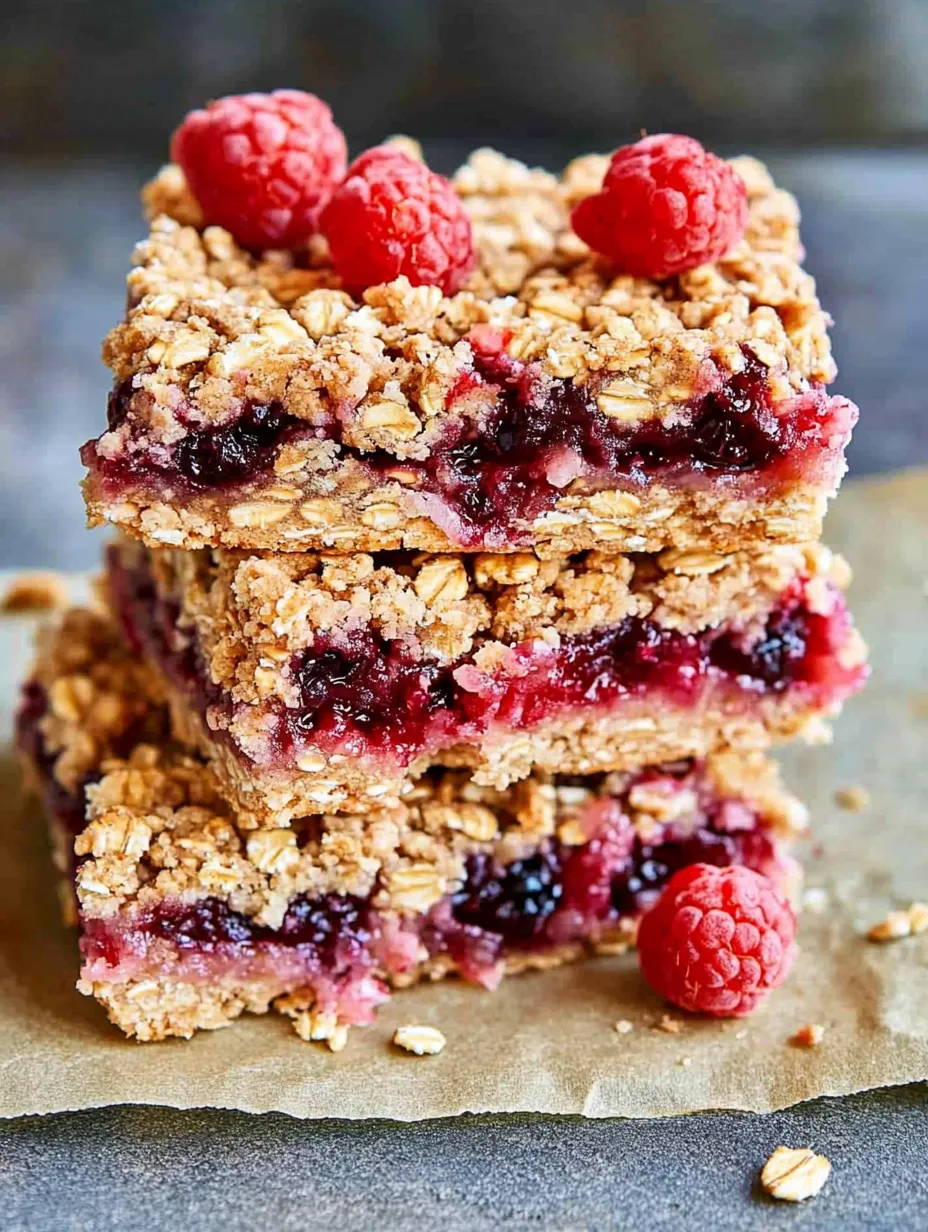
- Berry Preserves: Pick whatever fruit flavor is a hit in your house
- Coconut Oil: Makes these bars super rich (swap in butter if you want)
- Coconut Sugar: Gives them a nice flavor, but throw in regular sugar if that’s what you have
- Maple Syrup: Real stuff for actual flavor, not just to make them sweeter
- Quick Oats: These oats make the final bars soft instead of rough
 Save
Save
Simple Steps to Make Them
- For the crumbly topping:
- Take the last bit of your oat mixture and gently sprinkle that across the top, pressing it in just a tad. Don’t squash it too much, you want a crumbly finish on top of the firm base.
- The Fruity Layer:
- Spoon the preserves all over your base layer. Keep them away from the edges to avoid sticky cleanup if it bubbles over.
- The Sturdy Start:
- Press most of the oat mix into the bottom of your baking dish. This layer is what stops the bars from turning into a mess later on.
- Getting started:
- Melt coconut oil in your mixing bowl—it’s just easier. Then throw in all the ingredients apart from the fruit preserves and mix everything until it barely clumps when you squeeze it.
 Save
Save
No matter how rushed our mornings are or how hungry everyone is in the afternoons, these bars are what I keep coming back to. They’re proof that not everything that works well has to be fancy or complicated.
Recipe FAQs
- → Can I swap the preserves for other flavors?
- Absolutely! Try strawberry, apricot, or blueberry jam to give the bars a fun twist.
- → How can I adjust the recipe for gluten-free diets?
- Switch to gluten-free oats and gluten-free all-purpose flour.
- → Is it okay to use regular sugar instead of coconut sugar?
- Sure! Regular granulated sugar works just as well in the same amount.
- → How long will these bars stay fresh?
- Keep them in a sealed container. They’ll last five days on the counter or up to a week in the fridge.
- → Are these bars freezer-friendly?
- Yes! Wrap them up individually, freeze for up to three months, then microwave or thaw before eating.