
 Save
Save
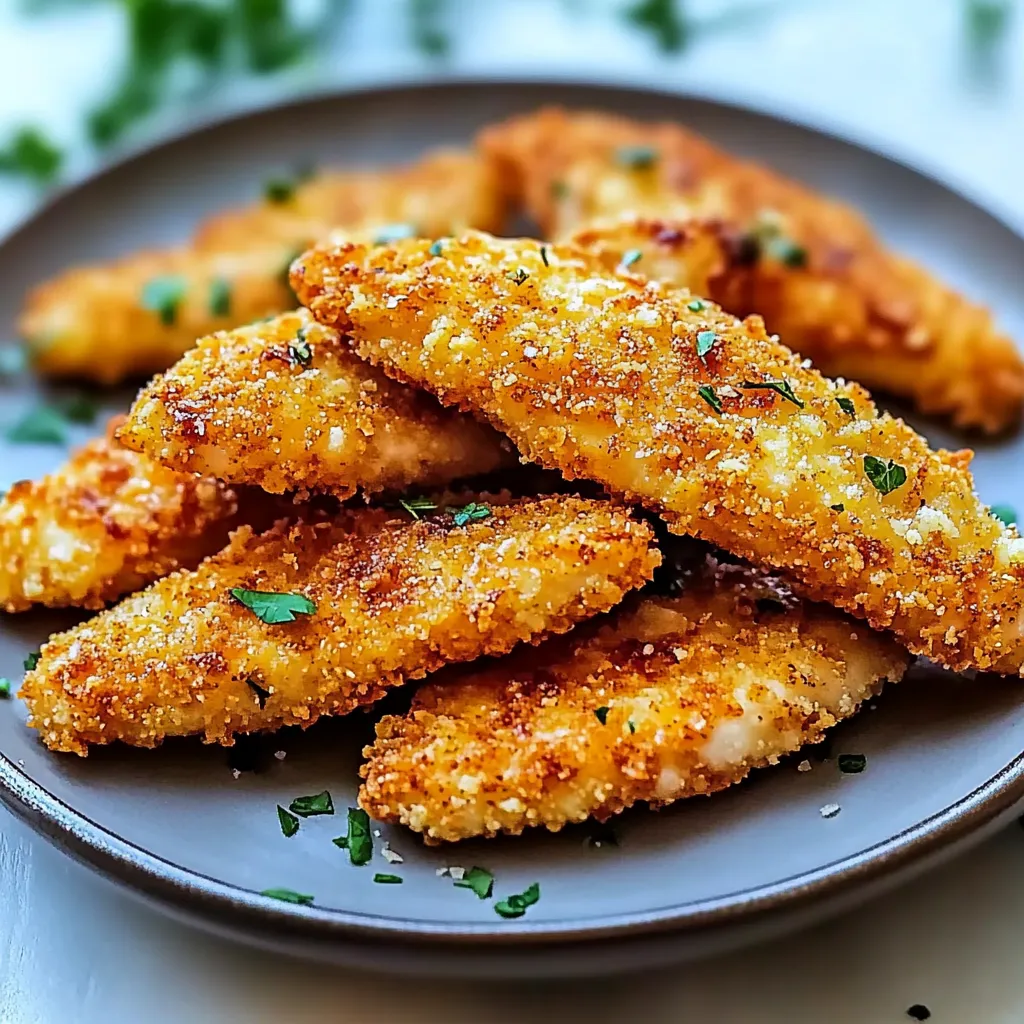
If you want to crush those takeout cravings, these crunchy chicken strips hit the spot and you don’t even need a deep fryer. It took me a lot of trial runs to get that satisfying crunch from baked chicken, but a few simple tricks totally change the game. Honestly, these are my top pick any time classic comfort food calls but I’m trying to lighten things up.
Whenever I serve these up, my family rushes for the crispiest pieces. Even my hard-to-please nephew (who usually skips anything homemade) asks for more every time.
Essential Kitchen Tools
- Wire rack: This is what gets that crunchy outer layer
- Olive oil spray: Helps the tenders turn golden
- Paprika: Gives a pop of color and some warmth
- Garlic powder: Adds an extra hit of flavor
- Parmesan: Loads on rich, salty flavor
- Seasonings: Whatever spices you love most
- Fresh eggs: They help everything stick together
- Panko breadcrumbs: These make for epic crunch
- Chicken breasts: Use them fresh or thawed out
 Save
Save
Unbeatable Crispy Prep
- Finishing Touch:
- Lightly spritz the tenders all over with olive oil to help them brown up just right. Seriously, don’t skip this bit—it totally sets the crunch.
- Breading Process:
- Drag each strip through flour, then eggs, and finally panko. Gently press crumbs so they really stick. Arrange each piece on a rack set over your baking sheet—this is how you get that all-over crisp.
- Breading Setup:
- Put together your stations: first dish for flour with your seasonings, next has the whisked eggs, last for panko with cheese and extras. Use one hand for dry, the other for wet to keep the mess in check.
- Starting Off:
- Let the chicken hang out on the counter till it’s not cold. Slice breasts into strips, pat dry (super key for crunch), and use salt and pepper. Let them chill while you set out your breading stuff.
The first time I made these, I forgot the wire rack and my tenders came out with soggy bottoms. Now I always use a rack—the air movement is the whole point when baking instead of dunking in oil.
Awesome Sides and Dips
Hot out of the oven, these strips are super tasty alone, but what you serve them with matters. I like to lay out different dipping sauces (ranch, honey mustard, and BBQ are hits). For supper, pair with crisp salad or sweet potato fries. Cutting them up smaller for gatherings and serving with dips makes them disappear quick.
Fun Twists to Try
I love switching it up with new crumb ideas. Sometimes I toss ranch powder into the panko. Cayenne gives heat, or swap in crushed cornflakes for bold crunch. Toss in some Italian herbs for summer, then slice over Caesar salad. Game day? Dunk them in buffalo sauce right before eating.
How to Keep Them Crunchy
Honestly, fresh is best, but reheating works if you know a few tricks. Pop leftovers in the fridge on paper towels—this keeps them from getting soggy. To warm up, lay on a wire rack and bake in a hot oven about 10 minutes and they’ll crisp up again. Freeze before baking if you want to prep ahead and eat later.
 Save
Save
These chicken tenders are my rescue plan for busy nights, surprise guests, or anytime we want comfort food that won’t weigh us down. Keep in mind, what really makes them great isn’t only the stuff you use—it’s those little steps along the way that change everything.
Recipe FAQs
- → Will regular breadcrumbs work instead of panko?
- Of course, but panko gives you a much crunchier bite.
- → What’s the trick to keeping them from getting soggy?
- Put them on a wire rack when baking, and don't pile them on the plate.
- → Can these be prepped ahead of time?
- Sure thing! Coat them the day before, then refrigerate until baking.
- → How should I reheat leftovers to keep them crispy?
- Use your oven at 350°F for about 10 minutes. They'll crisp back up nicely.
- → Can I freeze them after making?
- Yes! Let them cool after cooking, then freeze. Toss them in the oven straight from the freezer to warm up.