
 Save
Save
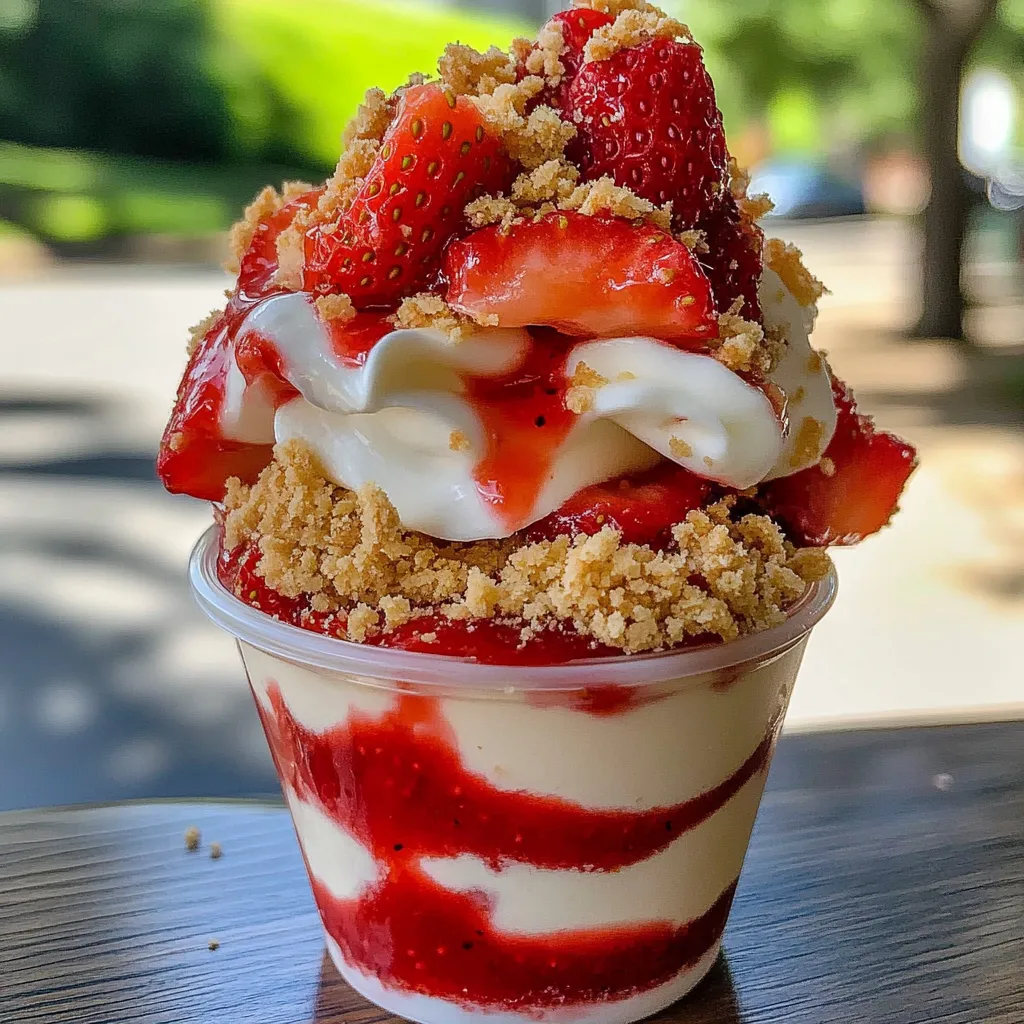
I always turn to these strawberry cheesecake cups for summer get-togethers. A few summers ago, when the weather was sweltering, I needed an easy treat that I didn’t have to bake and found this idea. Creamy cheesecake, juicy strawberries, and buttery graham crackers all layered together—it’s such an awesome combo! The best part? You only need around twenty minutes to toss them together, but it’ll look like you put in way more effort. I love serving them in see-through glasses so everyone can admire the layers.
One time at a summer party, I brought a tray of these out. My friend Jenny swears she’s not into sweets, but she devoured a cup and even asked to take a couple more home. Later, her husband joked that she now requests I make “those strawberry cheesecake things” every time we hang out. It’s my go-to dish for any potluck now.
Irresistible Key Ingredients
- Cream cheese: You'll want it super soft, or you’ll get lumps you can’t fix. Just let it sit at room temp for at least an hour before starting and it’ll mix up smooth and tangy—classic cheesecake style!
- Greek yogurt: Makes everything extra creamy and gives a nice tang. Also lightens up the mix a bit more than only using cream cheese. Sour cream also does the trick if that’s what’s in your fridge.
- Whipped cream: Folding this in makes everything fluffy and light. Homemade whipped cream tastes best, but if you’re rushed, grab some Cool Whip and nobody will mind.
- Graham crackers: Crushed up, they bring that familiar crust flavor and a bit of crunch. Brown sugar tossed in ups the caramel notes and makes the whole thing tastier.
- Fresh strawberries: Hunt down the juiciest, most fragrant berries you can find. Peak-season strawberries really boost the flavor and make this treat shine.
 Save
Save
Easy Step-by-Step
- Chilling time matters:
- Don't be tempted to serve them right away. Letting these hang out in the fridge really blends the flavors and sets everything. In a pinch, pop them in the freezer for 15 minutes and they’ll be good to go.
- Show off those layers:
- If you can, use clear cups or glasses so everyone can see the colors. Anything from mason jars to wine glasses works great for this.
- Layer ratios:
- I like to build mine with about one portion of crumbs on the bottom, two of creamy filling next, then top with the berries for the best bite every time.
- Gentle folding is key:
- When you mix in the whipped cream, gently fold it instead of stirring like crazy. That way, you keep the air in and your filling stays light.
- Strawberries just right:
- Cook the berries only until some break down but a few chunks remain. Cornstarch will help thicken it up if you want a more scoopable topping, but it's not a must.
- Cream cheese temp check:
- Really, make sure your cream cheese isn’t cold. Lumps are impossible to beat out and nobody wants that.
I keep tweaking my method for these over the years. At first, it was all cream cheese—tasty, but pretty dense. Once I started adding Greek yogurt, it made things lighter and gave a fantastic tang that makes the berries pop. I also played around a lot with the berry layer, figuring out the perfect amount of cooking so you get a little jamminess but still bite-sized pieces of fruit.
Fun Serving Ideas
Serve these straight from the fridge, adding a strawberry and a sprig of mint on top for some flair. For fancier parties, use stemless wine glasses and stick in a chocolate-dipped berry or a fancy cookie. If it’s for a shower, pile them up on a tiered stand—they double as table décor. At holiday time, I like to crumble up some candy cane and sprinkle it on top to make them festive.
Creative Twists
Use whatever berries are looking best—raspberries, blackberries, or blueberries all work. For something tropical, swap the strawberries for mango and add a little lime zest. If you want a grown-up vibe for the holidays, stir in a splash of orange liqueur with the berries. For chocolate fans, mix mini chips into the filling or drizzle melted chocolate between your layers.
Simple Storage
Stash these cheesecake cups in the fridge for up to three days. If you want them to taste extra fresh, stack the cracker and cheesecake layers first, save the fruit and cream for topping later. Party trick: make all the parts in advance, put them out with toppings and let everyone build their own with fruit, caramel, or even chocolate sauce.
 Save
Save
I’ve brought these cheesecake cups to all sorts of parties—laid-back barbecues, fancy sit-downs, you name it. The combo of the creamy base, sweet berries, and crunchy crackers is just a hit every time. Not having to use the oven is a bonus, especially in the summer. Friends always ask me to make this for our hangouts. Sometimes it’s the simple desserts people look forward to the most.
Recipe FAQs
- → Is it possible to prep these cheesecake cups in advance?
- Definitely. Prepare each part 1-2 days early, keep them chilled separately, and assemble right before eating for the freshest results.
- → Can I work with frozen strawberries if fresh ones aren't available?
- For sure! Let frozen strawberries thaw and lose extra liquid before cooking. The mixture might turn out a little runnier, so use cornstarch to thicken it.
- → What are some other options instead of graham crackers for the crumbs?
- Vanilla wafers, digestive cookies, or even gingersnaps can replace graham crackers. For gluten-free needs, use cookies without gluten.
- → Could I turn this into a classic cheesecake instead of individual cups?
- Totally. Switch to an 8-inch springform pan, layer everything just the same, and chill for at least 4 hours (or overnight) before slicing it.
- → How long can these stay good in the fridge?
- They'll taste fresh for up to 3 days when kept in the fridge. Just know the graham layers may soften slightly, but everything will still be tasty.