
 Save
Save
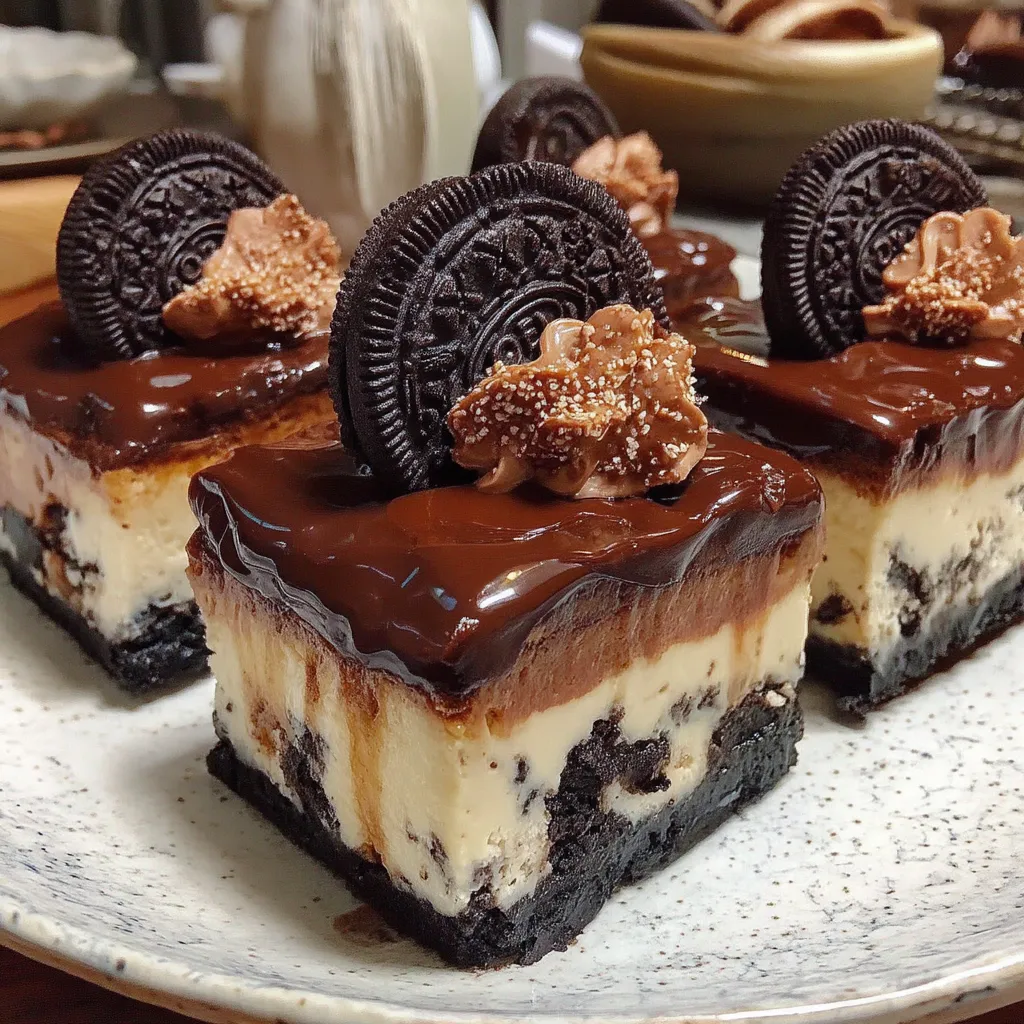
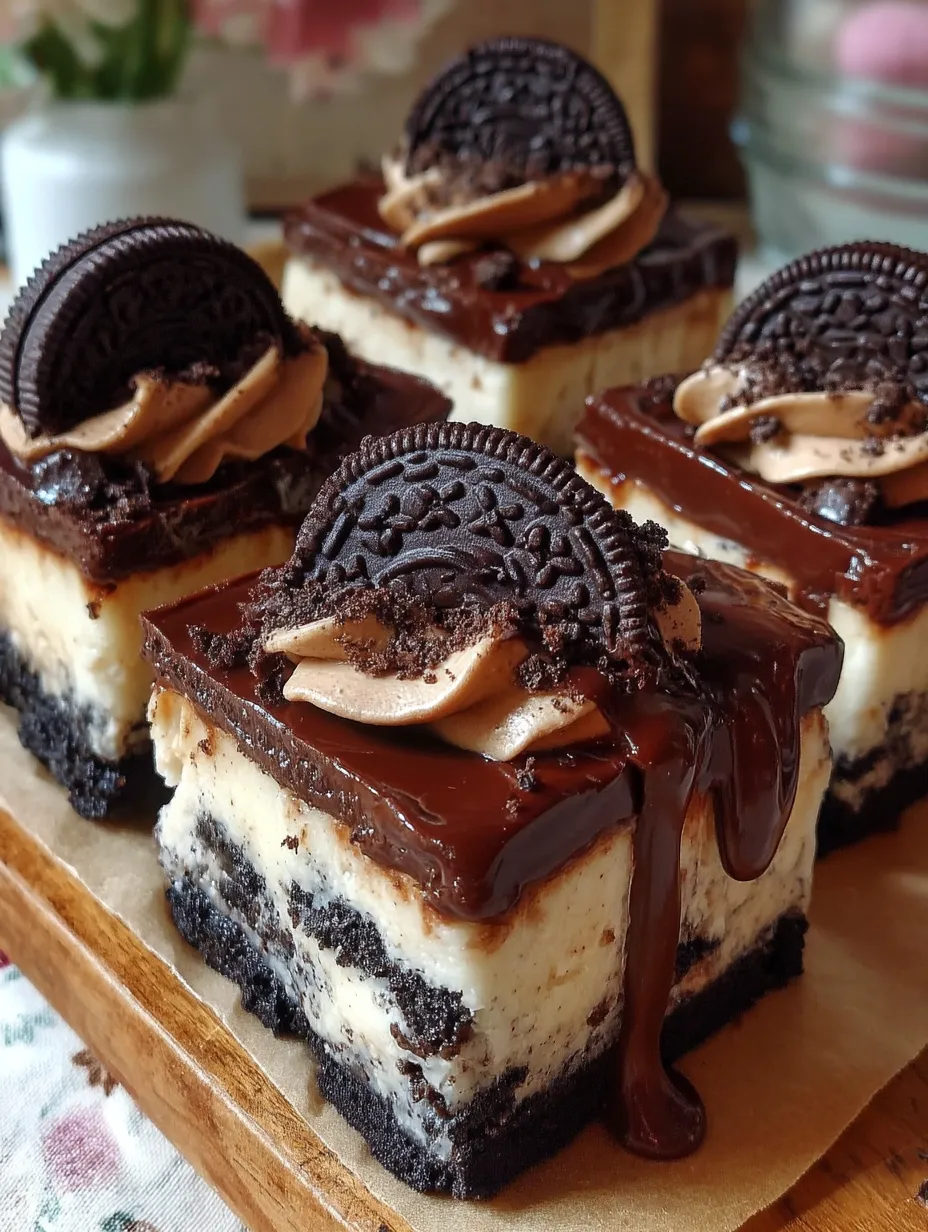
My go-to treat for hot days and unexpected visitors has always been these no-bake Oreo cheesecake squares. They bring together a velvety cheesecake mix dotted with Oreo bits, sitting on a dark cookie foundation and finished with smooth chocolate topping – all without needing to switch your oven on.
I came up with these bars during a blackout when my kid's birthday treat plans got ruined. What started as a disaster turned into a win when everyone raved about these squares more than any fancy baked cake I'd ever pulled together. Now they're the most asked-for dessert at family get-togethers.
What You'll Need
- Oreo cookies: these do double duty for both base and filling. Stick with original ones, not double stuffed for the right balance
- Butter: holds the base together. Go for unsalted to keep control of the taste
- Cream cheese: gives that classic cheesecake zip. Regular Philadelphia works way better since light versions can make everything too runny
- Heavy cream: beaten till fluffy makes the filling airy and mousse-like
- Granulated sugar: cuts the sharpness but keeps everything from being too sweet
- Milk chocolate: makes a dreamy topping layer. Pick one you'd happily eat by itself
How To Make It
- Put Together The Base:
- Pull apart the Oreos and keep both the cookies and filling separate. Smash the chocolate cookies into tiny bits – a blender works great but you can use a bag and rolling pin too. Mix with melted butter until it looks like damp sand. Push down firmly in a lined 8×8 inch dish to make a flat layer. Pop in the fridge while you work on the next part.
- Mix The Cheese Blend:
- Whip softened cream cheese until it's totally smooth for about 2 minutes. Any bumps now will stay that way later. Add in the saved Oreo cream centers and keep mixing until everything's completely blended. You want it looking silky with no streaks.
- Beat The Cream:
- In another bowl, whip cold heavy cream with sugar until it forms gentle peaks. It should hold shape when you lift the beaters but the tips should bend over slightly. Don't whip too much or your filling might get grainy.
- Mix Everything For Filling:
- Carefully fold the whipped cream into the cheese mix using a spatula with gentle movements. Slice down and turn over instead of stirring to keep as much air as possible. When almost mixed, toss in roughly broken Oreo pieces and fold just enough to spread them around.
- Build The Layers:
- Spread half your filling on top of the cold base in an even layer. Place whole Oreos across the filling in one layer. Cover with the rest of the filling and smooth the top with a flat knife. This surprise layer of cookies creates an awesome effect when you cut it.
- Let It Set:
- Cover with plastic wrap and stick in the fridge overnight. This waiting time really matters – it lets flavors blend together and helps everything firm up right. You can get away with 4 hours minimum but overnight makes it taste best.
- Make The Chocolate Topping:
- Warm the cream until tiny bubbles form at the edges but don't let it boil. Pour over chopped milk chocolate and wait a minute before stirring. Stir gently until smooth and glossy. Let it cool a bit until thickened but still pourable.
- Add The Top Layer:
- Pour cooled chocolate over the chilled cheesecake and spread to the edges. The chocolate should be cool enough not to melt your filling but warm enough to spread easily. Back into the fridge for at least 30 minutes until the topping firms up.
- Finish It Off:
- Lift the whole thing out using the overhanging paper. Cut into squares using a knife dipped in hot water and wiped between cuts for clean lines. Just before serving, top each square with Oreo halves for a nice touch.
 Save
Save
Extra Tips
What makes this cheesecake so incredibly light comes down to how you fold whipped cream into the cheese mixture. My grandma showed me this technique when I was just a kid standing on a stool at her counter. She always told me "Gentle hands make light desserts" and this treat proves she was right every single time.
How To Cut Clean Squares
For fancy-looking treats, make sure everything's totally chilled before cutting. Dip your knife in hot water and wipe it dry between each cut. This stops the filling from sticking and makes sure each piece shows off all those pretty layers. If you're serving at a party, think about cutting smaller pieces since these are pretty rich and even a small square feels like a proper treat.
Keeping It Fresh
These cheesecake squares stay good in the fridge for up to 5 days if you keep them in a sealed container. If you want to save them longer, freeze individual pieces on a tray until hard, then put them in a freezer bag. Let them thaw in the fridge overnight before eating. They hold up amazingly well to freezing, so they're great for making ahead when you know you'll be busy.
Ways To Switch It Up
While regular Oreos give you that classic cookies and cream taste, you can definitely play around with different flavors. Try mint Oreos for something refreshing or peanut butter ones for a nutty flavor. You can also change up the chocolate topping – white chocolate looks striking or dark chocolate gives a richer taste. For grown-up parties, try adding a spoonful of coffee liqueur to the filling for a fancy mocha version adults will really enjoy.
 Save
Save
Recipe FAQs
- → What's the best way to store these Oreo bars?
Keep them in a sealed container in your fridge for up to five days. They're best served straight from the fridge for the ideal texture.
- → Can I swap the Oreo crust for a different one?
Sure thing! Use graham crackers or any kind of chocolate cookie, though it might taste a bit different.
- → Could I make these bars ahead of time?
You bet! The overnight chilling time makes them perfect for prepping a day in advance.
- → What’s a good substitute for heavy cream in the filling?
You can swap in whipping cream. Stay away from single cream, since it doesn't give the same texture.
- → Are these bars freezer-friendly?
Yep! They last up to two months in the freezer. Wrap them well in plastic wrap and foil, then defrost in the fridge when ready to eat.