
 Save
Save
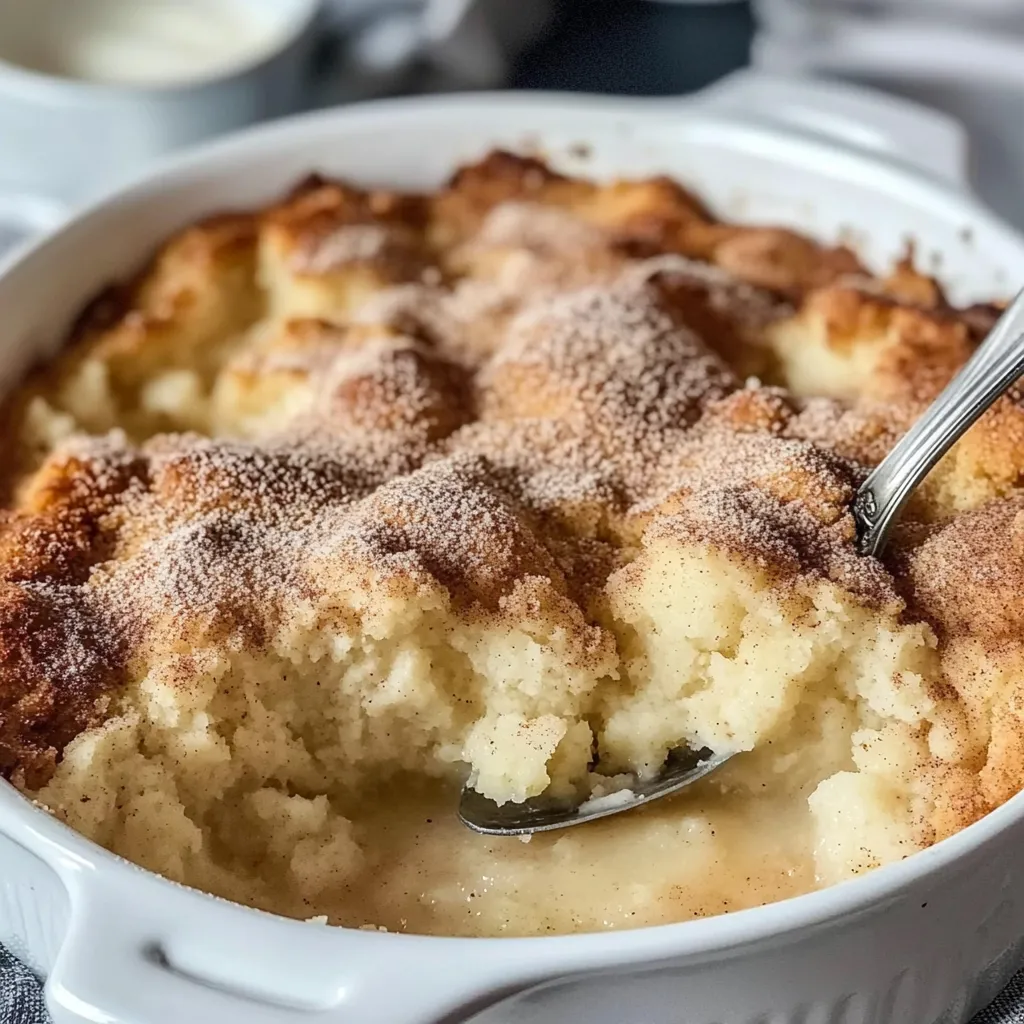
Snickerdoodle cobbler flips basic pantry staples into a cozy sweet with surprisingly different layers in every bite. You get that old-school cookie vibe from the cinnamon-sugar, but the crazy way you put it together means you end up with a crackly golden top and a pudding-like base underneath. Each scoop has a bit of crunch, some fluffy cake, and gooey sauce, so you’ll want to dive back in for more.
I whipped this together for my crew during a Christmas get-together when I was short on time. The house smelled like warm cinnamon and sugar—everyone was peeking into the kitchen before it even finished baking. Funniest part? My brother-in-law, who usually skips sweets, came back for seconds and wouldn’t leave without the how-to.
Delicious Cobbler Parts
- Hot water: Needs to be hot! Pouring it on top creates the saucy layer under everything else.
- Brown sugar: Makes that gooey caramel-like part at the bottom. Dark brown gives a punchier flavor if you’ve got it.
- Cinnamon: This is what brings the snickerdoodle magic. Go for the good stuff if you can.
- Salt: Tossing in a touch perks up all the flavors so the dessert isn’t flat.
- Baking powder: Fresh is best. A flat cobbler means old powder—check before you start.
- All-purpose flour: You need it to get that soft cake layer. Scoop and level for best results.
- Granulated sugar: Sweetens and helps the cake fluff up.
- Vanilla extract: Real vanilla adds warmth that makes the cinnamon sing. If you only have imitation, that still works.
- Whole milk: Gives richness and moistness throughout. The fat is key for a delicate crumb.
- Butter: Use unsalted if possible, so you can control how salty things get. Melt it so you get that golden, crackly finish on top.
Baking Magic In Action
Getting Set Up
Have your oven nice and hot before you start anything else. If it’s not up to temp, you’ll miss out on that puff and lovely caramel color. Pour the melted butter all over the bottom of your dish—it’s what makes the layers do their thing.
Mixing Batter
Start with the wet ingredients and whisk ‘til the sugar starts to dissolve. Gently add the dry stuff and don’t stir too long. Stop as soon as you can’t see dry flour. Go easy—overmixing makes it chewy, and we want it tender.
Stacking Layers
Spoon the batter gently across the melted butter so the two don’t combine. Keeping the layers separate is what creates the cool texture. Sprinkle brown sugar over the top, covering it all—that’s how you get saucy goodness under the cake.
Adding The Water
Slowly pour the hot water over everything, careful not to break through the batter. Don’t worry, it’ll look weird now but turns into that dreamy sauce as it bakes. Important: don’t stir—it needs to stay in layers.
How To Bake
Pull it from the oven once the top’s golden and the center jiggles just a little. Don’t fret if it looks unset in the middle; it’ll finish as it sits. Right away, sprinkle the cinnamon-sugar mix while it’s hot and sticky so it melts in perfectly.
 Save
Save
The first time I tried this, pouring hot water on raw batter sounded wild. I almost skipped it! Glad I trusted the method, because baking really works some science magic here. Now, my family asks for this every fall, and that cinnamon smell feels like instant autumn and comfort.
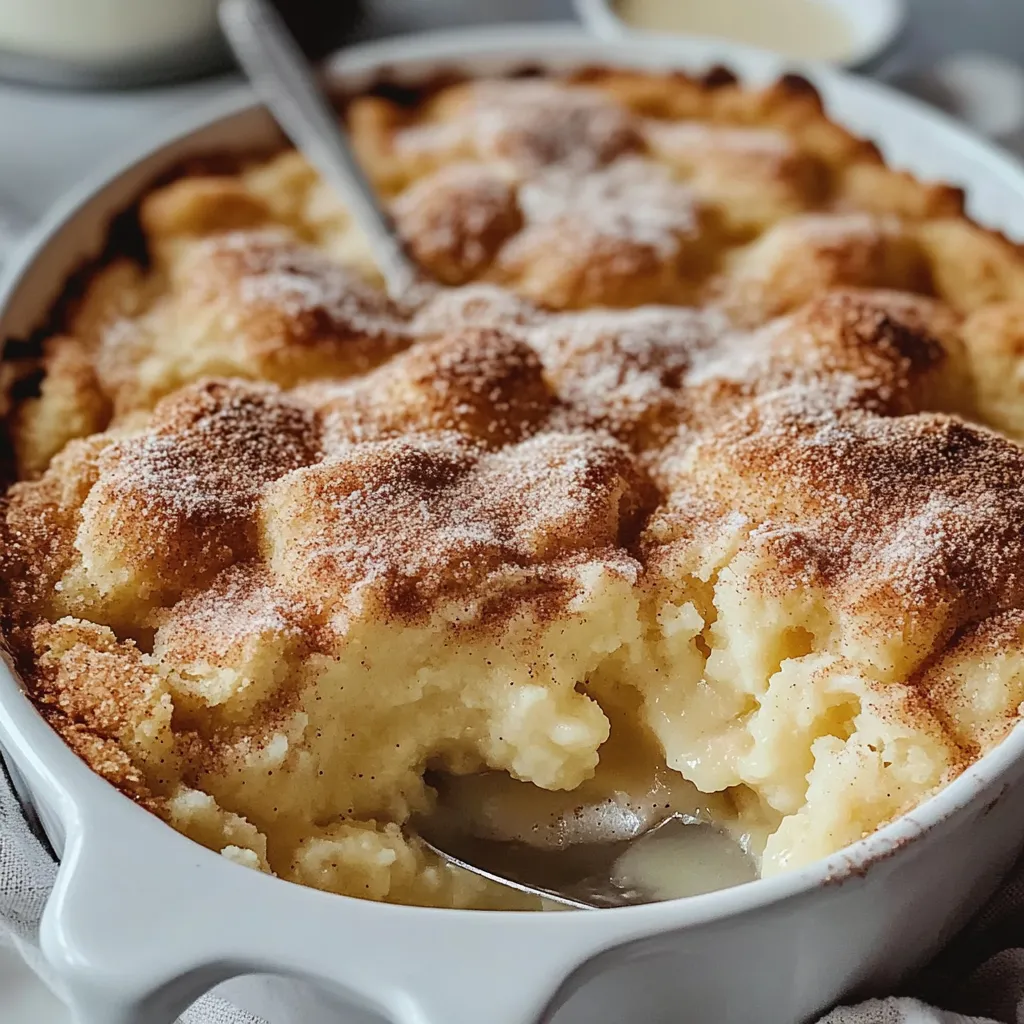
This dessert is secretly all about science. As soon as you lay down that hot water and sugar, you’ve got a super-sweet solution hanging out below. While it bakes, the top parts turn to cake and crisp up thanks to butter, while the bottom thickens up into saucy pudding. The layers never mix, and that’s where the magic comes in.
The dish you use makes a big difference in texture. Glass pans cook slower but keep heat longer, so you’ll get a softer, even bake—not as crisp on the edge. Metal heats up quick, making the edges caramelize fast, but watch close so nothing burns. Ceramic is kind of in-between: good hold, nice browning.
Tasty Pairings
This cinnamon treat is awesome with something cool and creamy. Vanilla ice cream on top starts melting the second it hits the warm cobbler. You get cold ice cream, gooey sauce, and warm cake in every spoon. Total comfort food upgrade.
Try serving in big, shallow bowls that leave room for toppings. This way, you can layer everything up and guests can scoop way more topping if they like. If you warm the bowls first, your dessert stays toasty longer.
Want to take it up a notch? Set out a little DIY topping station—think whipped cream, caramel, toasted nuts, fresh fruit—so everyone can make their own bowl the way they want it. The snickerdoodle flavor goes well with almost anything you add.
Tasty Makeovers
Chop up some apple and fold it into the batter for major fall vibes. The pieces get soft as it bakes and bring a gentle fruity kick to pair with the cinnamon.
If you love chocolate, mix a handful of chocolate chips into the batter and toss a spoonful of cocoa powder with the dry stuff. You’ll get little puddles of melty chocolate without losing that cinnamon-sugar thing.
If you want a bigger cinnamon punch, swap in cinnamon extract for vanilla or go wild and use both. Feel like mixing it up? Try a dash of cardamom or ginger to change the whole mood but keep it comfy and familiar.
Storing Fresh
Leave extra cobbler out on the counter covered in foil for two days max. This keeps the top crisp but stops it from drying out. Don’t worry, the texture changes a bit but it’s still awesome.
If you need to keep it longer, stick it in the fridge (cover well so it doesn’t taste like last night’s dinner). It’ll firm up cold, but the flavor stays strong. Let it sit out before reheating so it warms through evenly.
Warm leftovers make a killer breakfast—just heat and top with Greek yogurt. The combo of creamy, tangy, and sweet is next-level and sneaks in some protein, too.
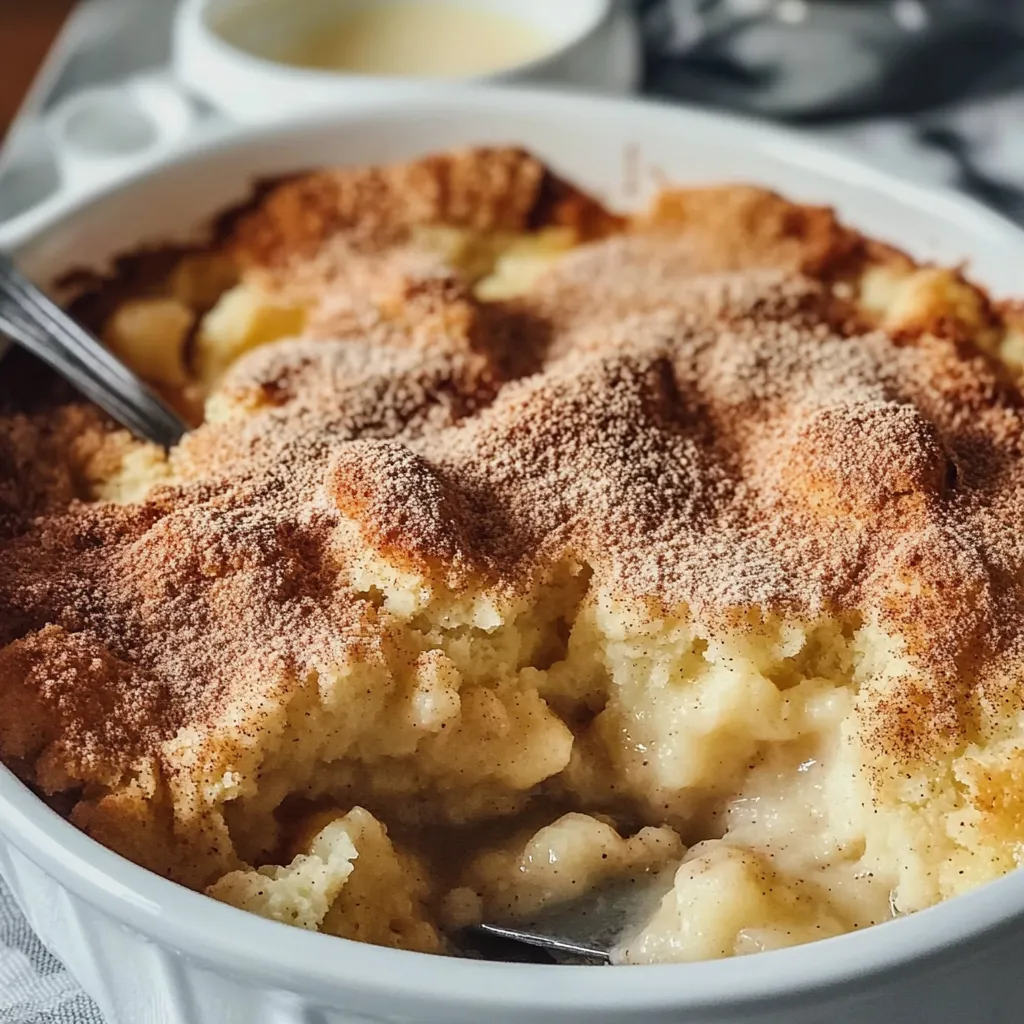
The best part about this cobbler is how basic stuff turns into something really special. Watching the layers form is half the fun—crusty on top, soft in the middle, melty on the bottom—all without tricky steps. I’ve made this so many times, and people are always amazed. You don’t need fancy skills or expensive ingredients; it’s all about how the basics come together to make a crazy good dessert.
 Save
Save
Recipe FAQs
- → Can I prepare this dish in advance?
- Sure! Put it together the day before and keep it chilled in the fridge. When you’re ready to enjoy, reheat in the microwave for 30 seconds per serving or pop the whole dish in a 300°F oven for 15 minutes.
- → What’s the deal with pouring hot water on top?
- The water goes to the bottom while it bakes, making that delicious gooey layer underneath. It might sound odd, but trust me, it’s the magic behind what makes this dish special!
- → Any ideas for serving suggestions?
- Vanilla ice cream is always a winner, but whipped cream, caramel sauce, or a sprinkle of powdered sugar work too. For a twist, try it with cinnamon ice cream or even cream cheese frosting.
- → Can I swap salted butter for unsalted?
- Sure thing! Just cut back on the added salt to about 1/4 teaspoon to keep the flavors balanced and prevent it from being overly salty.
- → How do I know if it’s fully baked?
- The top should turn golden and feel firm when you touch it gently. The middle might seem a bit soft, but don’t worry—it’ll set more as it cools. A toothpick should come out mostly clean with maybe a crumb or two.