
 Save
Save
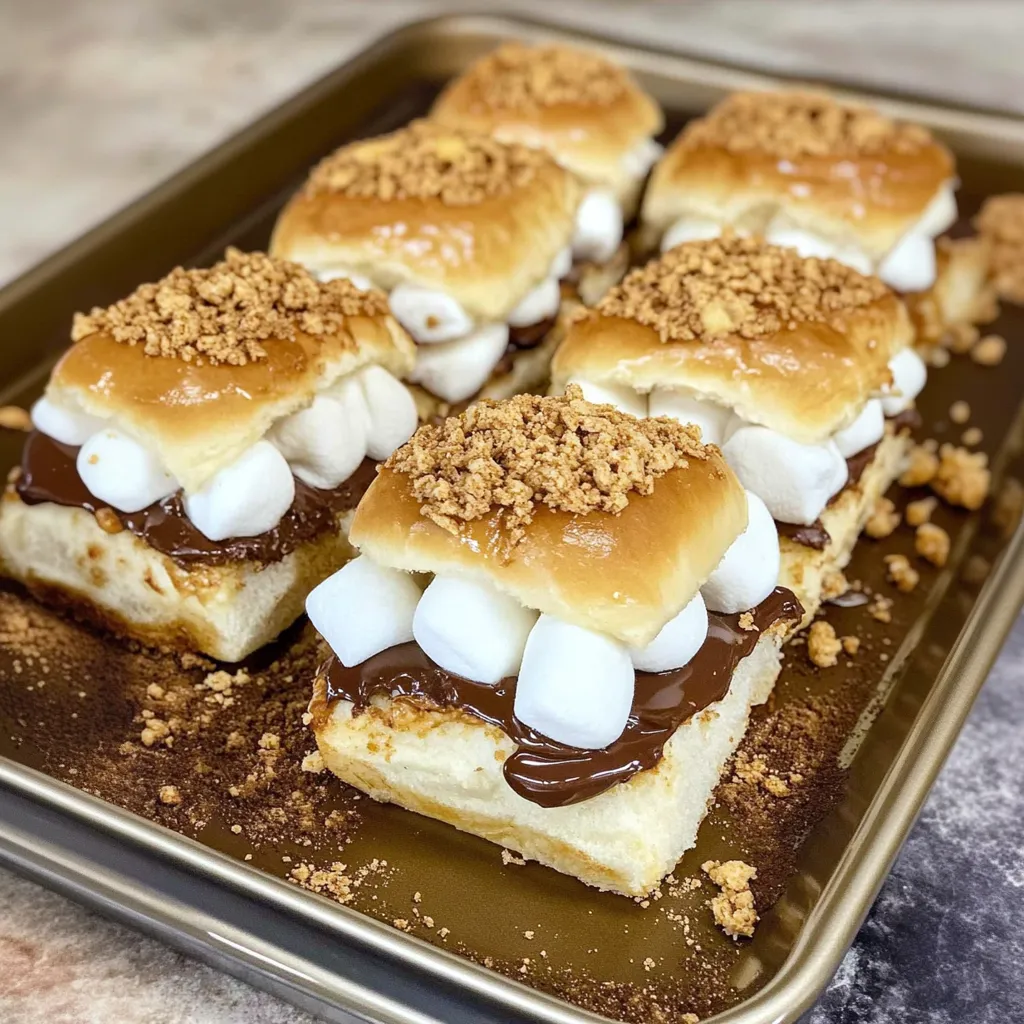
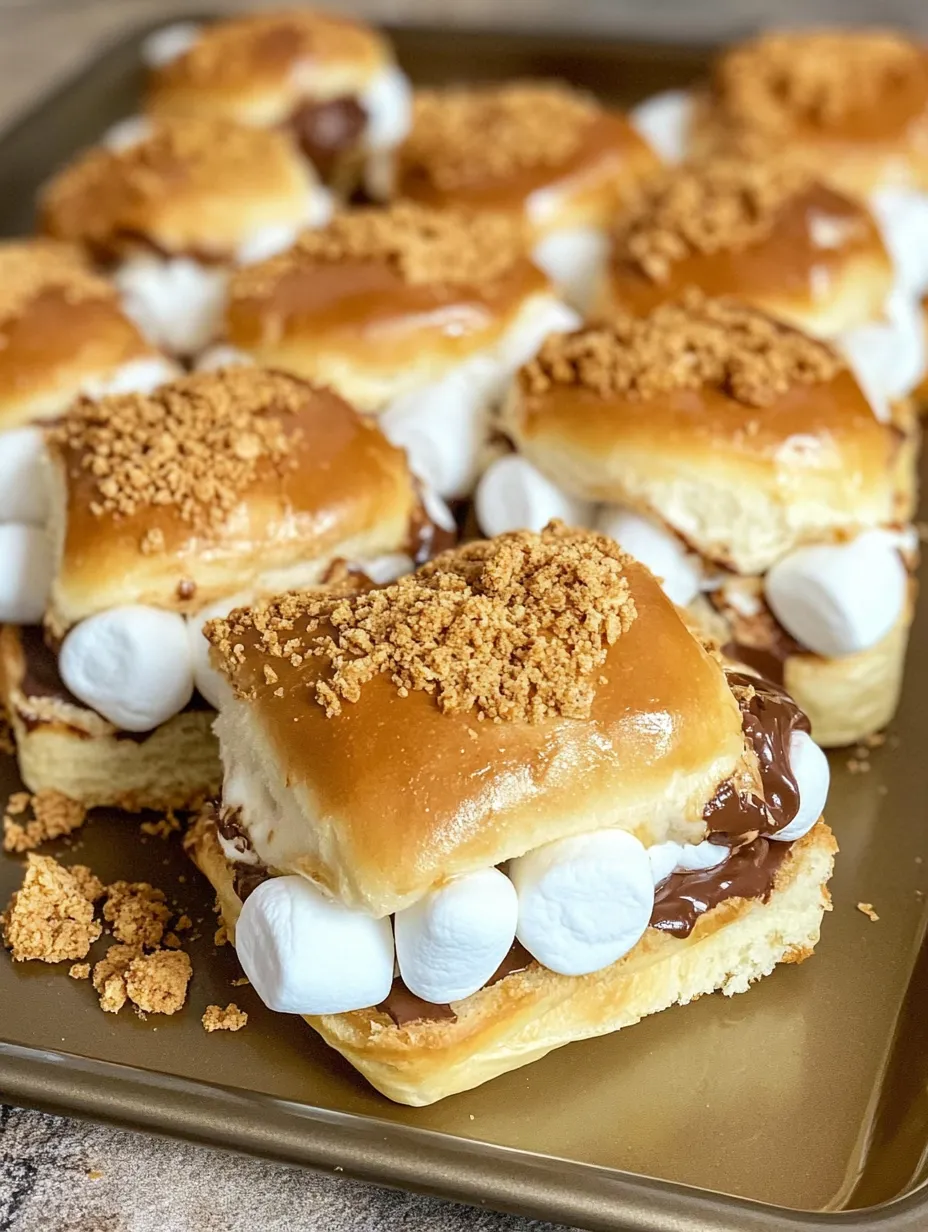
Turn s'mores into easy pull-apart goodness you can make right in the oven. Fluffy slider buns, sticky toasted marshmallows, melty chocolate, and crunchy graham crackers get squished together so everyone at your table gets a gooey bite. Feeds a whole bunch and brings those fun camp vibes home—no smoky fire needed.
We first whipped these up during my nephew’s birthday when rain wiped out our backyard s’mores night. The kids all raved and honestly, these always get requested at our family get-togethers now. Sometimes, things just work out better than planned!
Tasty Ingredients
- 12 dinner rolls or slider buns: Easy way to load in all the fillings
- 3 regular chocolate bars (about 100g each): Use something good since it’s melting
- 20 marshmallows, big ones: Fresh is best for that melty layer
- 8 graham crackers: Crush some for the middle, save some for on top, keeps the crunch alive
- 3 tablespoons melted butter: Helps crisp the tops and makes the graham bits stick
No-Fuss How-To
- Let Everything Cool a Bit:
- After baking, leave sliders alone for a couple minutes so chocolate firms up just enough. That way, they’re way easier to grab and eat.
- Toss on the Graham Topping:
- Sprinkle that buttery graham mix across the tops of all the buns, then pop ’em back in the oven. Toast for 4 or 5 more minutes so the tops get golden.
- Make the Graham Mix:
- Crush your last 2 graham crackers into chunks and mix with your leftover melted butter so they’re all coated. This makes the crunch for the top.
- Butter Those Bun Tops:
- Brush melted butter over the tops after you put the lids on. It’ll help everything brown up nice and let the topping stick.
- Stick the Bun Lids Back On:
- When the marshmallows are still melty, gently press the bun tops into place so it all stays together.
- Let the Marshmallows Get Toasty:
- Bake everything for 5–6 minutes so marshmallows puff up and go golden—it tastes just like fire-toasted ones.
- Lay Down the Marshmallows:
- Spread marshmallows out so they cover the chocolate and graham chunks—cut the big ones or use minis if you want.
- Get the Graham Layer On:
- Crush up 6 of your graham crackers into chunks and scatter over the chocolate for crunchy texture and that s'mores taste.
- Spread the Chocolate:
- Break up your chocolate bars and cover the buns—you want lots of melty coverage on each slider.
- Split and Set Up Buns:
- Line your sheet pan with foil or parchment, slice all the buns in half, set the tops aside, and keep the bases side by side for easy loading.
- Oven Time:
- Heat your oven to 350°F—just right for melting it all without burning anything. Prep your pan so cleanup is a breeze.
 Save
Save
If you ask me, the magic really comes from those toasted marshmallows. Watch for golden tops—they totally give you those classic, just-off-the-campfire vibes. My daughter always grabs a corner piece for those extra-toasty bits.
Prep in Advance
Go ahead and put together your sliders (don’t bake yet), then cover them up and stick them in the fridge for a day. When it’s time to eat, bake as usual but tack on a couple extra minutes since they’re cold. They taste the best straight from the oven, but this saves you loads of last-minute hassle when hosting.
Tasty Swaps
Take things up a notch by trying fancy chocolate—think sea salt dark chocolate or bars with toffee. Plain milk chocolate always wins, but switching it up is a fun surprise. You could even spread on some chocolate hazelnut stuff instead of bars for an extra creamy center.
How to Serve Them
These sliders totally shine after a cookout. For brunch, pair with fresh berries and your morning coffee. They’re perfect for the dessert table at a party too. Want a big treat? Drop a scoop of vanilla ice cream next to a warm slider and wait for the happy faces.
 Save
Save
Recipe FAQs
- → Is it okay to swap large marshmallows with smaller ones?
Yep! Mini marshmallows will totally work and make it easier to spread them evenly.
- → What kind of chocolate works best?
Go for anything that melts nicely. Milk, dark, or semi-sweet chocolate bars or chips are all great options.
- → Can I get these ready ahead of time?
You can! Put them together in advance, but bake them right before serving to keep the texture perfect and marshmallows soft.
- → What if I don't have graham crackers?
No problem! Digestive biscuits, vanilla cookies, or even crushed pretzels can step in as substitutes.
- → How should I save extras?
Pop leftovers into an airtight container at room temperature. Eat them within a day, and if you want, reheat them briefly in the oven to revive that gooey goodness.
- → Can I use alternative buns for these sliders?
Absolutely! Whole wheat or gluten-free buns are awesome swaps to meet different dietary needs.