
 Save
Save
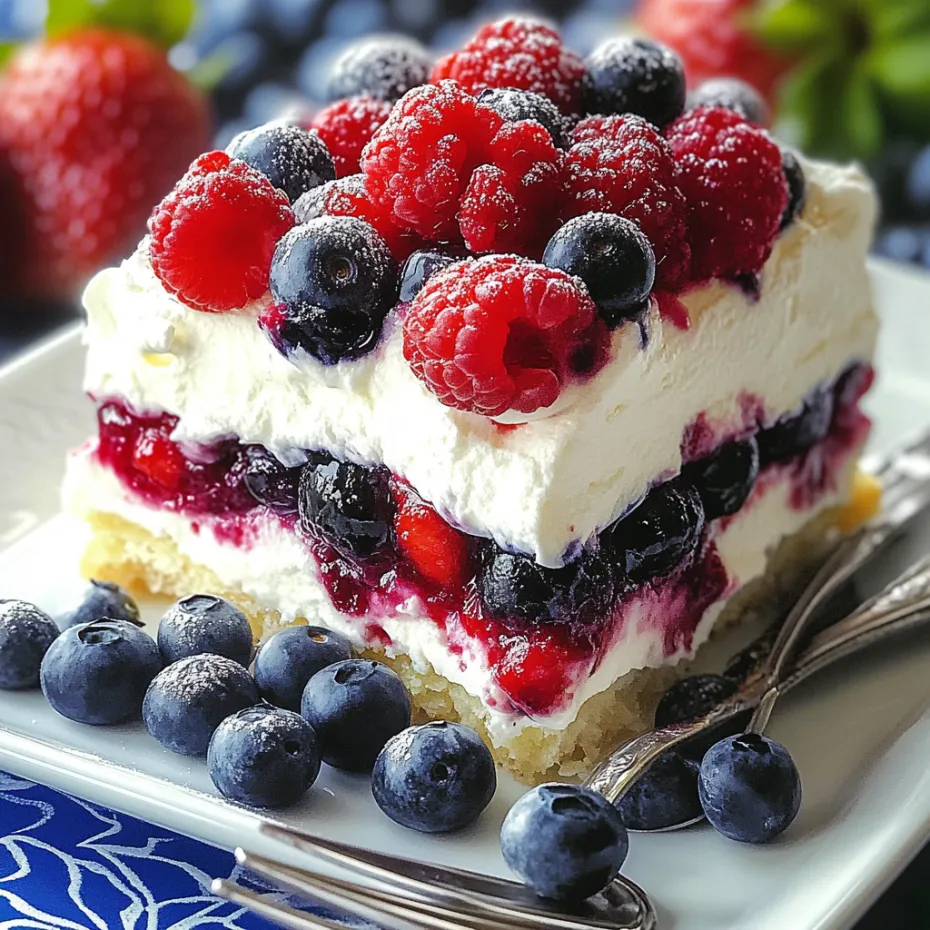
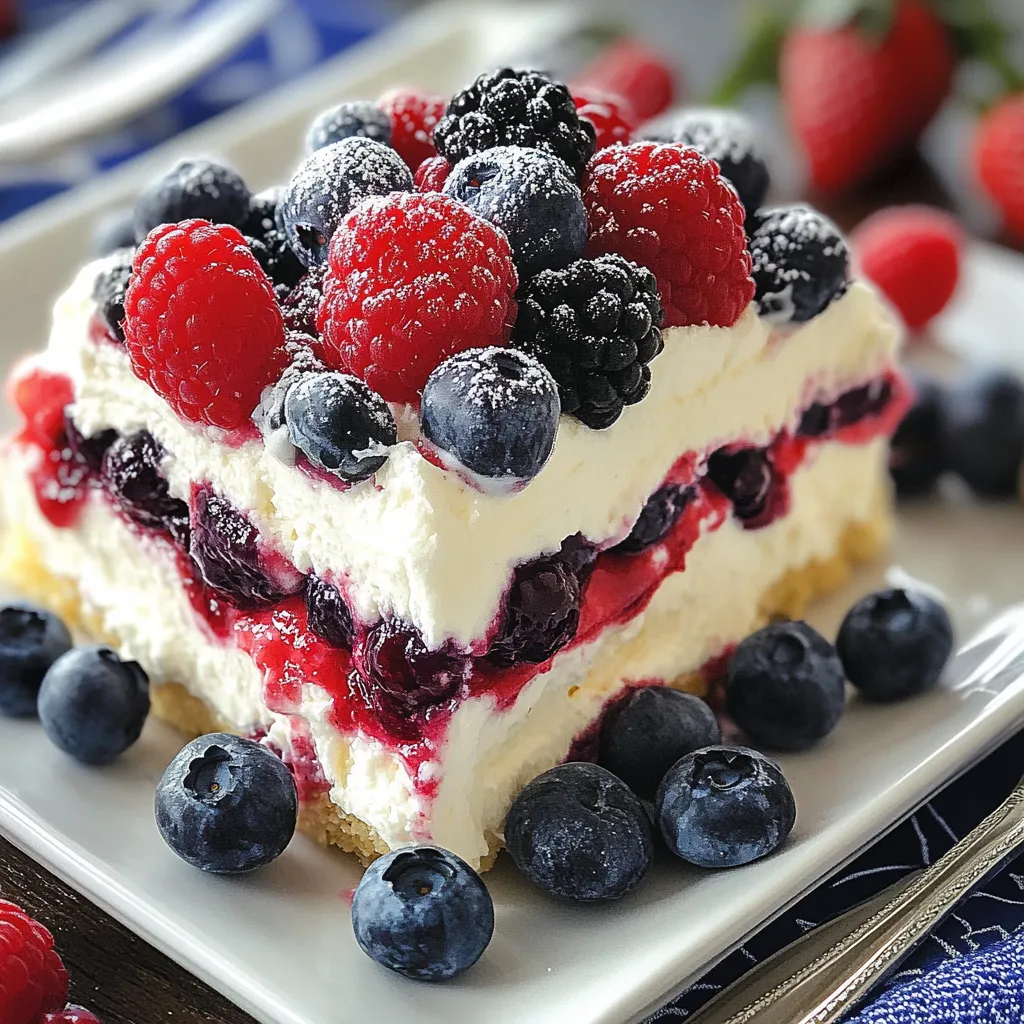
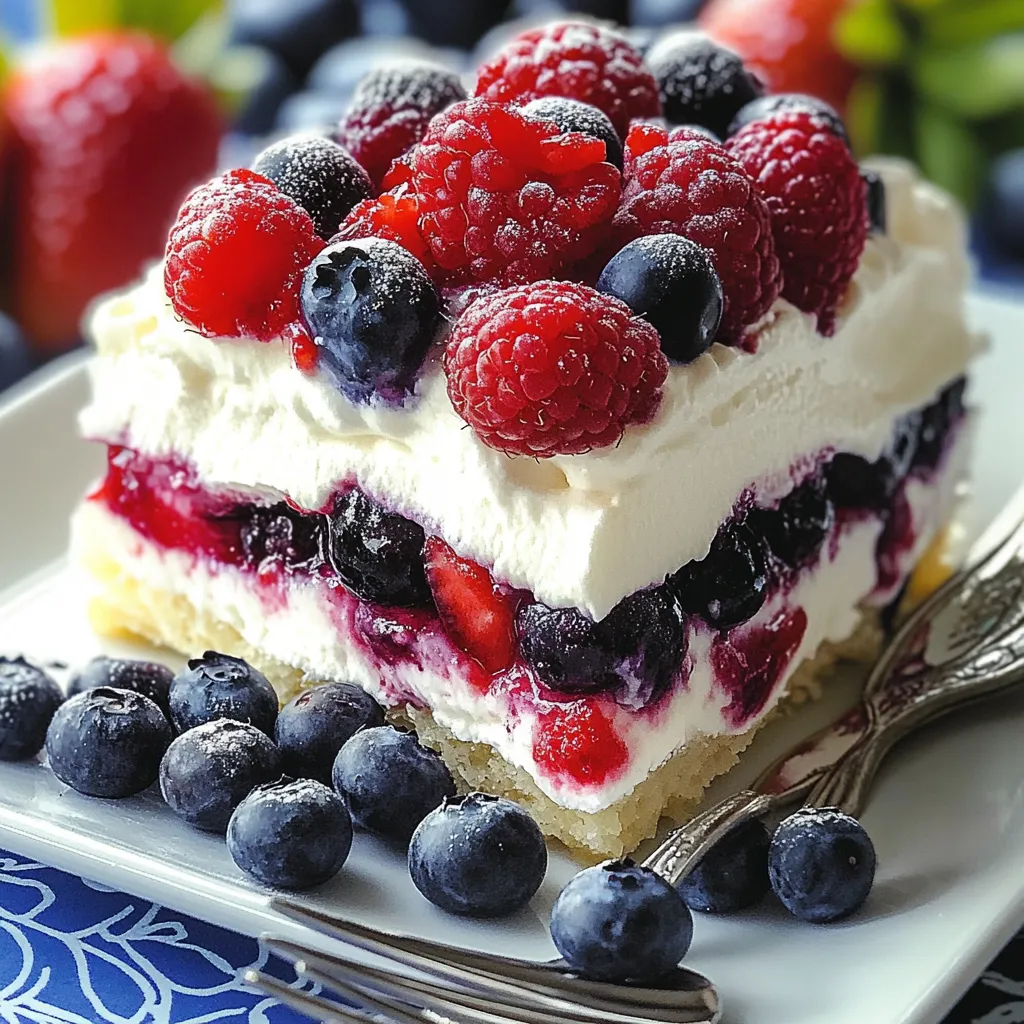
You'll love biting into dreamy cheesecake filling, juicy berries, and a crumbly graham cracker base—all stacked up in layers you don't have to bake. With bold colors of red, white, and blue, it pops on the table, making it a crowd-pleaser at your next summer get-together. The mix of crunchy bottom, creamy center, and fruity top just feels like warm weather in every bite.
I brought this to our July 4th block party and it vanished in no time. Even folks who claimed to be stuffed ended up sneaking a piece. The cool creamy inside plus the berries win people over—especially when it's hot and you don't feel like eating anything heavy.
Irresistible Layers
- Whipped Topping: Makes everything fluffy and light. Store-bought is quick, but homemade takes the flavor up a notch.
- Crushed Pineapple: Gives tiny bursts of tropical taste and a bit of zing that brightens up the blue layer.
- Berry Blue Gelatin: The blue stuff is super simple, sets like a charm, and adds a blast of color.
- Blueberry Pie Filling: Packs real fruit flavor and fun looks. Grabbing a can saves time and makes it easy.
- Graham Cracker Crumbs: This is your base—the crunchy start. Crushing them up yourself tastes fresher and you get the crunch just right, but pre-crushed is handy.
- Strawberry Jam: If you want more berry flavor, stir in some jam. It's up to you, but it really boosts that sweet, berry vibe.
- Powdered Sugar: Sweetens things up without any grittiness. It melts perfectly into the creamy layers.
- Fresh Strawberries: Brings bright color and big flavor. Go for ripe ones that smell great.
- Cream Cheese: Brings tang and richness and makes everything nice and smooth. Full-fat is best, but lighter works too.
- Unsalted Butter: Holds the crust together and adds a rich taste. Melt it all the way so it spreads evenly.
How to Make It
- Proper Setting
- Stick the finished dessert in the fridge for at least 5 hours, or best overnight. Giving it lots of time helps each layer set perfectly and lets the flavors chill together. It should stay sturdy and neat for serving.
- Final Adornment
- Smooth whipped topping over the blue layer, then add strawberries and blueberries on top any way you like. Want to get fancy? A little melted white chocolate drizzled over right before serving makes it extra special.
- Blueberry Layer Assembly
- Mix blueberry pie filling and drained pineapple straight into the cooled blue gelatin. Pour this blue goodness gently over your firm cheesecake layer, making sure it covers everything. Chill the dish until this layer is totally set—plan for a couple hours or more.
- Gelatin Preparation
- Stir the blue gelatin powder into boiling water, keep mixing until completely dissolved. Let it sit at room temp for about 15 minutes, stirring every so often so nothing weird forms on top. You want it still runny but starting to thicken up.
- Strawberry Integration
- Gently fold in your chopped strawberries into that fluffy cheesecake mix, making sure they’re spread all the way through. Spread this over the crust and smooth it out. Put it back in the fridge so it keeps its shape while you move on.
- Cheesecake Development
- Beat your softened cream cheese till it’s super smooth, with zero lumps. Slowly add powdered sugar and a splash of vanilla, beating until really fluffy. You want a soft cloud. Fold in a cup of whipped cream gently to keep things airy.
- Cream Preparation
- If going homemade for whipped cream, whisk heavy cream with a bit of powdered sugar and a splash of vanilla till you get stiff peaks. Keep this chilled. If not, just use the tub version—it’s fast and saves work.
- Crust Foundation
- Stir together graham cracker crumbs and melted butter in a bowl until they’re clumping like wet sand. Add in jam and food coloring if you want, mixing well for even color. Press firmly into a 9x13 pan—use a measuring cup for packed, flat edges. Pop that pan in the freezer while you prep the next bits.
 Save
Save
The first time I tried making this, I hurried through chilling each layer and ended up with a swirly blue mess instead of crisp lines. Now, I always set alarms and let every layer get really cold. Waiting a bit more makes those clean, fancy stripes totally worth it.
Fun Ways to Share
This eye-catcher works great with summer menus. Put it out after burgers and grilled veggies—its chill sweetness is the perfect finish for smoky food. For a festive spread, serve it next to watermelon wedges and a jug of blueberry lemonade for the best red, white, and blue table.
Switch It Up
This dessert is a blank canvas. Want a beachy feel? Swap in kiwi and mango and use coconut whipped cream. Chocolate fans can do an Oreo crust with chocolate pudding for the blue part. For a zesty twist, mix lemon peel into the cheesecake center and swap jam for lemon curd in the base.
Stay Tasty
Keep this cool treat covered in the fridge so it doesn't soak up fridge odors. You'll get the best taste and look for about four days; after that, the base softens a bit. Don't freeze it—the gelatin falls apart and just gets runny. For picture-perfect pieces, slice with a knife dipped in hot water and wiped each time.
 Save
Save
I’ve made this for loads of summer parties and it always nails the sweet spot between looking fancy and being stress-free. It’s great for prepping ahead, and with its summery taste, it suits any BBQ, picnic, or flag-waving holiday. People go nuts for it!
Recipe FAQs
- → Can I prepare this dish in advance?
- Of course! It's a great make-ahead option. Put it together the day before and refrigerate until you're ready to serve. Letting it chill overnight enhances the flavors. Add the fresh berries shortly before serving, or a few hours ahead, to avoid extra juices mixing in.
- → What if I only have frozen berries?
- Fresh berries are the best choice, especially on top, since frozen ones can get too watery. If frozen's all you've got, thaw and drain them completely, then blot with paper towels. Consider adding them to the pudding layer instead of using them as the topping to avoid running colors.
- → Is there an alternative to Cool Whip?
- Sure! If you'd rather skip store-bought whipped topping, you can whip 2 cups of heavy cream with 1/4 cup powdered sugar and a little vanilla extract (around 1 teaspoon) until stiff peaks form. This gives you about the same amount. Just note that homemade whipped cream won't last as long, so it's best served within a day.
- → What's the best way to keep leftovers?
- Pop leftovers in the fridge, covered, and enjoy within 3 days. The crust might soften a bit over time, but it'll still taste wonderful. Freezing isn't a good idea, as the berries and topping don't hold up well once thawed.
- → Can I use a different pan size for this dessert?
- Definitely adjust for your pan! If you've got an 8x8 or 9x9 square dish, just halve the ingredients for a thicker version. For a fancy touch, try individual portions in glasses or ramekins. Simply layer the ingredients while tweaking amounts to fit your containers.