
 Save
Save
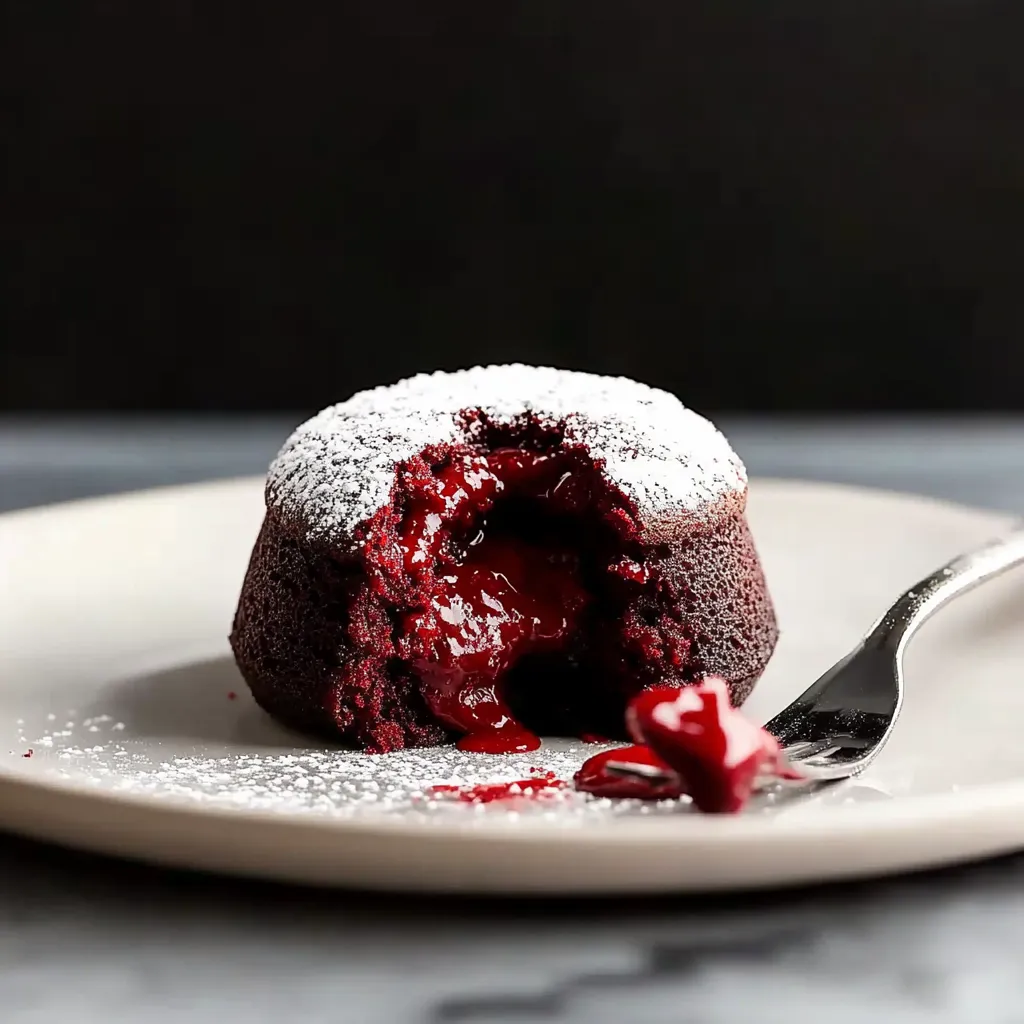
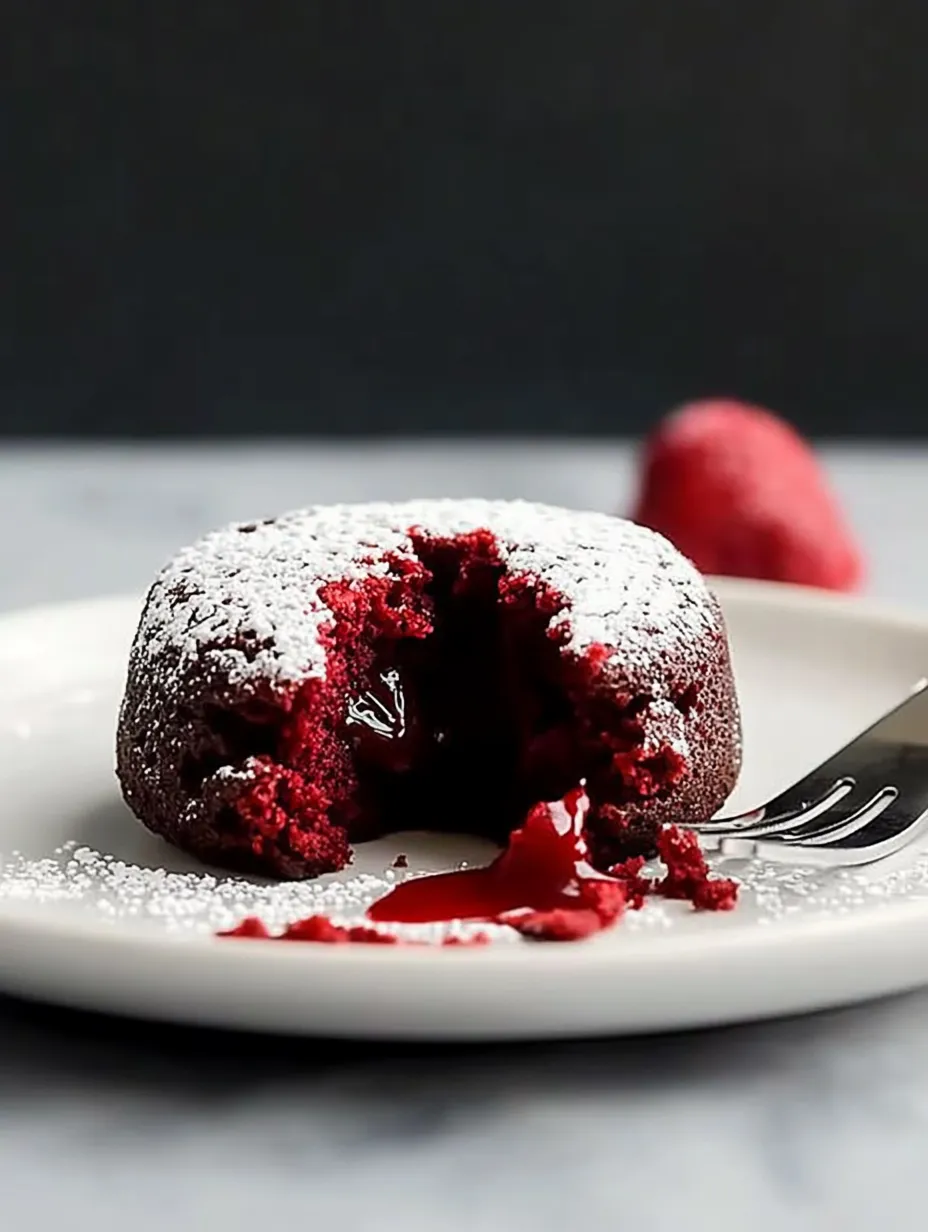
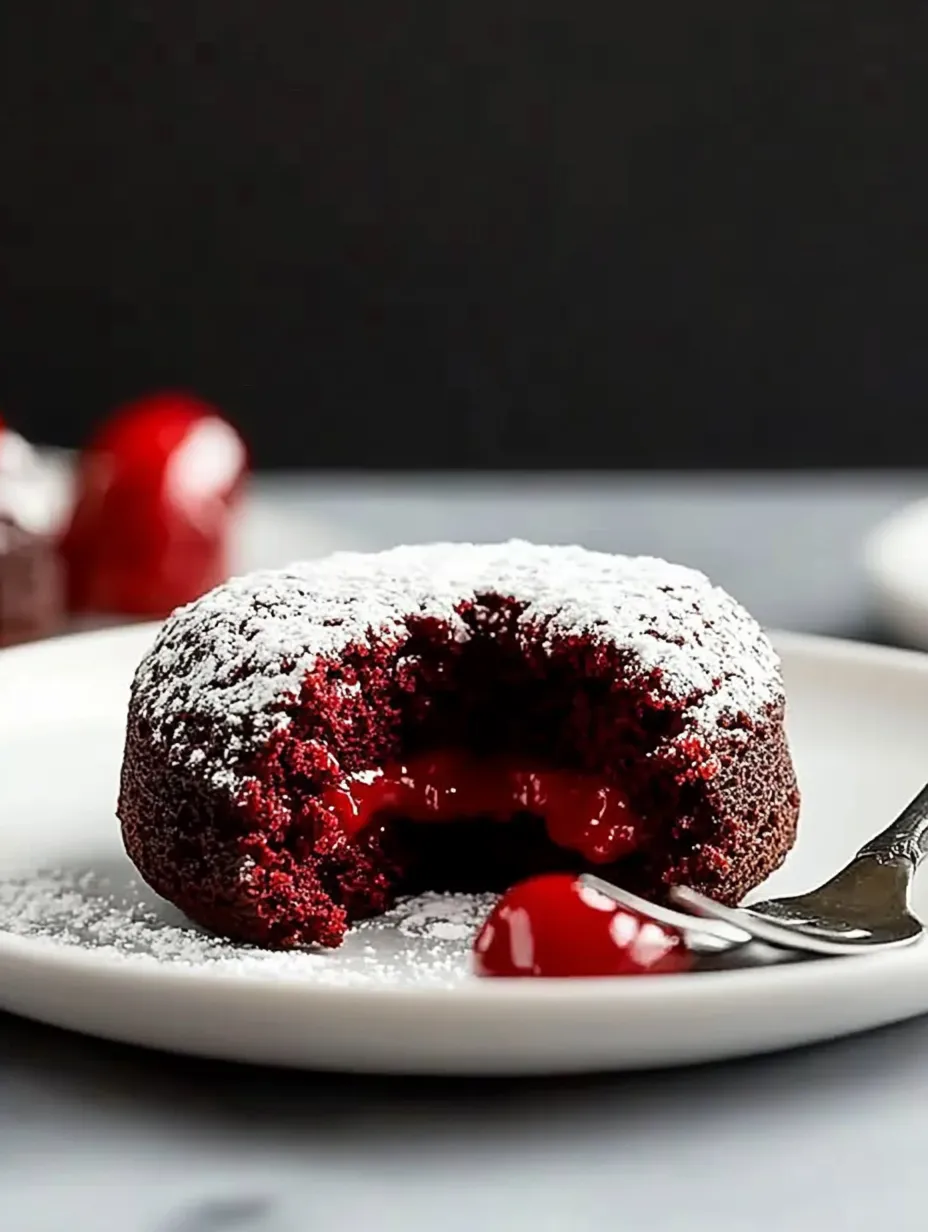
Meet the treat where gooey chocolate lava meets red velvet in the sweetest way. After lots of kitchen fun (and even more taste-testing), I finally landed on the perfect combo: classic red velvet flavor with a melting chocolate center that overflows with every spoonful. It’s pure happiness in each bite.
When I whipped these up for Valentine’s one year, my husband couldn’t get enough of that molten middle. Now, we look forward to making them every February – it’s our go-to jam.
Irresistible Elements
- Eggs at room temperature: Help your cakes rise beautifully
- Pure vanilla: Don’t bother with fake stuff
- Smooth cream cheese: Creamy finishing touch
- Buttermilk: Totally classic for red velvet
- Apple cider vinegar: Adds that little zing
- Cake flour: Keeps it all soft
- Cocoa powder dusting: To prep your baking cups
- Red food coloring: Gives that wow factor
- Rich chocolate: Heart of the molten center
 Save
Save
Dishing Up Molten Delight
- Prep the Cream Cheese:
- Get the cream cheese out first so it’s nice and soft while you work on everything else. Fluffy whipped topping is always better when it’s room temp.
- Shape the Chocolate:
- Chop your chocolate and melt it with cream until smooth. Let it cool in the fridge, then shape into little balls. This gives you that surprise center everyone loves.
- Mix the Cake Batter:
- In one bowl, whisk together your wet team. The other bowl gets your dry stuff (sifting keeps things from getting lumpy). Stir them together just until they’re combined – nobody wants tough cake.
- Assemble and Bake:
- Brush ramekins with butter and then a little cocoa powder. Spoon in the batter, drop those chilled chocolate pieces right in, and boom! Into the oven they go.
Learned the hard way – if you wait to loosen these, they’ll cling like crazy. A quick flip while they’re hot is the secret to a perfect molten moment.
Bold Presentation
These stunning cakes deserve to show off. Use a warm plate to help the center stay extra gooey. Sprinkle a little powdered sugar for that frosted look, and top with the whipped cream cheese just before serving. If you want, add a raspberry for a pop of color. The real wow comes when your friends crack them open and see that chocolate flow.
Fun Twists
I love switching things up now and then. Try dark chocolate for more drama, or settle on white chocolate for a pretty contrast. My kiddo is crazy about peppermint chocolate middles. Got grown-up guests? A little Kahlua in the batter takes things up a notch.
Timing Secrets
Getting these just right is all about timing. Prep your chocolate bits and batter ahead if you want, but give the batter time to lose the fridge chill before baking. Bake for exactly 18 minutes – trust the clock, don’t peek. Don’t try to keep them warm – serve ’em up right away for max impact.
 Save
Save
Want to know why these always make my day? They’re like sending chocolatey little love notes to the table. That moment when the center pours out – it turns any ordinary night into something special. Whether it’s for a holiday or just treating yourself, these always leave everyone grinning. Sometimes, the best desserts are the messy, memory-making kind.
Recipe FAQs
- → Is it possible to make them in advance?
- Yep, you can prepare the chocolate filling a day before and bake the cakes fresh when you're ready to serve.
- → What's the purpose of adding vinegar?
- It reacts with the baking soda and gives the cakes that bold red color.
- → Can I bake these in a muffin tin?
- Ramekins are better if you want to keep the center perfectly molten, but muffin tins could work in a pinch.
- → How can I tell if they're done baking?
- The top should bounce back just a little when tapped lightly.
- → Why should I serve them immediately?
- If they sit too long, the molten center will firm up as it keeps cooking.