
 Save
Save
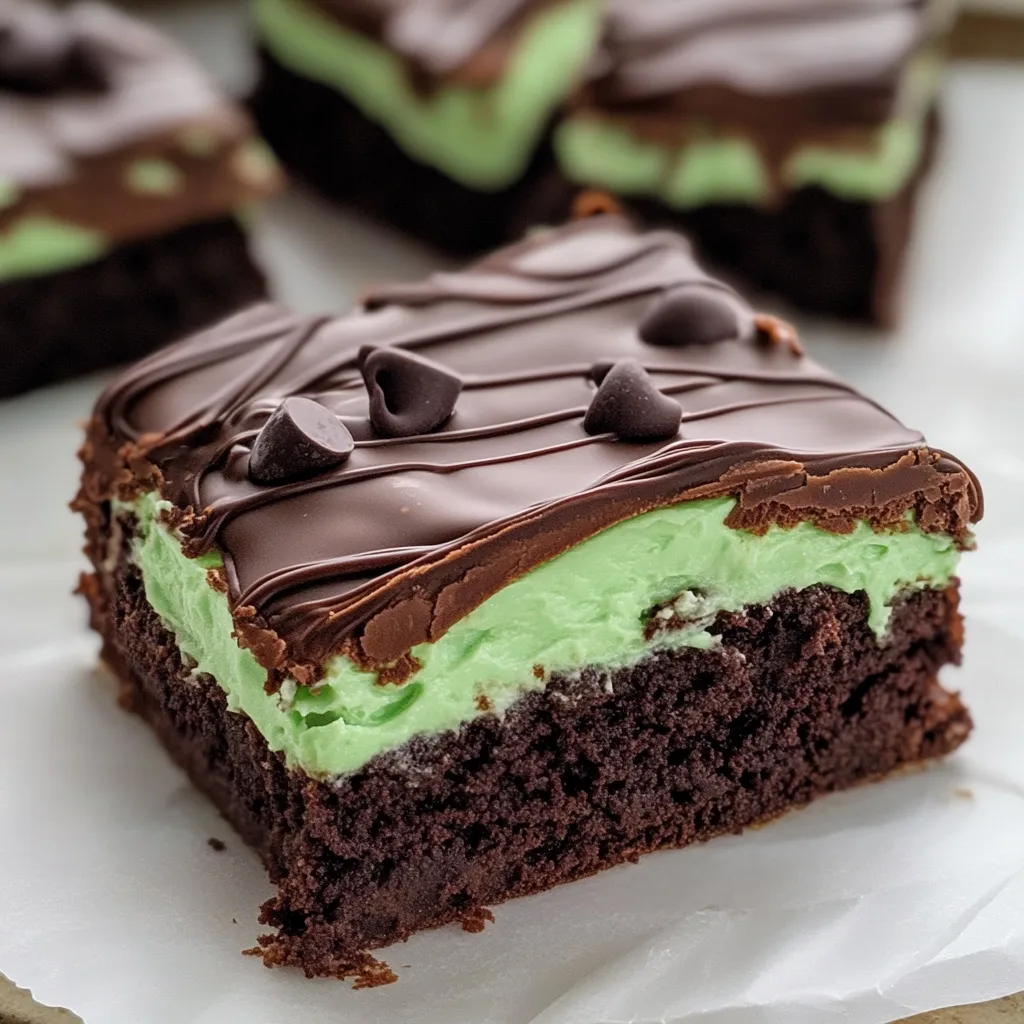
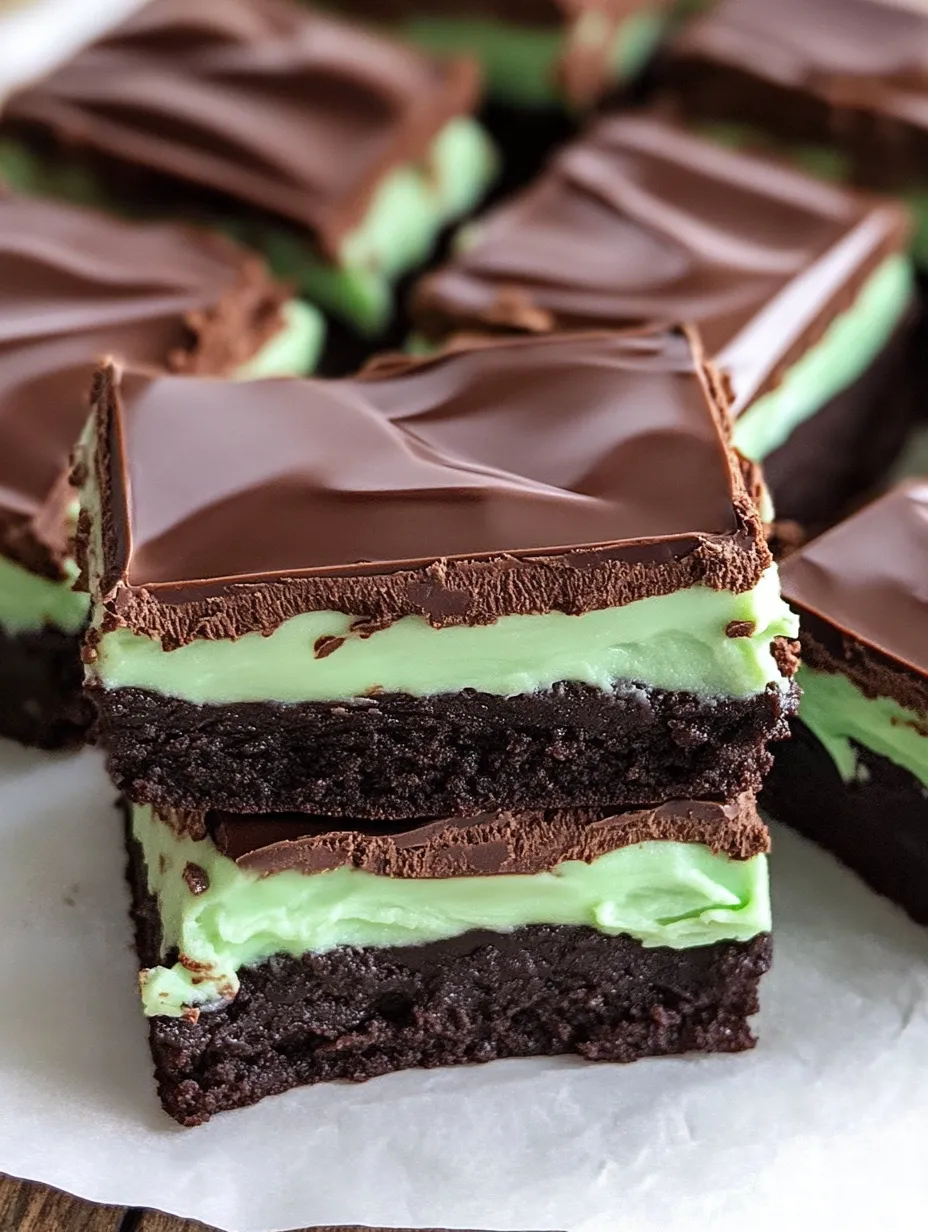
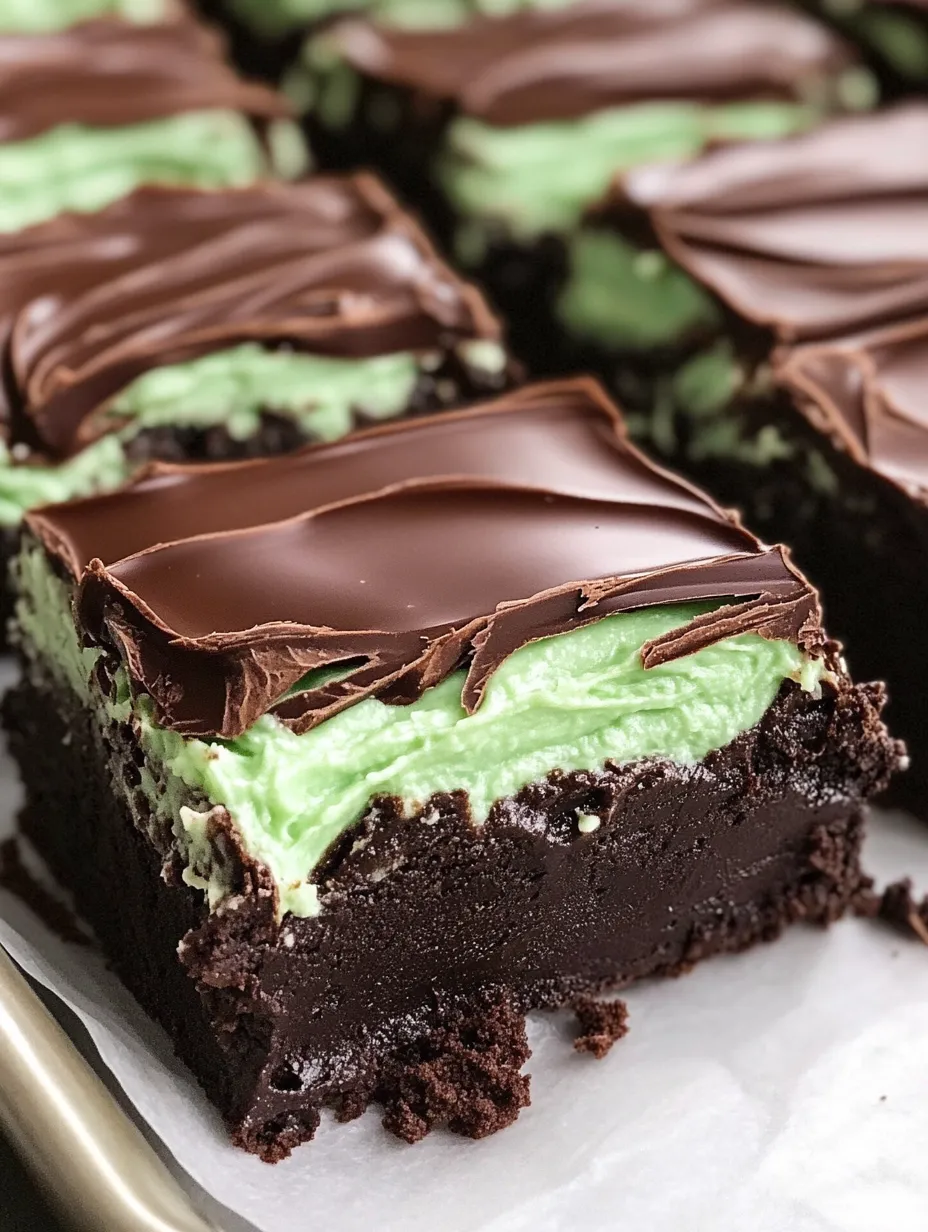
This super minty chocolate brownie treat has totally become my go-to for every holiday hangout. Years ago I went hunting for something that mixed chocolate and mint—my two faves—and stumbled on this. You get a chewy brownie on the bottom, fluffy minty middle, glossy chocolate topping, and everyone just assumes you spent forever making them. They're actually fast to pull together, and the impressive look is so worth that tiny bit of extra work.
I took these along to my in-laws’ Christmas bash last year. Tom—my father-in-law—usually skips everyone’s baked stuff except his wife’s, but he grabbed two pieces and eventually packed up a third to take home. The next day, my mother-in-law even texted asking how to make them because Tom kept raving! Now, I’m officially in charge of bringing these to every family get-together from Thanksgiving right through New Year’s.
Essential Ingredients
- Green food coloring: Totally optional but adding even a little makes that bold minty green you expect. Grab gel food color for the brightest shade without making your frosting runny.
- Heavy cream: Both the ganache layer and frosting need this. The creaminess gives that lush feel and keeps things smooth. Skipping it or swapping milk just doesn't cut it.
- Peppermint extract: Go easy—just a dash gives the perfect chill. Too much and it can taste straight-up like toothpaste! The real deal has way better flavor than fake stuff.
- Semi-sweet chocolate: I’ve tried dark, I’ve tried sweeter, but semi-sweet gives the best combo with the mint. It’s bold without being bitter or too sugary.
- Salted butter: I use this for every layer. I’ve experimented with other kinds, but there’s just something about the salty-sweet combo that’s perfect here without having to mess with adding your own salt.
 Save
Save
Detailed Steps
- Let every layer cool:
- Patience is key! Give each part a chance to set up fully before moving on so you end up with crisp, clean layers instead of a messy swirl.
- Ganache shortcut:
- Dump hot cream right onto your chocolate and let it sit. Don’t microwave both together or you’ll scorch it. The chocolate will melt smoothly from just the heat of the cream.
- Just the right mint:
- Always start with less peppermint than you think you need—then sample a little. Add tiny bit more if needed. Too much can take over the flavor fast.
- Frosting texture:
- Beat your butter on its own for about 3-4 minutes before even adding sugar. Yeah, it sounds long, but it makes that filling dreamy and airy.
- Order of mixing:
- Add your eggs into the chocolate mix at the very end. This way the batter is cooler, and the eggs don’t end up scrambled. Super fudgy every time.
- One-pan brownies:
- Melt your chocolate and butter together for the base so you get brownies that stay chewy and luscious. Be sure to stir and keep your heat low so nothing burns.
I’ve tinkered with this for ages, fiddling with little things every time. I used to go overboard with cheap mint extract and totally drowned out the chocolate. Finding a good brand and using less nailed that mint-chocolate balance. At first I’d slather on too much frosting, but dialing back let all three layers really shine. These amounts get you the ultimate blend of decadent brownie, mint fluff, and chocolate cover—nothing overshadows the rest.
Fun Ways to Serve
Chill these and slice for the prettiest bars and coolest color contrast. Add fresh mint leaves or a sprinkle of cocoa on top if you want to get fancy. For the holidays, I throw on silver sprinkles before the topping hardens—they look sparkly and fun. They’re perfect with coffee or milk, and if adults are around, a splash of Baileys or Kahlúa on the side is next-level good.
Flavor Upgrades
Mix in a pinch of espresso powder to the brownie part—brings out the chocolate flavor without making them taste like coffee. For holidays, smash up some candy canes and scatter over the top before the chocolate sets for crunch and color. Switch the ganache up by using white chocolate for a totally different vibe next to the minty middle. If you want something grown-up, swap in crème de menthe liqueur for the peppermint in your frosting.
Keep It Fresh
After they're chilled and set, stash your brownies in a sealed container in the fridge. They'll hold up (and get even yummier) for about a week. Want them to last even longer? Cut and layer with parchment in the freezer for up to three months. Just move them to the fridge to thaw the night before you need them. I love making these ahead so party day is easy-breezy.
 Save
Save
I’ve carried these mint brownies to cookouts in July and tree-trimming parties in December. Something about the punchy chocolate and cool mint grabs almost everyone. The green center means they always look party-ready, and they disappear first off any sweets table. What started as a fun taste test has ended up the dish people always request. Sometimes a bit of extra fuss pays back huge, especially when it becomes the treat everyone connects to you!
Recipe FAQs
- → Can I swap out salted butter and use unsalted?
- Sure thing! Add ¼ teaspoon of salt to the batter and a little pinch to the frosting to make up for the difference.
- → What's the best way to tell if the brownies are baked perfectly?
- Stick a toothpick in the center. If it comes out with just a couple of moist crumbs—not wet batter—they're ready. Don’t overbake, or they’ll lose their soft texture.
- → Are these brownies okay to freeze?
- Definitely! They’ll keep in the freezer for up to 3 months. Cut into squares first and stack with parchment paper in an airtight box.
- → What’s the trick to slicing these brownies cleanly?
- Use a knife warmed under hot water, then dried off. Cut through the layers after chilling the brownies for a while.
- → Can I use peppermint oil instead of the extract?
- Yes, you can! But don’t overdo it—use just about ¼ teaspoon since it’s stronger than the extract.