
 Save
Save
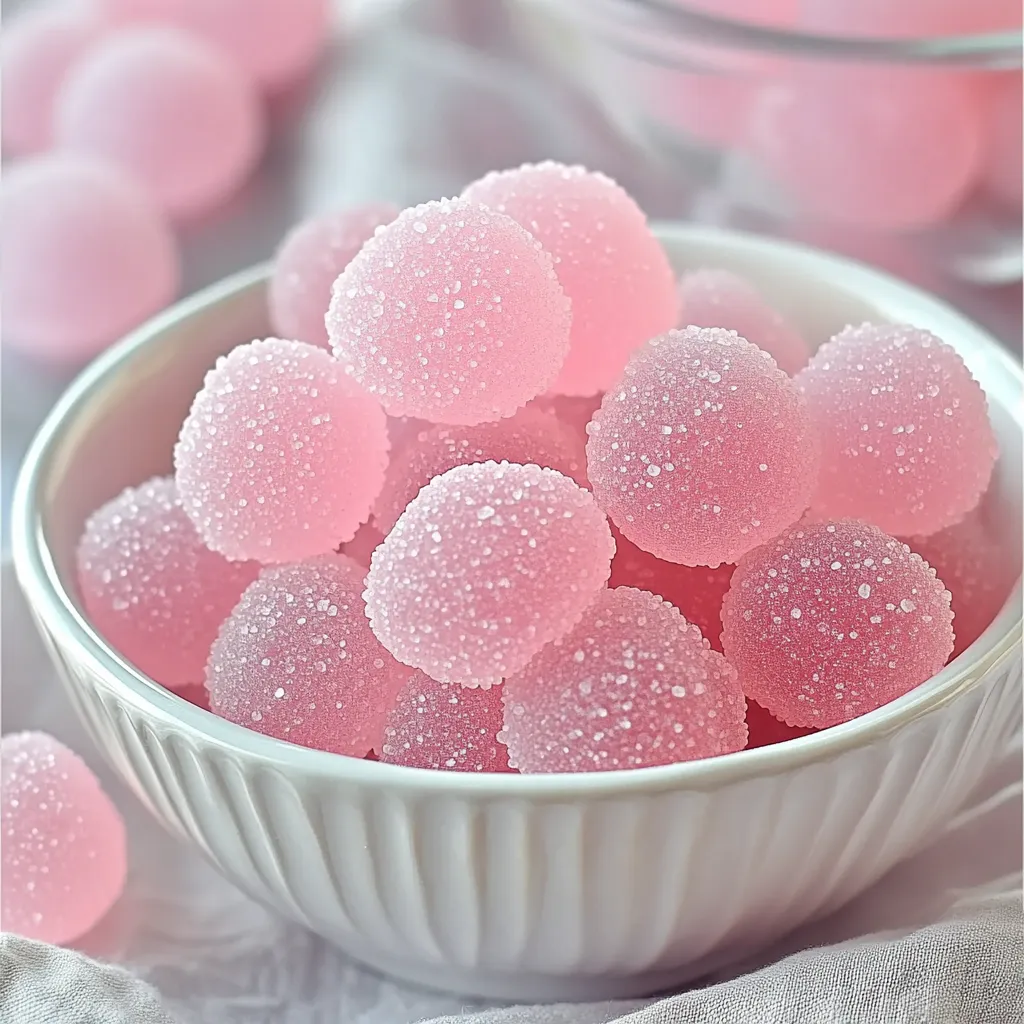
Homemade bubble gum gives you that classic playground gooey sweetness right in your own kitchen, and it's way easier than it sounds. Mixing simple stuff into chewy, stretchy gum is super fun and feels kind of magical. When you make it yourself, you pick all the flavors, colors, and exactly what goes inside. It's a cool kitchen project and lets you chomp on a treat that's truly yours.
Irresistible Bubble Gum
The first time I whipped up my own bubble gum was a summer with my nieces and nephews. At first they didn’t really believe it would work. But once everything started coming together, their faces totally lit up. Watching them blow bubbles from something we threw together was just the greatest. Yes, the kitchen was a mess, but seeing how stoked they were totally made it worth it. Now, my sister-in-law wants this to be a regular thing for family get-togethers — even she can’t resist getting involved because the kids stay so interested the whole time.
Essential Ingredients
- Powdered sugar: Helps keep everything from sticking; sift it so there are no weird lumps when you dust your countertop
- Flavor extracts: Bring the yum; go with oil-based ones to make the taste last longer while you chew
- Food coloring: Makes it look cool; gel ones pack a punch without watering things down
- Fine salt: Ramps up the overall taste; just a tiny sprinkle does the trick, but flaky ones dissolve slowly and could make it gritty
- Unflavored gelatin powder: The secret to that trademark chew; fresh is best, since old gelatin doesn't set well
- Light corn syrup: Gives the gum that stretchy feel; don’t use dark corn syrup or you’ll mess with the color and taste
- White granulated sugar: Makes it sweet; picking extra-fine sugar means it melts in faster and the gum stays smooth
Fun Gum Steps
- Splitting It Up:
- Rip bite-sized hunks off your gum blob and roll them into balls or flatten into skinny sticks — totally up to you.
- Getting Kneady:
- Douse your table with loads of powdered sugar, then grab your gum mix and squish it with powdered-sugar-covered hands. Keep pushing and folding until it’s all stretchy and pliable.
- Let It Cool:
- Dump the steamy mix onto a silicone mat or pretty much any heat-safe surface, then let it sit a little so you can handle it but it doesn’t get hard.
- Mixing In Flavor:
- Once your syrup’s super hot, toss in the bloomed gelatin, a bit of salt, food coloring, and whatever flavoring you want. Stir it super well so there aren’t any streaks left.
- Taking Off Heat:
- As soon as your thermometer hits that magic number, pull your pan off the burner fast so you don’t burn it, and don’t wait around before the next step since it cools in a snap.
- Hitting the Right Temp:
- Pop a candy thermometer into your pan (don’t touch the bottom!) and let your syrup heat to 300°F — this is non-negotiable for chewy gum!
- Mixing Sugar:
- Throw sugar, corn syrup, and water into a heavy pot, stir gently over medium until the sugar’s fully dissolved — don’t rush this part.
- Gelatin Bloom:
- Sprinkle the gelatin over cold water, let it sit (don’t stir!) until it plumps up and absorbs everything. That’s how it’s done right.
 Save
Save
My grandma always swore by a dab of glycerin to keep homemade candies smooth, so I tried it for my bubble gum, too. It made the gum last longer and got rid of the gritty bits. Last year at our family get-together the cousins held a bubble contest, and my uncle announced that this homemade version took the win over any store pack. That felt awesome.
Sharing Fun
Make any hangout even better by piling homemade bubble gum in vintage-style jars with little scoops. For a kid’s party, set up a color bar with different flavors for guests to pick from, then pack their own bags to take home. At Christmas or Halloween, shape your gum like trees or pumpkins and tuck them in tins lined with cute paper for a special present.
Creative Flavors
Level up your bubble gum with wild flavor combos you won’t find at the corner store. Try coconut plus pineapple for a chewier Pina Colada, or mix a little lavender with honey for something totally different grownups will like. Or, swirl a couple colors together when you’re kneading to get a trippy, changing gum that looks totally different after a few chews.
Keep It Fresh
Wrap up each gum chunk tightly in a bit of waxed paper, then twist the ends so it stays soft. Store everything in a tight container in a cool spot — no sunny windowsills! If you want it to last even longer, stash the container in the fridge. The gum will get a little firmer after chilling, but will soften up once it hits your hands. Skip the freezer though, since that just ruins the texture.
After all these years, making bubble gum from scratch still thrills me. It’s just wild watching basic kitchen staples turn into chewable, blowable fun. My daughter even made it her science fair project, wowing the judges with her samples. Nothing beats seeing someone realize the gum they’re chomping was homemade. Sure, buying it at the store is quick, but mixing up colors and flavors and knowing exactly what’s inside? That’s worth the mess every single time.
 Save
Save
Recipe FAQs
- → Is it okay to swap out granulated sugar?
- It is! Granulated sugar works best, but you can try using brown sugar for a twist in flavor. Just a heads-up, it'll affect the gum's color.
- → What should I do if I don't own a candy thermometer?
- Use the cold water method instead. Drop a tiny amount of the syrup into cold water—if it forms stiff and brittle threads that snap, you're good to go!
- → How long will it stay fresh?
- Seal it up in an airtight container, and your gum's good for up to a couple of weeks. But honestly, it's tastiest during the first few days.
- → Can I make it without animal-based ingredients?
- Sure! Replace the gelatin with agar-agar. It's a plant-based option, though you might need to tweak the amounts (usually the same as gelatin).
- → Why is my gum turning out sticky?
- Sticky gum means it needs more powdered sugar while kneading. Just keep sprinkling small amounts and working it in until it's no longer sticky.
- → Can kids get involved with this?
- Absolutely! Kids can join in by adding colors and flavors, but make sure grown-ups take charge of the cooking since things get super hot.