
 Save
Save
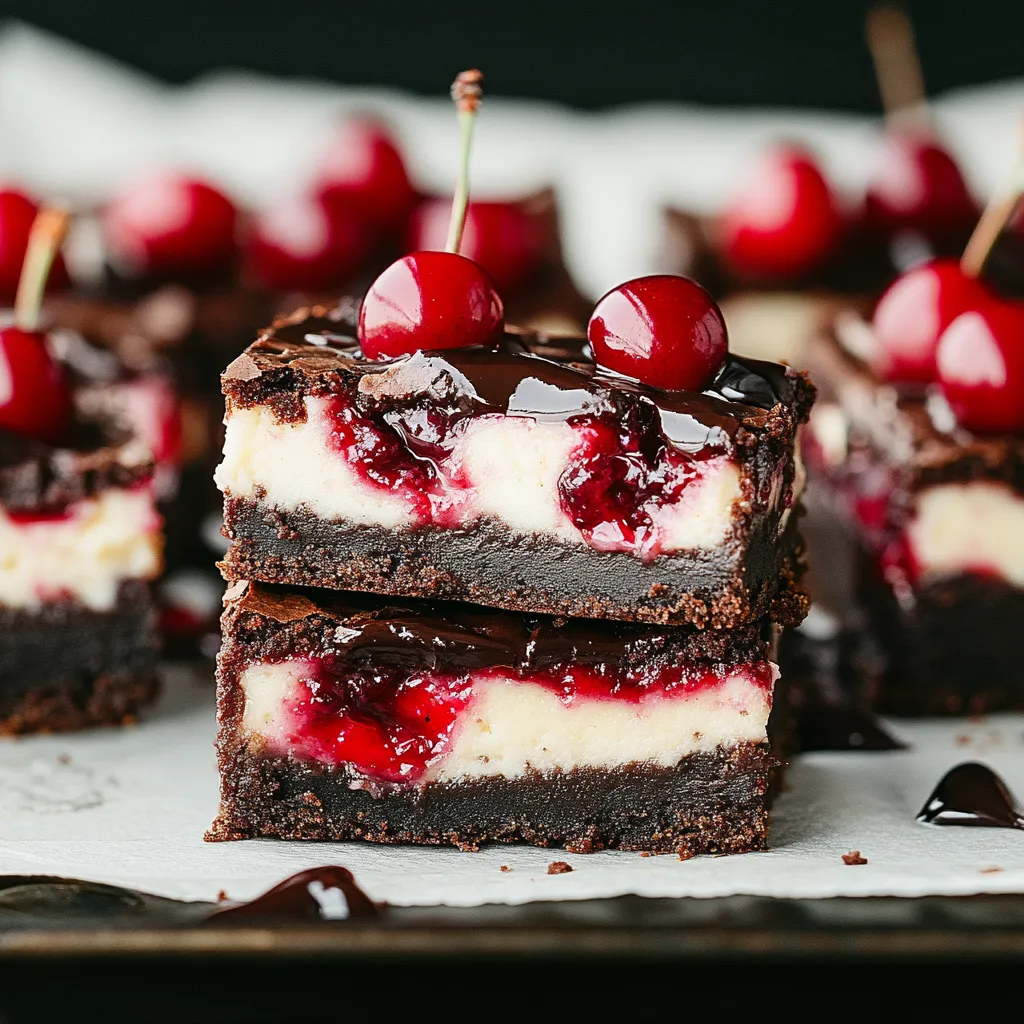
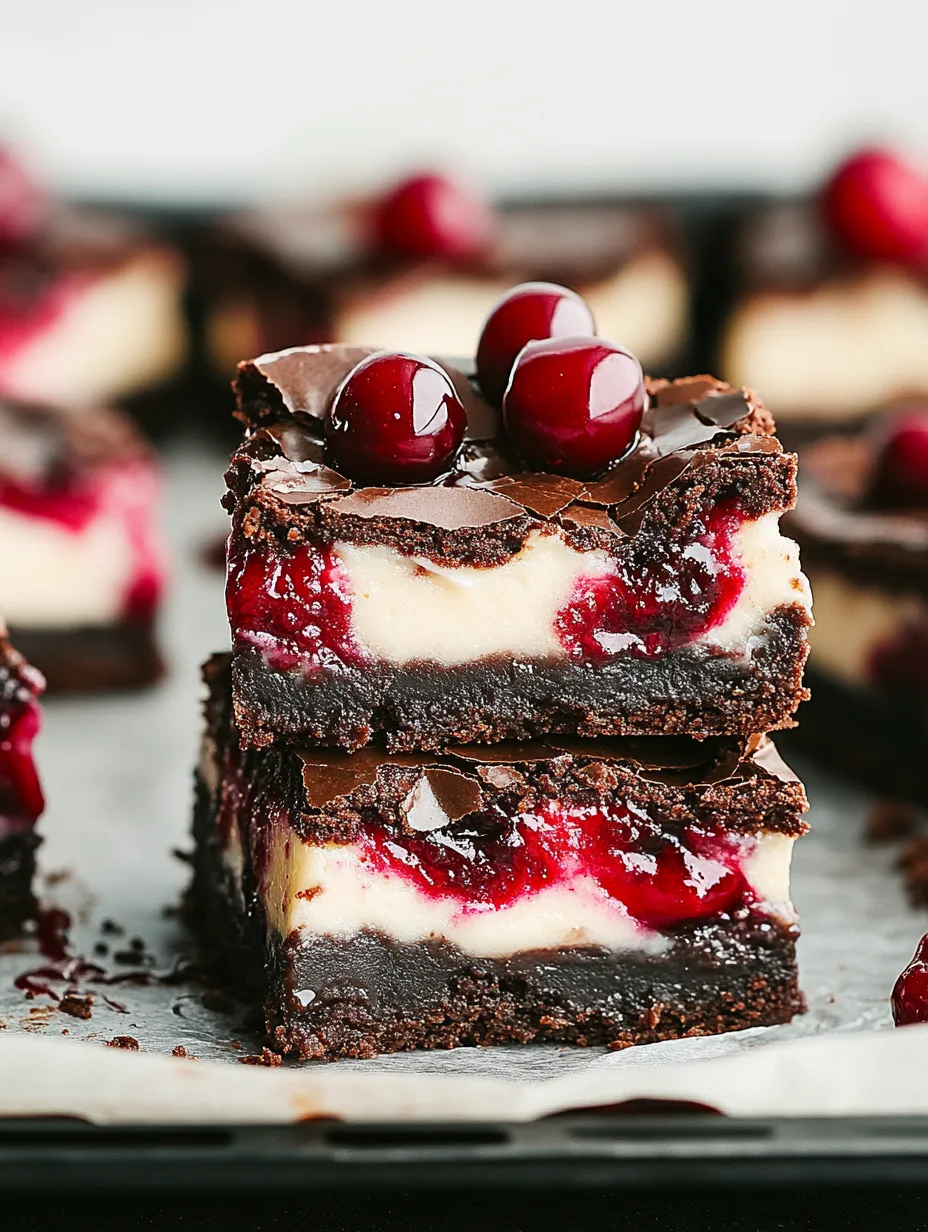
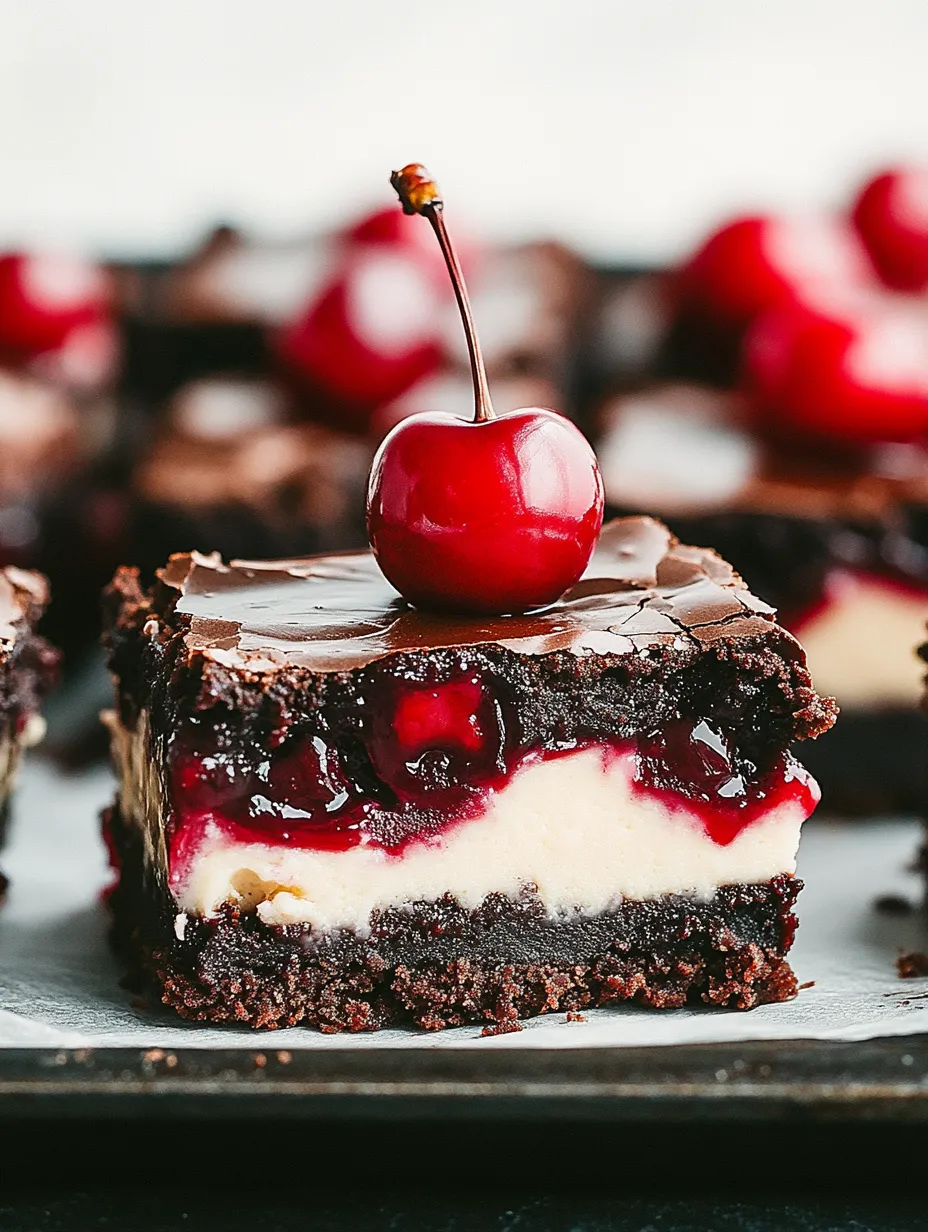
Sometimes you whip up a treat that checks all the boxes and takes your favorites to the next level. That's what these cherry cheesecake brownies do. You've got gooey chocolate on the bottom, velvety cheesecake on top, and tart cherry swirls running through it all. The first time I put them together, I just couldn't pick between classic brownies or cheesecake. So why pick at all? It really works.
When I first brought these out at a family get-together, my cheesecake-loving cousin and my brownie-obsessed sister finally agreed on something sweet. Now they bug me to make these for every party. I always double up the batch since they're the first to go.
Must-Have Ingredients
- Cream cheese: Go for the regular, full-fat stuff
- Cocoa powder: Dutch-style gives a bolder look
- All-purpose flour: Nothing fancy, just regular
- Dark chocolate: Hit at least 60% cocoa, the darker the better
- Vanilla extract: The real deal beats the fake brands
- Fresh eggs: Let them warm up first
- Cherry pie filling: Grab a good jar or cook your own
- Real butter: Helps make those brownies extra gooey
- Sea salt: Makes the chocolate flavor pop
 Save
Save
How To Layer It Up
- Assembly Time:
- Dump the brownie mix in first and spread it all the way out. Spoon blobs of cheesecake over that, then dot on cherry filling. Swirl it all a bit with a knife so you get those pretty streaks. Don't go wild – you want those layers neat.
- Cherry Dreams:
- Going homemade? Simmer cherries and sugar until jammy. Using store kind? Just fluff it up with a spoon so it's spreadable.
- Cheesecake Magic:
- Cream the cheese until it's totally smooth, add sugar and vanilla, and finish up with the egg. Keep beating until it looks thick but easy to spread.
- Brownie Base:
- First, melt down your chocolate with the butter nice and slow. Add sugar, stir until wet and sandy. Beat in eggs one by one. Gently fold in cocoa and flour so you don’t lose that fudgy magic.
My first go at these was a mess—I swirled everything way too quick and got a weird pink mix instead of pretty layers. Now I slow down and treat each part with care. Totally worth it for those perfect bars.
Fun Ways To Serve
Usually I slice these into tidy squares and stack them on a big platter. If I wanna make it fancy, I dust cocoa on top or toss on fresh cherries. For birthdays or dinner parties, I'll give each piece a swirl of chocolate sauce on its own plate. My kids think it's best with milk after school—grown-ups like it with strong coffee after dinner.
Cool Switch-Ups
I’ve tinkered with these bars so many times. At Christmas, I swapped cherries for raspberry jam—huge win. Once, I splashed almond extract into the cream cheese for a nutty vibe. Caramel swirls were also a big hit for my sister. One year I baked them round and sliced wedges like pie, just to shake things up.
Storing The Goodies
Pop these in the fridge with a tight lid and they’ll keep up to five days easy. I always use something that seals well so they don’t pick up any weird fridge smells. Whip them up a day or two ahead if you’ve got stuff to do—honestly, they taste better on day two. Just let them hang out on the counter for fifteen minutes so they’re not ice cold.
 Save
Save
The best thing about these brownies? You get all the good stuff in one treat and nothing feels forced. Each bite is a party—super rich chocolate, creamy cheesecake, and that zingy cherry topping. Whenever I want to spoil someone, I reach for this one. Seriously, nothing says you care like passing around chocolate, cheesecake, and cherries together.
Recipe FAQs
- → Why get rid of the liquid in cherry filling?
- Draining off extra liquid keeps the topping thicker and makes swirling easier.
- → Could I try another type of fruit filling?
- Sure, swap in blueberry, strawberry, or whatever filling you like most.
- → What’s the benefit of chilling before cutting?
- Cold brownies hold their shape better, making slicing much neater.
- → Is freezing these a good option?
- Absolutely. Wrap individually and keep frozen for up to three months. Thaw overnight in the fridge.
- → How do I stop the cheesecake layer from cracking?
- Mix it just until smooth and keep an eye on the baking time to avoid overcooking.