
 Save
Save
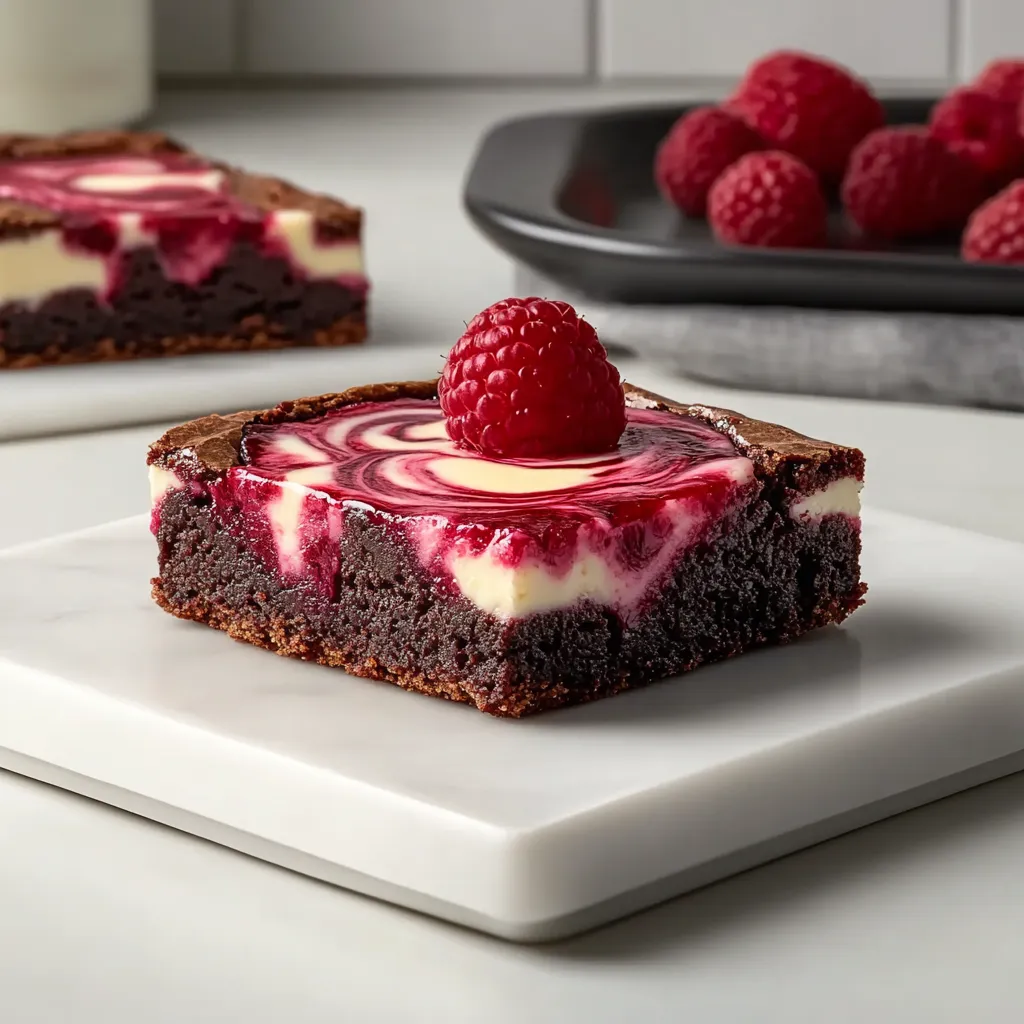
Picture ultra-rich chocolate squares, velvety cheesecake, and zippy raspberries all hanging out together. It's like a dessert dream team. These were the result of a midnight kitchen experiment when I just didn't want to settle on one dessert. Turns out when you don't pick, you end up with something amazing.
First time I shared these at a family get-together, my cousin with a cheesecake obsession and my chocoholic sister actually stopped bickering and both loved them. Now, they're the star of every family holiday menu.
Unbeatable Essentials
- Sugar: Makes everything sweet
- Flour: Your basic all-purpose kind
- Pure vanilla: Don't use fake stuff
- Cocoa powder: Dutch processed for deep flavor
- Butter: Go with unsalted and real deal
- Fresh raspberries: Nothing beats their bright flavor
- Fresh eggs: Let them warm up first
- Cream cheese: Go for full fat, room temp
- Dark chocolate: Invest in good quality chocolate
 Save
Save
Easy Brownie Magic
- Layering Time:
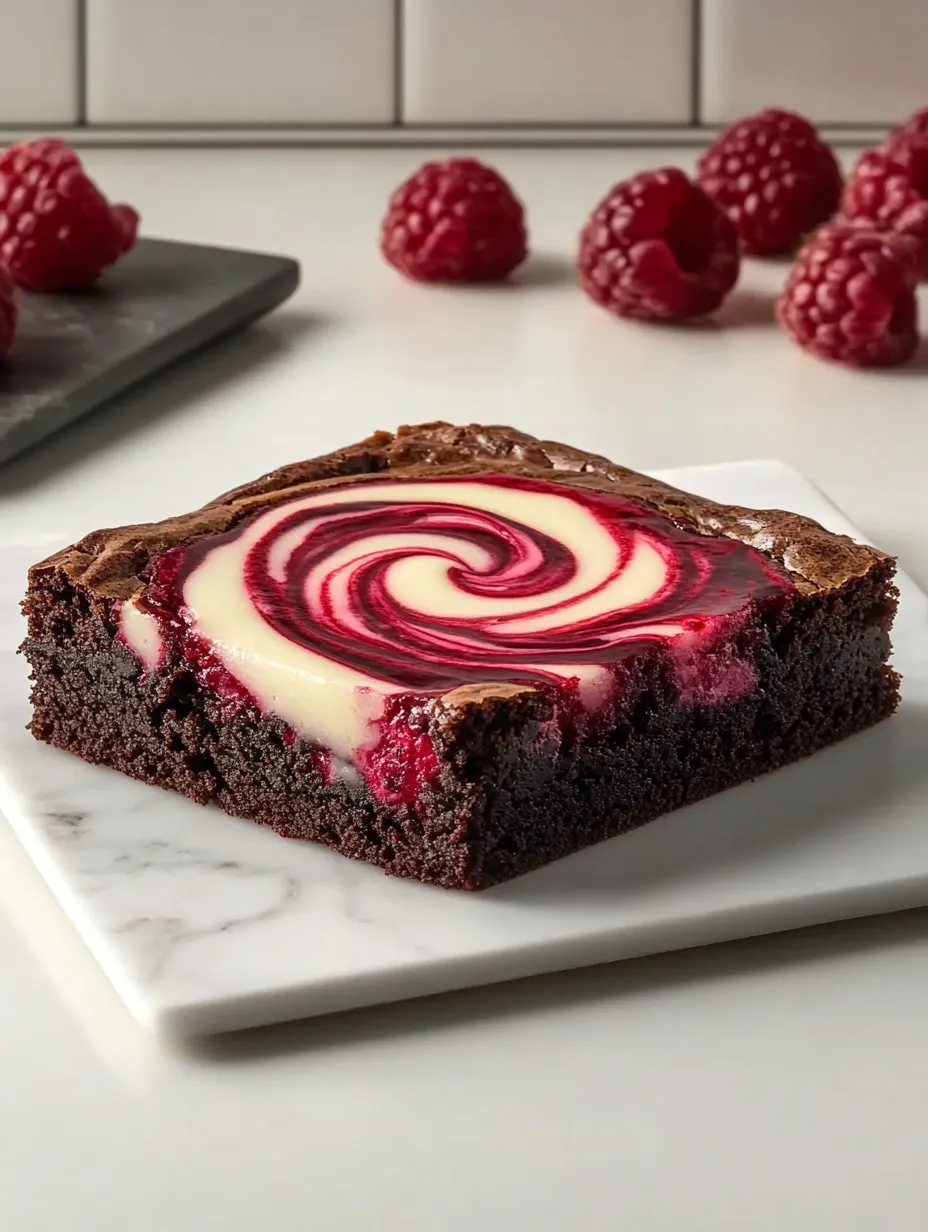
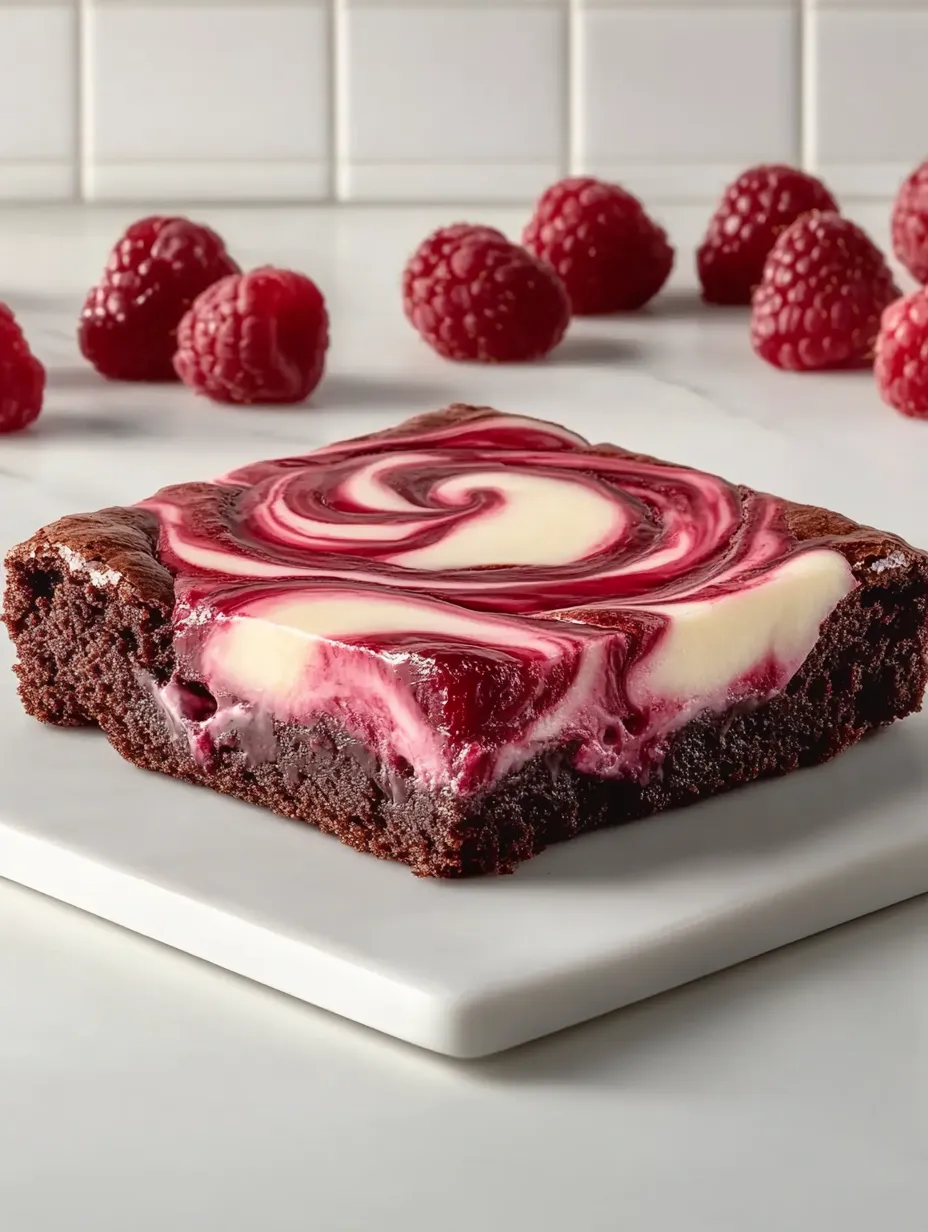
- Pour the brownie mix in, spoon that cheesecake filling all over, scatter little puddles of raspberry goodness, then feather it all together with a butter knife. Go easy with the swirling, less is more.
- Berry Magic:
- Pop those fresh raspberries in a blender with some sugar and a pinch of lemon. You want a punchy sauce, but don't mix it to death. Bright streaks look best.
- Cheesecake Dreams:
- Whip up that cream cheese until it's super smooth, then add the sugar and splash of vanilla. Egg goes in last. Make it nice and creamy, but don't eat all of it yet!
- Brownie Layer:
- Melt chocolate with butter until glossy, then beat in sugar so it looks gritty. Add your eggs one after another, then blend in the dry ingredients. Go easy – we want these to be gooey, not fluffy.
First go-round, I swirled so much that my brownies came out a wild pink marble slab. Now I hold back, and the pretty ribbons turn out way nicer. Sometimes less really is more.
Dreamy Ways to Serve
These stunners seriously upgrade your dessert game. I love serving them on a pitch-black tray so those red swirls pop. For parties, cut into bite-sized pieces and lay them out on a retro cake stand – instant wow. Sprinkle a little cocoa or top with a fresh berry if you wanna be extra. Great with coffee once everyone's done eating, or grab a glass of red and just hang out.
Fun Twists to Try
I've tried swapping in strawberries or blackberries when they're around. Orange zest in the cheesecake is wild with the chocolate. My sister begs for extra pecans mixed into the bottom. When the holidays hit, I sometimes do a white chocolate drizzle to really make them festive.
How to Keep Them Great
Pop these squares in a tight-sealed box in the fridge. They’ll be tasty for up to five days, though honestly, mine always disappear faster. For saving longer, wrap them well and put in the freezer. They’ll be good for a couple months. Defrost overnight in the fridge, then let them chill out on the counter before you dig in.
 Save
Save
You know what’s best about these bars? They’re three awesome desserts that joined forces and turned into something everyone remembers. Doesn’t matter if it’s a birthday bash or just you treating yourself on a regular afternoon, these always feel like a mini celebration. Let everything come up to room temp, then give them all the time they need to cool after baking. Trust me, it’ll be so worth it once you take a bite.
Recipe FAQs
- → Can I use raspberries from the freezer?
- Absolutely, just thaw them completely and mash them up.
- → Why isn't my cheesecake layer smooth?
- Your cream cheese wasn't soft enough—leave it out of the fridge longer next time.
- → How do I slice them neatly?
- Chill the dessert first, then wipe a warm knife after each cut.
- → Are these okay to freeze?
- Yep, just store them well-wrapped in the freezer for up to 3 months.
- → How do I tell when they're baked through?
- A toothpick should come out clean, but be careful not to dry them out!