
 Save
Save
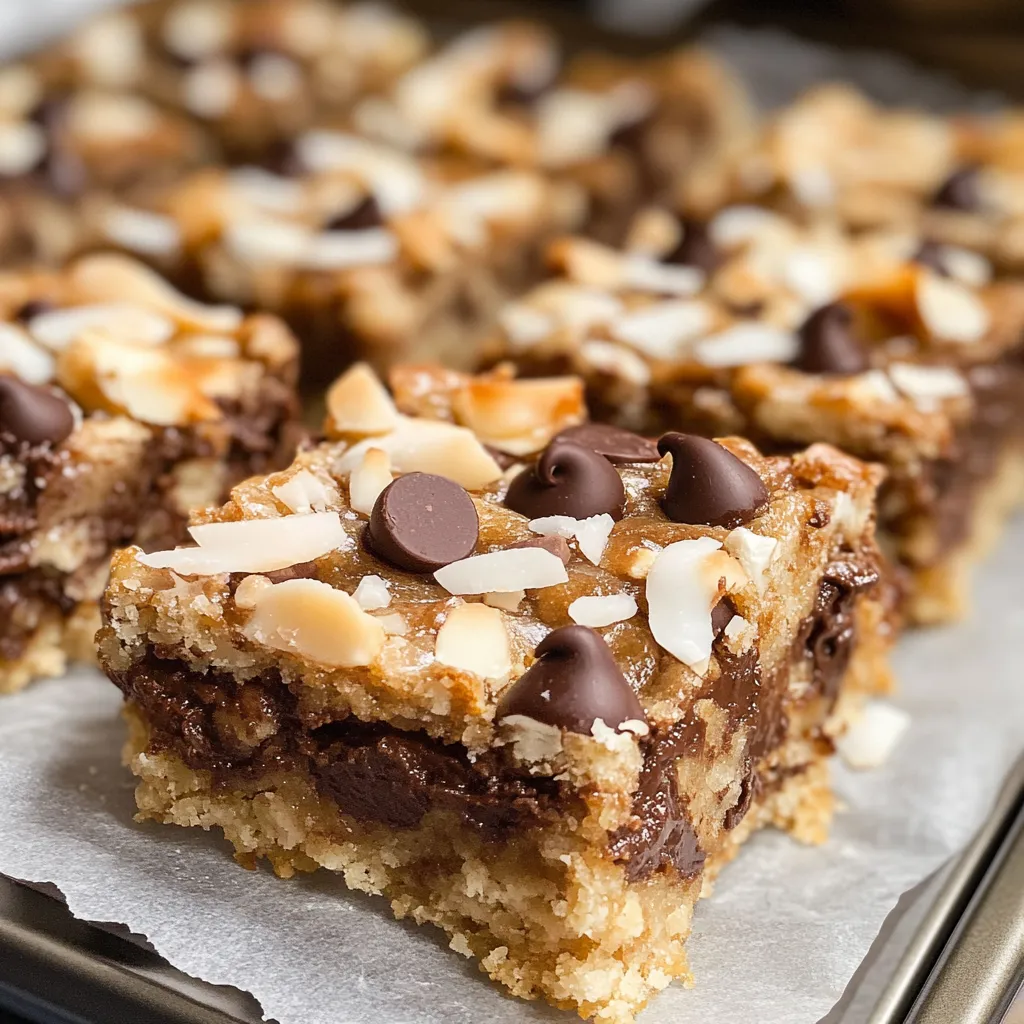
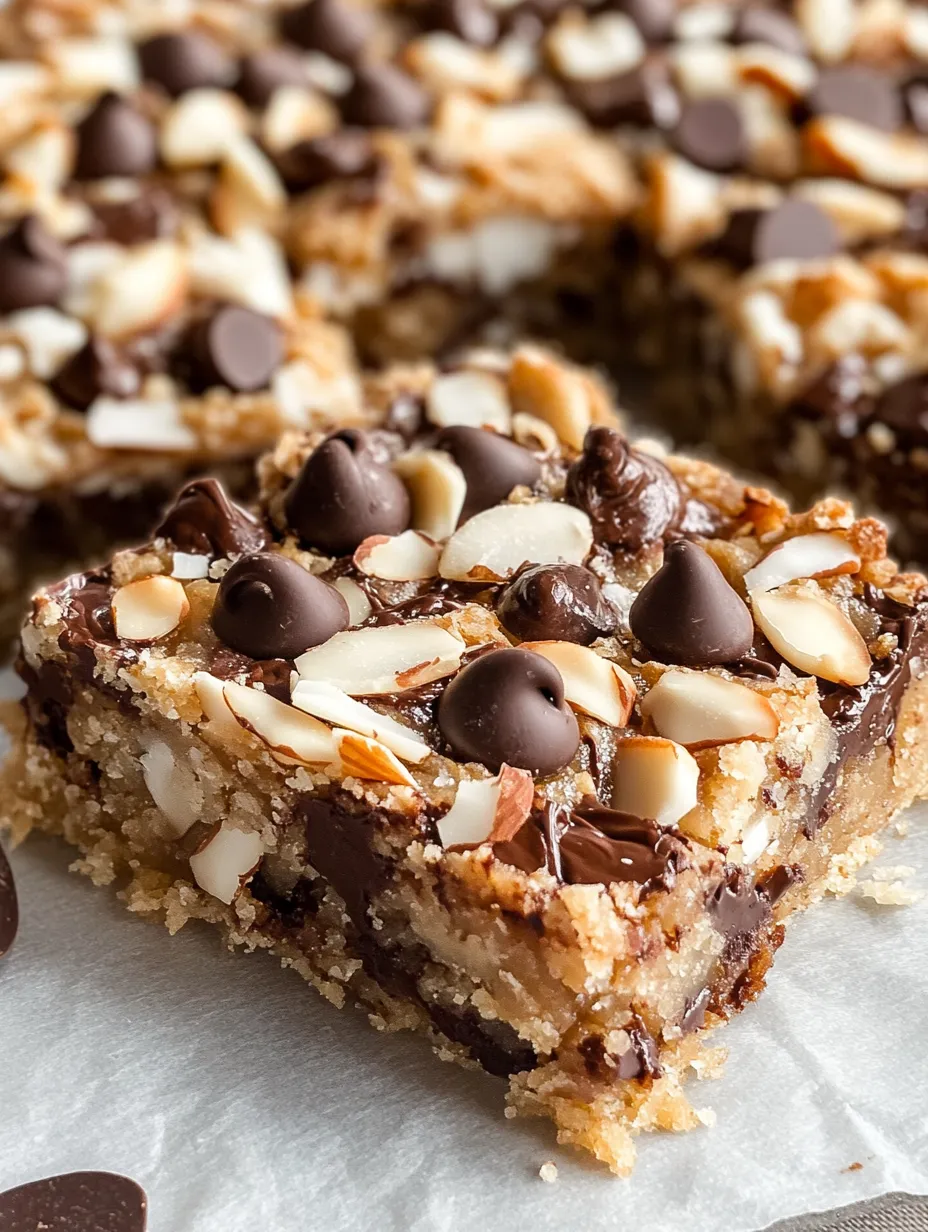
Whenever I bring these almond joy cookie bars to family get-togethers or parties, they're a total hit. I whipped these up for the first time a few years ago because I wanted my favorite chocolate bar as a more filling treat. You get this amazing mix of chewy cookie, sweet coconut, crunchy nuts, and gooey chocolate that fools everyone into thinking they took ages to make. The truth is, you can knock them out in under half an hour, baking included. They're always the first treat gone.
When I took a batch to last summer’s block party, my neighbor Ted—who insists he doesn't like sweets—ate three right away and even asked to grab a couple for home. His wife joked that he's still dropping hints for another batch. Let’s just say I always get a friendly nudge to bring these when the neighbors gather now!
Irresistible Key Ingredients
- Butter: This is what makes that base soft and chewy. Don't let it melt, just leave it out till it’s nice and soft—about an hour does the trick unless your kitchen is warm, then it takes less time.
- Chocolate chips: They melt into little pockets all through the bars. I reach for semi-sweet, but if you want them to taste most like the actual candy bar, go for milk chocolate chips instead.
- Almond slivers: They add a crunchy snap and a toasted nutty kick. You can toast them first for a deeper flavor, but if you’re pressed for time, just toss them in as is.
- Flaked coconut: Brings all that familiar coconut flavor—sweetened coconut is my pick, but unsweetened is totally fine if you want less sugar.
- Brown sugar: Adds this rich, caramelly taste that’s perfect with the coconut and almond, plus the bars stay chewy for days because of the extra moisture from the molasses.
 Save
Save
Simple Step-by-Step Directions
- Parchment paper:
- Use this for zero mess and because you can lift the whole batch out once cooled for stress-free slicing.
- Perfect timing:
- Take them out when the middle looks a bit soft. They'll finish setting in the pan and that keeps them chewy.
- Extra chocolate:
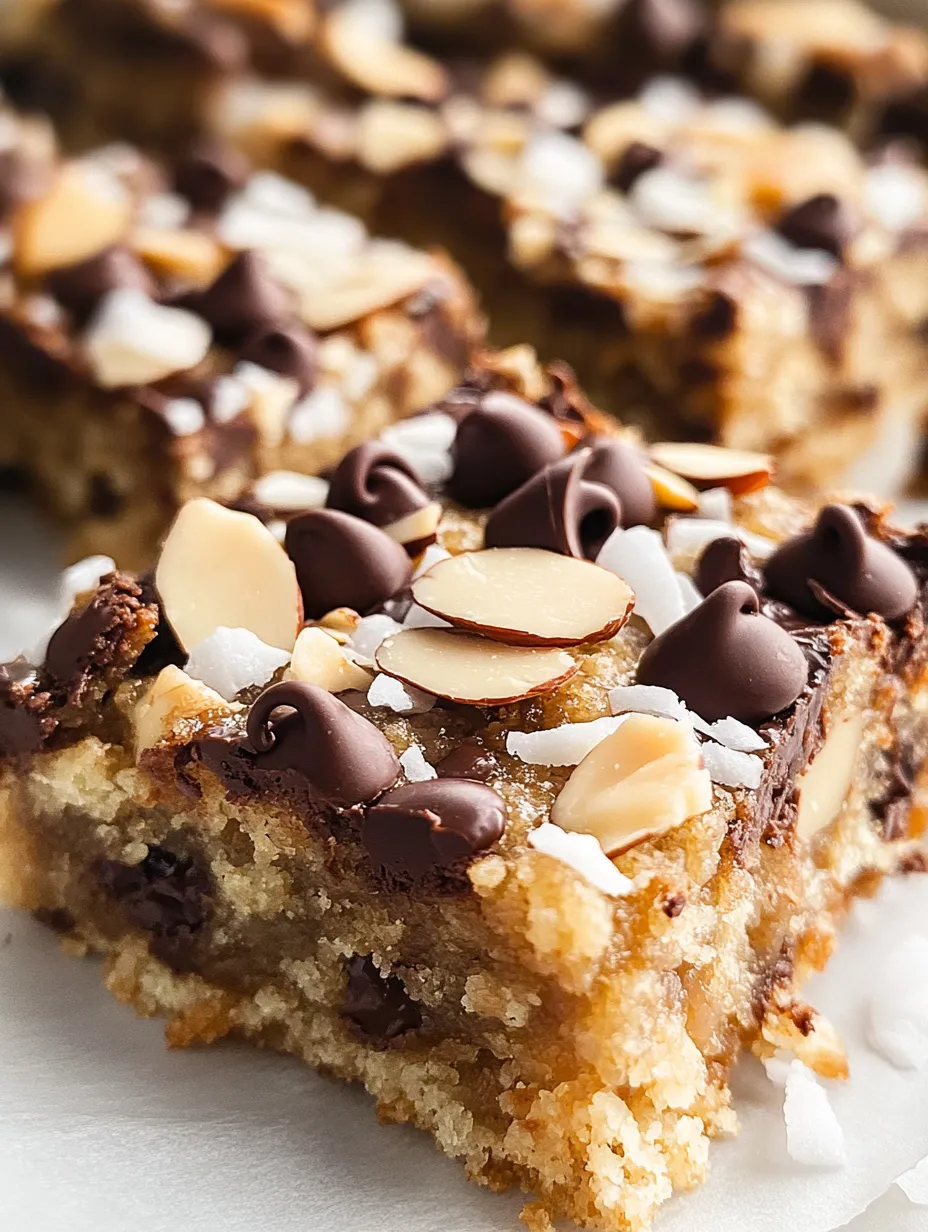
- Before popping them in the oven, press a handful of chocolate chips on top for those shiny pools once baked.
- Strategic topping:
- Save a bit of coconut and nuts for sprinkling on top. It makes your bars look pretty and gives a nice mix of crunch and toasty bits.
- Gentle mixing:
- After you add the flour, only mix until there aren’t any flour streaks left. If you stir more, the bars get tough, not tender.
- Proper creaming:
- Let the butter and sugars get super light and fluffy by beating for at least a couple of minutes—you’ll end up with the best texture ever.
It took a bunch of tries to find the sweet spot for these bars. Early on, they turned out cakey because I used too much flour. Switching up the flour and rolling in more brown sugar nailed the soft, chewy bite I wanted. Testing how much coconut and nuts to add was a journey too, but now every bite gives you just the right mix of stuff without making the cookie base disappear.
How to Serve Them
I like to eat these warm or at room temp—either way they’re awesome. For something extra, give a bar a quick zap in the microwave then plop on some vanilla ice cream. Cut them small to offer on a big cookie platter for parties, or big squares if you want a more satisfying dessert. They're great alongside afternoon milk or a mug of coffee after dinner.
Fun Variations
Mix in a handful of toffee bits for extra crunch. Swap in dark chocolate chips if you’re all about dark chocolate. Around the holidays, a splash of coconut extract with the vanilla ups the coconut punch. Or once they’ve cooled, drizzle over some melted chocolate for extra richness and a fancy vibe.
Keep Them Fresh
Pop them into a container with a tight lid to store. If stacking, use parchment so they don’t stick. They’ll last a few days (though you'll probably eat them all before that). Want to keep them longer? Wrap each bar by itself and freeze for up to three months. To enjoy later, let them sit out about an hour or give them a quick microwave blast to make them taste freshly baked.
 Save
Save
I’ve brought these bars to tons of different events, from simple cookouts to big cookie swaps. People love that mix of chocolate, coconut, and almonds—it’s pure comfort food. Plus, you can throw them together so fast. My husband always hopes for leftovers so he can sneak a few with his morning coffee after guests leave (sometimes I have to stash some for him just so he gets his treat!).
Recipe FAQs
- → Should I pick sweetened or plain coconut?
- Both are fine! Sweetened makes them richer, while unsweetened keeps the coconut flavor strong without extra sugar.
- → Can I swap slivered almonds for whole ones?
- Of course! Just cut whole almonds into smaller, chunky pieces first. Slivered ones mix in easier, but chopped ones will do the trick.
- → What’s the best way to tell if the bars are done baking?
- Look for golden edges and a soft center that’s not wobbly. They’ll set up more as they cool down.
- → Is doubling the batch possible?
- Totally! Double everything and use a 9x13 inch pan. Just tack on a few extra minutes to the bake time.
- → How do I keep these bars fresh?
- Pop them in an airtight container and leave them on the counter for four days, or freeze for up to three months.