
 Save
Save
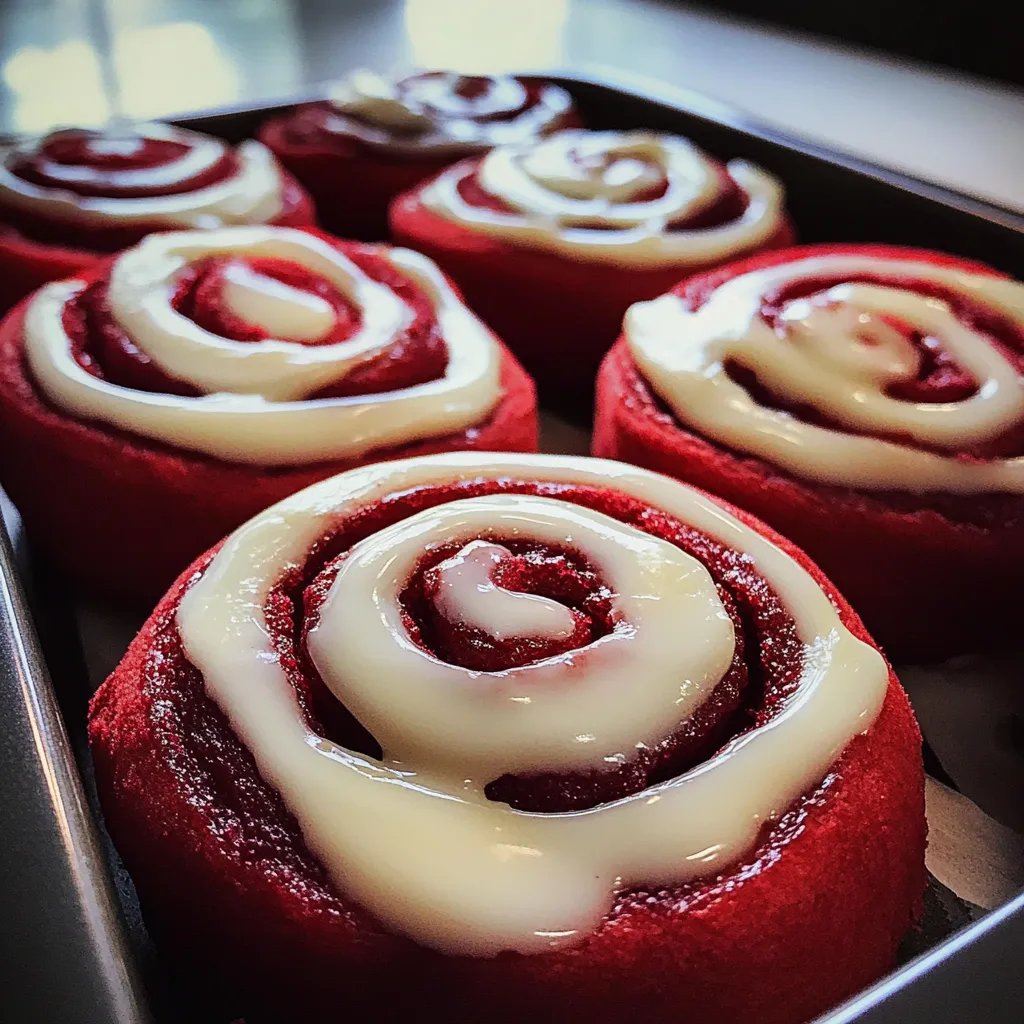
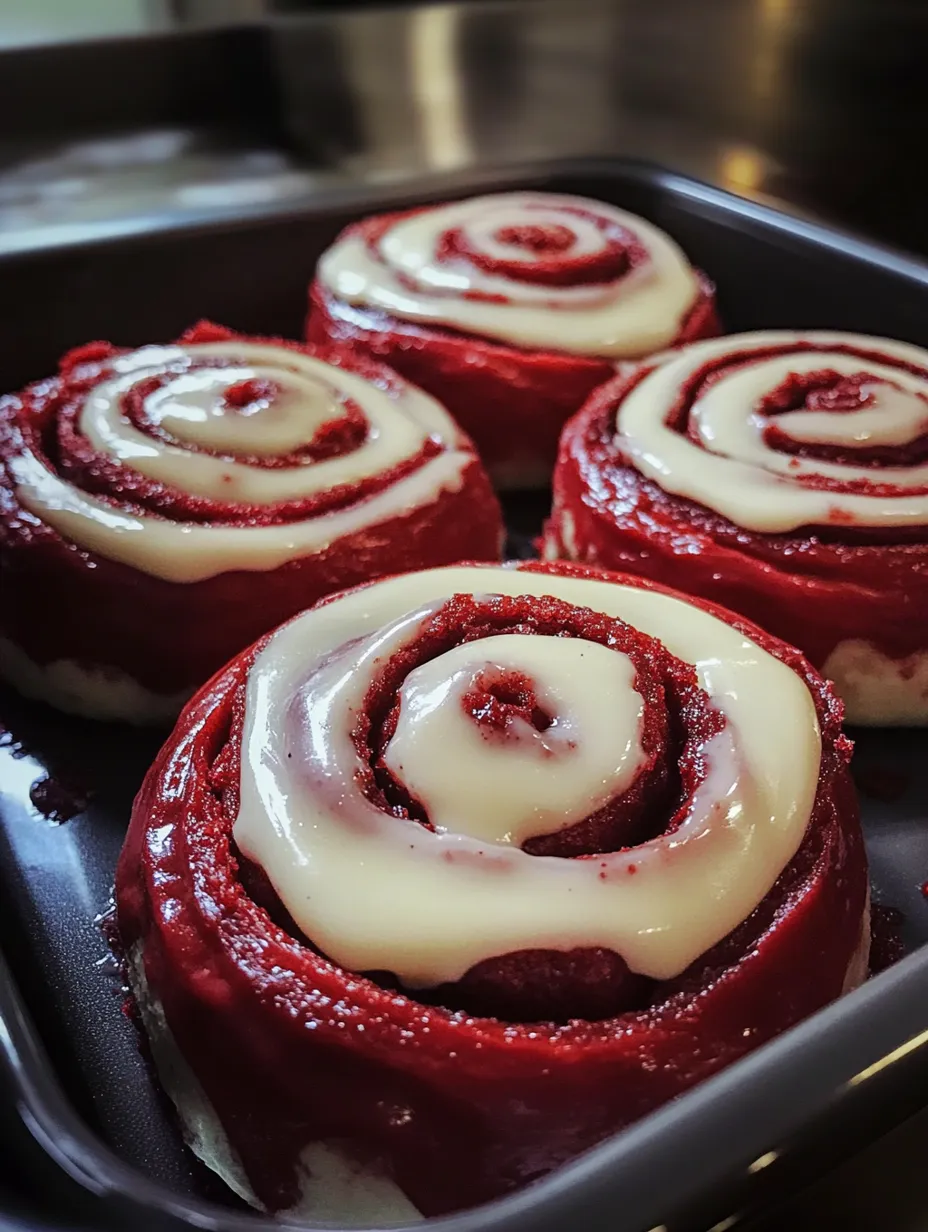
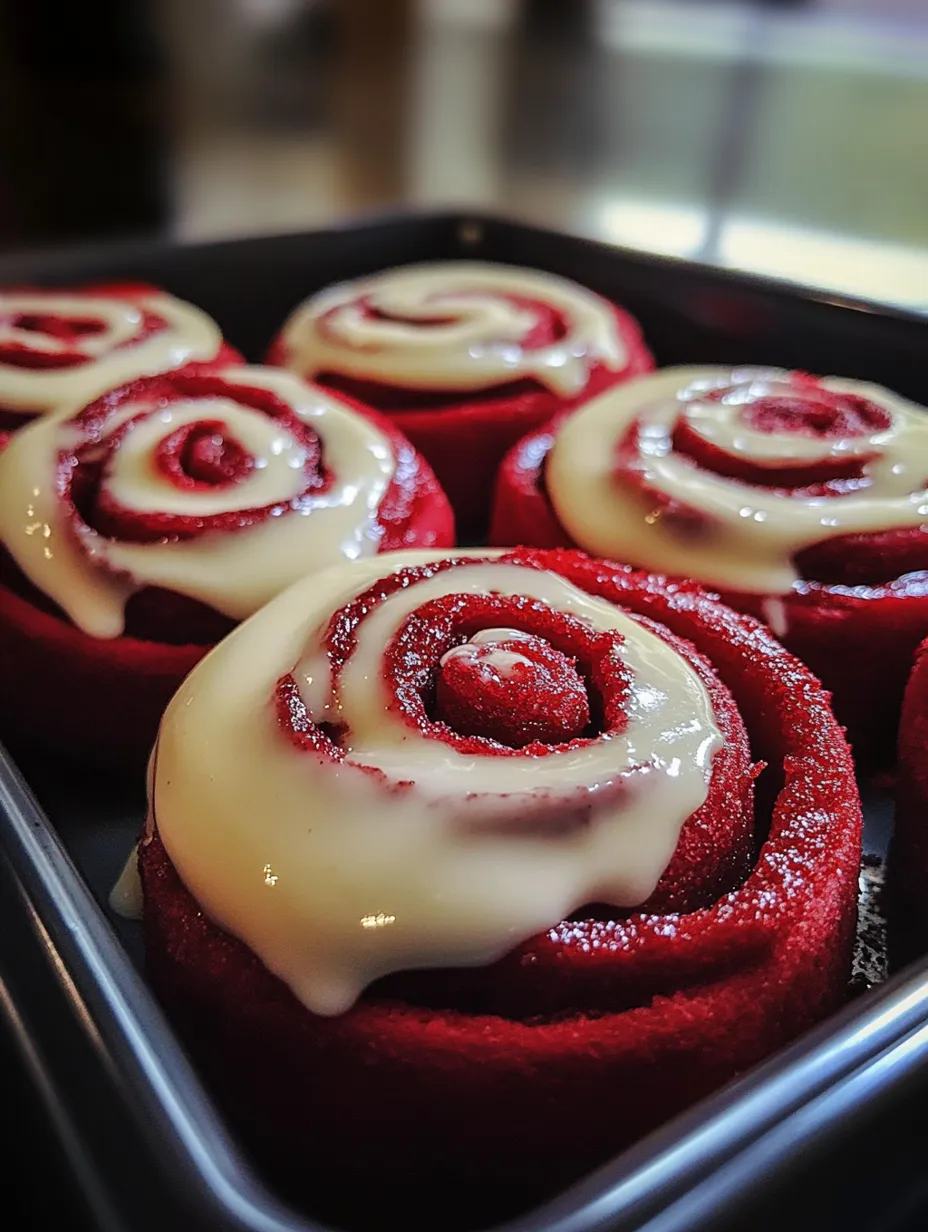
Last year, I whipped up these red velvet cinnamon buns for my kid’s Valentine’s morning, and wow—now my family insists on them every year! That bold red dough wrapped around cinnamon sugar is just so fun, and the melty cream cheese topping makes them absolutely next-level. My house smells incredible while these bake, and everyone always thinks they’re super hard to make (spoiler: they’re not!).
Even my husband, who usually just gulps down coffee and jets out the door, parked himself at the table for seconds. He actually messaged from the office for leftovers later! I've never seen him fired up over breakfast before in more than a decade.
All You Need
- Active dry yeast: I’ve used instant yeast too, but honestly active dry makes things fluffier and gives better taste. Just make sure your milk’s just warm, not scorching—I’ve trashed a few batches by getting too hasty with hot milk.
- Cocoa powder: Dutch-process gets things that nice, deep red color but use original unsweetened if that’s all you have. Cocoa is key—without it, you’re just making regular cinnamon buns dyed red!
- Red gel food coloring: Gel is way more powerful than the watery stuff. That first time I tried liquid color, I nearly emptied the whole bottle. With gel, you need just a little for that dramatic look.
- Brown sugar: Dark brown sugar in the middle adds this awesome, caramelly note that really boosts the cocoa taste. Light brown works in a pinch, but go dark if you can.
- Cream cheese: The absolute hero of the topping! Philadelphia always melts the smoothest (wish they paid me, but they don’t). Cheaper brands just don’t get as creamy.
 Save
Save
Easy Instructions
- Icing time mastery
- The trick to dreamy glaze is catching the rolls at just the right warmth. Whip up the topping as they bake, then smother them after 5 minutes out of the oven. If you ice too hot, it’ll just pool off; too cool and it’ll just plop on top.
- Rolling secrets
- Neat, swirl-filled buns start with a tight roll. Work from the long side without stretching the dough. I always chill my rolled log 10 minutes before cutting—that way the red dough slices way easier and looks prettier.
- Spread that filling
- Soft spreadable butter’s your friend here. I nuke cold butter for 10 seconds at half power so it’s not melted but super smooth. Use a spatula to coat the dough all the way, stopping just before the edge so you can seal it up clean.
- Dough stretching
- Knead your dough ‘til it’s bouncy and a little sticky but not getting all over your hands. Light dustings of flour keep it tender. When you poke it and it bounces back, you’re good!
- Wake up the yeast
- Make sure your milk feels like a cozy bath—any hotter and you’ll have sad, flat buns (voice of experience). Wait for the yeast to look foamy and smell bready—it means it’s ready to use.
- Cocoa mixing
- If you want truly velvet buns, whisk that cocoa with the flour so you don’t get dust pockets. Sift first! You’re aiming for a gentle hint of chocolate—just enough to make it feel special.
When we went back home for Christmas, I made a batch for a big family brunch. My grandma never gives props, but she wanted to know how I made them—I found her sneaking peeks at my process! I kept adjusting the cocoa levels (trial and error!) until they landed right between too chocolatey and just plain red.
How to Serve
I like piling these up in the middle of the breakfast table—they look stunning right out of the pan. At Christmas, a sprinkle of powdered sugar adds a snowy vibe. For Valentine's, shape and arrange them in a heart—it’s adorable and easy. They’re awesome with dark, hot coffee to balance that sweet icing. For grown-ups, toss some berries with a splash of orange liqueur for a perked-up side.
Fun Twists
You can change things up but still keep that eye-catching color. My little one begs for chocolate chips sprinkled in the middle. At Christmastime, a hit of orange zest in the dough and filling is awesome (red + orange is so festive). Toasted pecans add a nice crunch. Go wild and mix a spoonful of bourbon into your cream cheese topping if you want—just skip that part for kids.
Keeping Them Fresh
These keep soft for up to two days if you tuck them in an airtight box. They actually look even richer in color the next day! Pop one in the microwave for 15 seconds to make it taste just baked. If you’re planning a morning meal, let the unbaked pan chill overnight (through the second rise) then bake after a half-hour warm-up. Leftovers freeze well: wrap iced buns in plastic and foil, heat at 300 F for ten minutes and you’re set.
 Save
Save
After years of tweaks, these are my go-to star when we get together. Nothing beats watching someone try one for the first time—everyone’s wowed by the pop of color and that chocolate-cinnamon-cream cheese combo. Even my nephew calls them ‘holiday buns’ no matter what time of year! They’re a bit of a project, but most of it’s letting dough rest. Totally worth it every time. There’s just something about these—folks are always hoping you’ll bring them again, and that’s the best kind of tradition.
Recipe FAQs
- → How far in advance can I prep these rolls?
- Go ahead and make them the evening before! Pop them into your dish, cover, and store in the fridge. Let them sit out for around 30-45 minutes in the morning before baking.
- → Can these velvety rolls be frozen?
- Definitely! Either freeze them before their final rise (after shaping) or post-baking (hold off on the icing). Thaw them in the fridge overnight, then rise, bake, or just heat and glaze, depending on when they were frozen.
- → Is there another way to get a red color without food dye?
- Sure! Try beet powder (2-3 tablespoons) or ground dried strawberries or raspberries. The shade won’t pop as much as food coloring, but it’ll still look charming.
- → How can I tell if my dough has risen just right?
- Once the dough has grown to twice its starting size, give it a poke. If the dimple made by your finger stays instead of bouncing back, you’re good to go!
- → Any tips for slicing the rolls neatly?
- Use plain dental floss for a clean cut! Slip it under the dough, pull the ends across the top, and tighten. A sharp knife or a bench scraper works well, too.