
 Save
Save
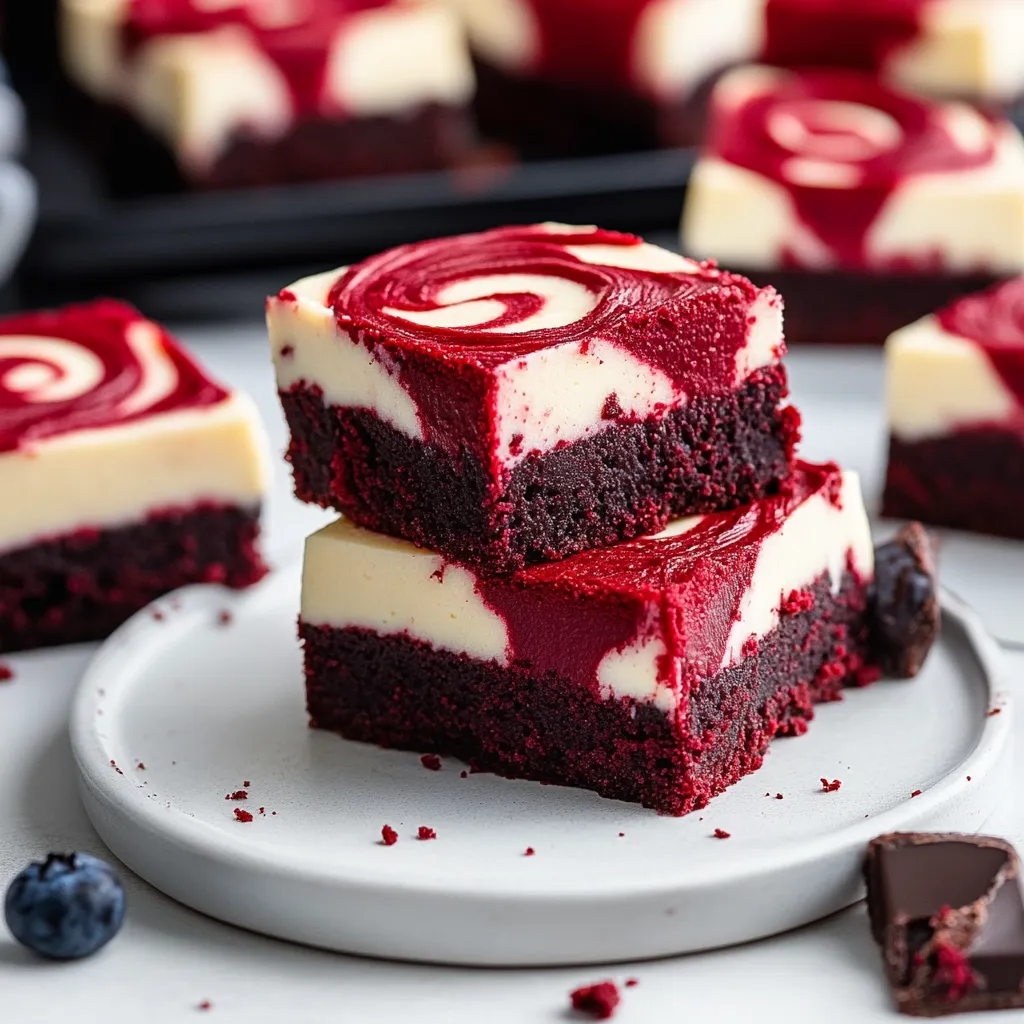
This treat was born when I couldn't settle on brownies or cheesecake during a gloomy day. Mixing the two, then making it red velvet, was a happy accident. You get a rich, red foundation swirled with dreamy cream cheese. It's not just easy on the eyes—every bite feels like a sweet surprise combo.
The first time I showed up with these for a friend's Valentine party, everyone assumed I'd grabbed them from a bakery. Now I make these whenever I want to wow folks without working too hard.
Tasty Things You’ll Grab
- All-purpose flour: Use classic, everyday stuff
- White vinegar: Don’t skip it – it makes a difference
- Red food coloring: Gel kind works best
- Butter: Go with unsalted, real kind
- Pure vanilla: Real stuff only
- Fresh eggs: Should not be cold
- Pinch of salt: Brings all the flavors together
- Cream cheese: Needs to be soft, full fat
- Cocoa powder: Dutch process for deep chocolate flavor
 Save
Save
Making the Magic Happen
- Getting Set:
- Slide your pan in the oven and give it time. The smell gets better as it bakes. You’re done as soon as the sides are firm but the center still looks a little soft.
- Brownie Mixture:
- Melt your butter until it's just liquid, not bubbling. Blend with sugar till you have a grainy mix. Toss in the eggs one after another. Drop in the vinegar and food color. Watch the batter go shockingly red—it's gorgeous.
- Cheesecake Filling:
- Mix that cream cheese till it’s silky and there’s not a single lump left. Pour in sugar, an egg, and vanilla. Keep going till everything is smooth and fluffy. This is where it starts looking fancy.
- Let’s Swirl:
- Spread most of the red batter in your pan but leave a little for later. Add big scoops of the cream cheese mix here and there. Dot over the top with the little bit of leftover red batter. Use a butter knife to swirl it all around like you’re making your own art.
When I first made these, I got a little wild with my swirling and the whole thing turned pink! Now I use a gentle hand and get pretty layers every time.
Show-Off Moments
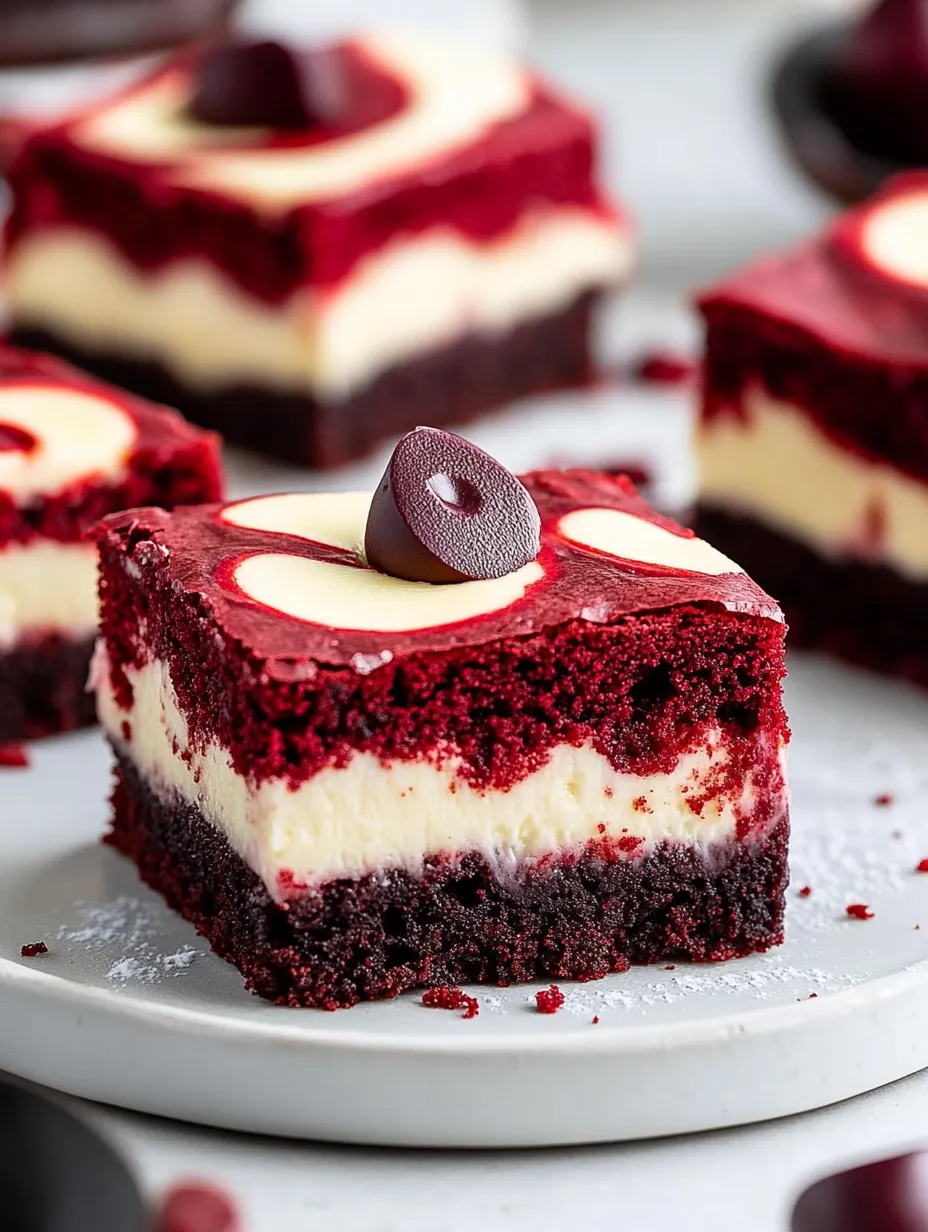
These bars really shine when you set them out. I like slicing them into neat squares – if you heat your knife, the edges stay sharp. For get-togethers, I pop them on my grandma’s silver plate and sometimes dust a bit of cocoa on top. Pile raspberries around if you want that pop of red to match.
Tasty Twists
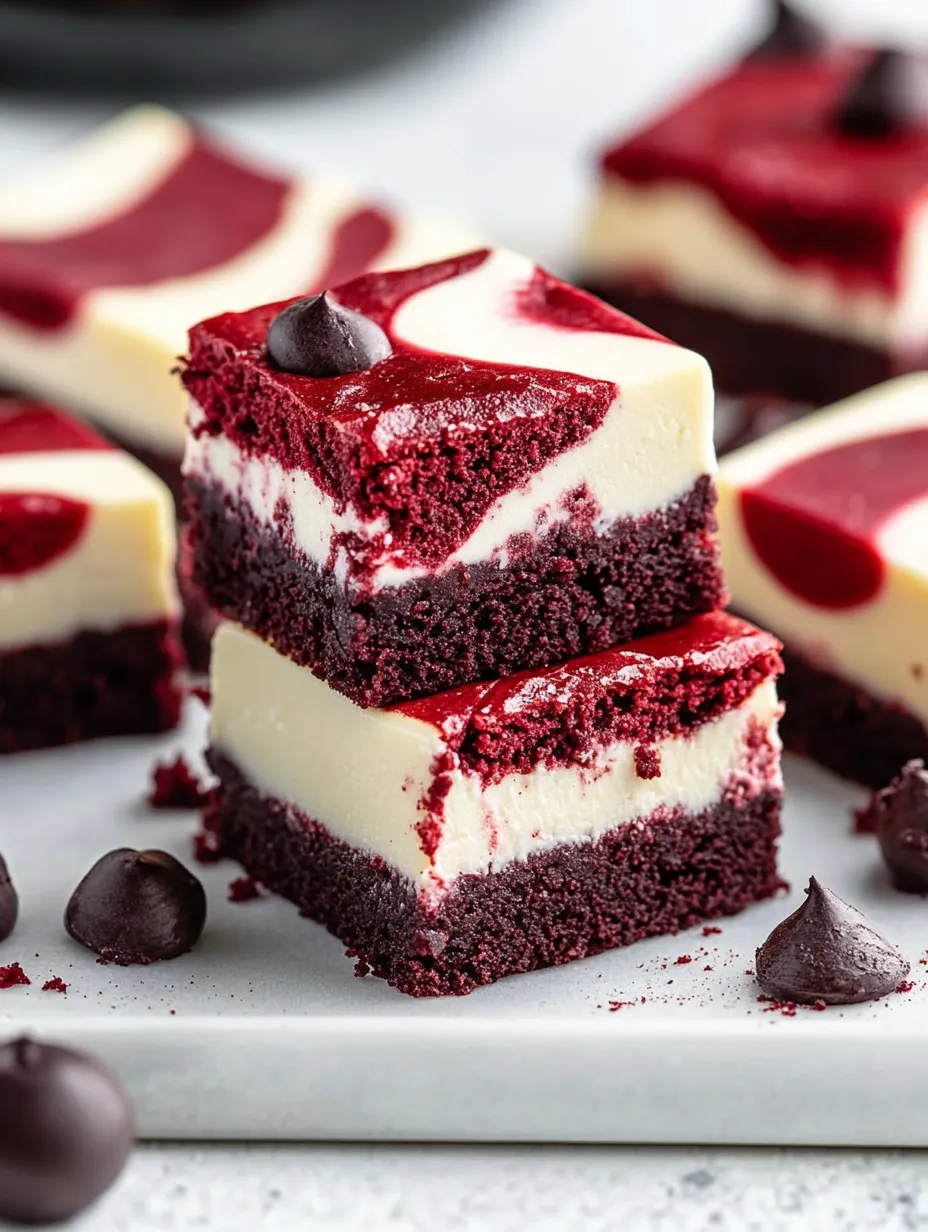
I like trying new spins. Sometimes a sprinkle of espresso powder makes the chocolate super rich. Drizzling white chocolate over the top stands out against all the red. My kiddo begs for mini chocolate chips in the cheesecake part. For Christmas, try sticking crushed peppermint on top while they’re still warm.
Storing Tips
Keep your bars chill in the fridge, but don’t press down on them. They'll taste even fudgier after a few days, up to five. Want to freeze? Wrap each bar up on its own and leave them overnight in the fridge to thaw. Set them out for 15 minutes before eating because the flavors just pop so much more.
 Save
Save
You know what really makes these awesome? It’s like three fabulous treats coming together as one. Doesn’t matter if you’re showing someone you care or just making a Tuesday feel fancy—they turn any day into something special. The best bakes sometimes start because you just can’t make up your mind, and with these, you get every bite you wanted in one pan.
Recipe FAQs
- → Can gel-based food coloring work?
- Absolutely, go with 1 or 2 teaspoons for bold color.
- → Why is vinegar included?
- It boosts the red hue and helps the cocoa mix for the perfect bite.
- → Is it possible to double the batch?
- Sure, switch to a 9x13 pan and bake for an extra 5-10 mins.
- → What's the best way to store these?
- Store in an airtight container in the fridge for up to 5 days.
- → Can I freeze them for later?
- Yes, wrap tightly and freeze for as long as 3 months.