Start by mixing sugar, bananas, butter, eggs, and vanilla. Gradually add in the dry ingredients—flour, cocoa, salt, and baking soda—alternating with buttermilk. Add red food color and optional chocolate chips, then bake until risen and cooked through.
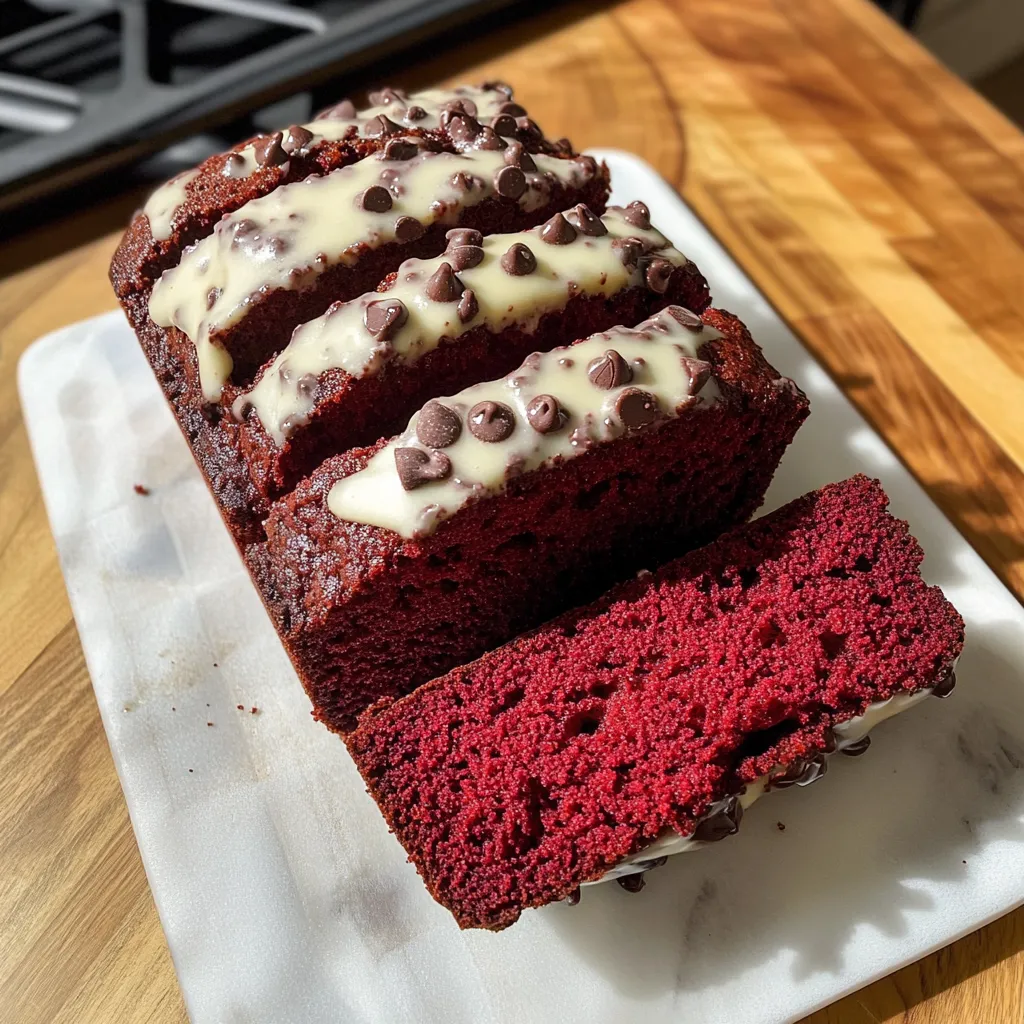
Last year, I had a pile of mottled bananas and was over plain banana bread. So I decided to mash up the mega moistness of banana bread and the smooth cocoa vibes with the punchy red shade of a red velvet cake. Best idea ever. That brilliant color always wows people, and the banana keeps it so soft and sweet. Now, when I want to impress but don't want an all-day kitchen project, this is the one I make.
Vibrant Showstopper Treat
Seriously moist texture that lasts way longer than your typical banana loaf
Chocolatey hint pairs perfectly with banana goodness
Awesome at breakfast, with a schmear of cream cheese for dessert, or just as a midday pick-me-up
That wild color gets tons of “How’d you do that?!” comments every time
Jen, my neighbor, always hated banana bread (or so she claimed). She tried a slice of this at our block party and was already asking for the how-to before she’d even finished. Now her kids constantly request what they call “the red banana cake” at every celebration. Just goes to show—a color switch can totally win over the toughest critics!
Unforgettable Ingredients
Overripe bananas (the nearly black kind) bring all the sweetness and super soft texture. Don’t toss those ugly ones—they’re the gold standard for baking!
Unsweetened cocoa powder—just the regular stuff—gives that whisper of chocolate that makes it truly red velvet.
Buttermilk gives the bread some zip and a soft bite. Out of buttermilk? Pour some vinegar (half a tablespoon) into milk, let it hang out 5 minutes. Works like a charm.
Red food coloring cranks up the wow factor. Gel types do the job with way less mess and don’t water things down.
Chocolate chips: totally up to you, but if you want next-level decadence, throw them in. Everyone loves those melty bites.
My first go was, honestly, way too stingy with the food dye—ended up more purple than red. Still tasted amazing, but didn’t have that drama. Don’t hold back—get the batter bold red before baking since it’ll darken in the oven.
SaveRed Velvet Banana Loaf | homebitesbyana.com
Simple Step-by-Step
Cool Down
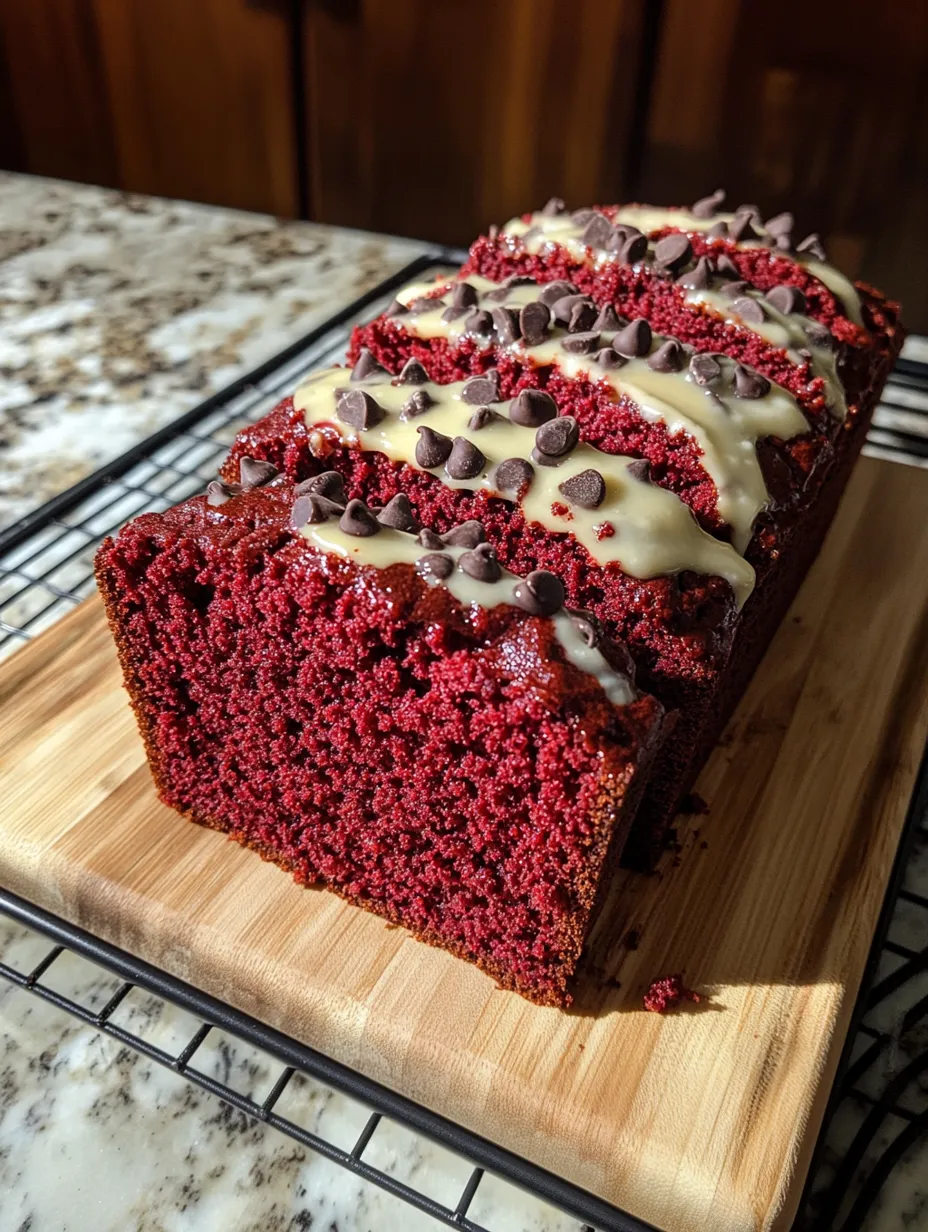
Let your loaf hang out in the pan for about 10 minutes before moving it gently to a wire rack to cool off all the way. That way, it won’t fall apart—seriously, don’t skip this. The tough part? Waiting until you can slice it up.
Baking Watch
Set your timer for 50 to 60 minutes. Start checking with a toothpick—poke it in the middle. If it pops out clean or with just a couple moist crumbs, you’re golden. My oven usually nails it at 55 minutes. If you notice it’s browning too fast up top, throw a piece of foil over it for the last part.
Pan Filling
Scrape your batter into that prepped loaf pan and smooth out the top. Tap the pan a few times on the counter to knock out any sneaky air pockets—helps it bake up nice and even.
Chip Addition
If chocolate chips are your thing, gently fold them in last. I roll mine in a teaspoon of flour first (keeps them from all sinking to the bottom). Sometimes I scatter a few more right on top before baking because it looks awesome.
Color Magic
Now add enough red food coloring to make it bright—it’ll look intense, but that’s what you want. Use more if it’s the liquid kind, a lot less if it’s gel.
Gentle Mixing
Add your dry stuff to the wet mix a bit at a time (I go in thirds), switching off with the buttermilk. Use a spatula and go easy—quit mixing as soon as you don’t see any more flour. Overdoing it makes the loaf tough, so stop as soon as it’s just mixed.
Dry Team
Grab another bowl. Combine your flour, cocoa powder, salt, and baking soda. Sift if you can—especially if your cocoa is lumpy (nobody wants a bitter bite!).
Wet Works
Toss melted butter, eggs, sugar, and vanilla in with your mashed bananas. Stir it up. Don’t sweat the lumps—leaving some in keeps it interesting.
Banana Base
In a big bowl, mash those extra-ripe bananas. Keep a few tiny lumps for character, but mostly squish ‘em. You’ll want about a cup. Too much and your bread turns gummy—too little, and you’ll miss the banana kick.
Oven Setup
Set your oven to 350°F, grease a standard loaf pan, and lay in a piece of parchment paper with long tails on both sides. Makes getting the loaf out crazy easy, no fights with the pan later.
Top Hints
Let it chill overnight—the taste actually gets better the next day as everything mixes together
Go for cream cheese on top if you want it extra rich (classic red velvet style)
To check if it’s baked, see if the sides pull back a smidge and the top springs when you tap it
First time I made it, I pulled the loaf out way too soon. Sliced in and it was a sticky mess in the middle—talk about frustrating! Now I only take it out when the toothpick’s totally clean, even if I have to go a few minutes over. With quick breads, I’d rather go a little longer than not long enough.
Serving Tricks
This loaf is great on its own, but when I want to get a little fancy, I dust it with powdered sugar just before serving. At brunch, I’ll slice it up and lay out the pieces with some berries for a pop of color. During holiday season, I whip up an easy glaze with a bit of cream cheese, powdered sugar, splash of milk, and drizzle it on for a festive vibe.
Tasty Swaps
If you’re into nuts, stir in half a cup of chopped pecans or walnuts. Feeling holiday-ish? Sprinkle in a dash of cinnamon and a little nutmeg with the dry stuff. My kid’s favorite twist is throwing in white chocolate chips instead of the usual—looks gorgeous with the red and tastes awesome too.
Keep It Tasting Fresh
Wrap up the loaf tight in plastic or stash it in a sealed tub. It’ll stay good at room temp for three days. For more days, I pop it in the fridge for up to a week (but let slices come back to room temp for the best texture). This freezes so well—slice before freezing, wrap each one, then grab a piece to thaw for about a half hour whenever you want one.
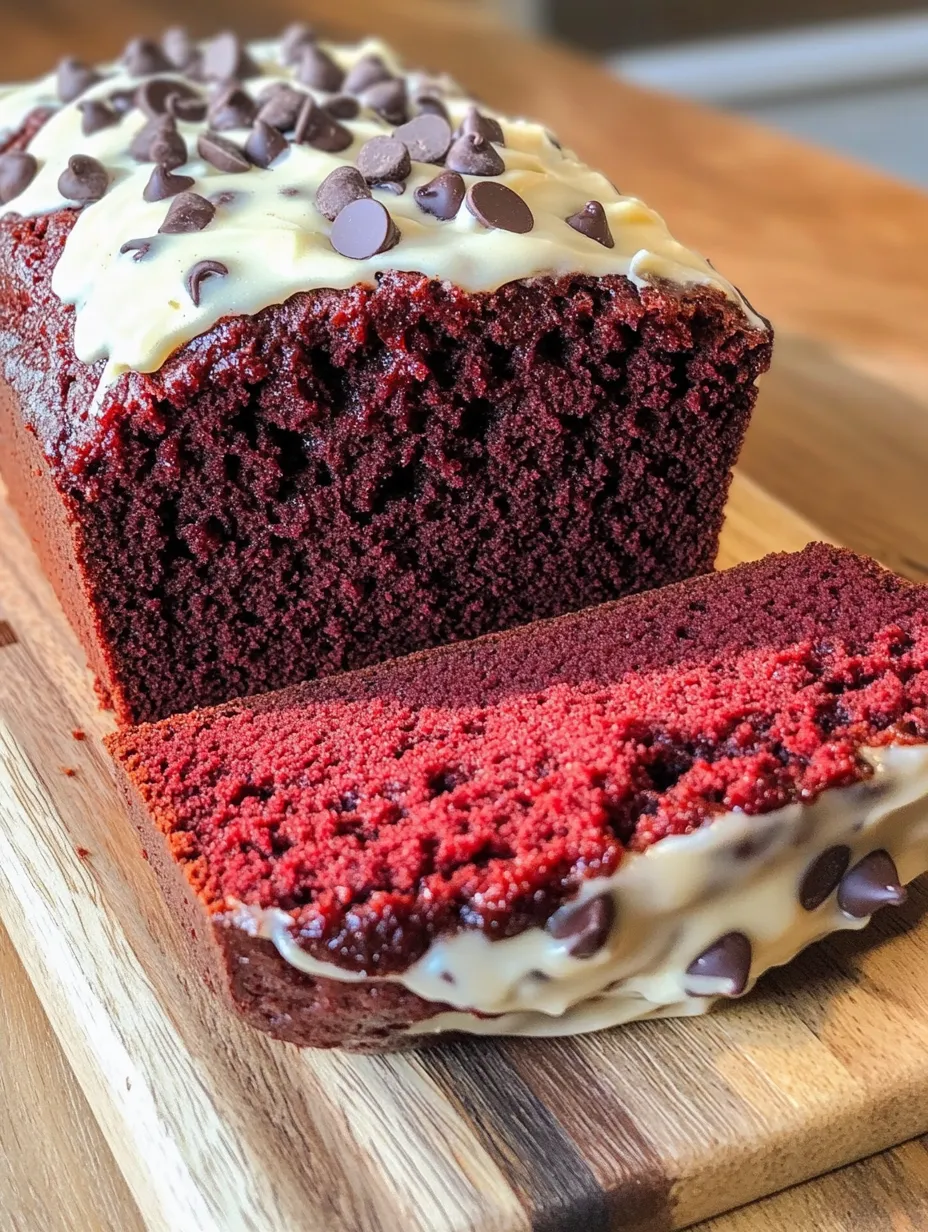
SaveRed Velvet Banana Loaf Slice | homebitesbyana.com
Clever Tips
Bananas that are so spotted they look almost black give the best sweet flavor
Use a light metal loaf pan for even baking—dark ones or glass tend to make the crust wonky
Let your loaf cool all the way before slicing, and grab a serrated knife (saw gently for perfect slices)
I’ve brought this red velvet banana loaf to so many bake sales, family dinners, and friend get-togethers. Cutting into that bright red center always gets gasps and grins. What started as a way to use sad bananas is now what people ask me for by name. Sometimes, blending old favorites makes something even better than you’d expect!
Recipe FAQs
→ Why didn’t my loaf turn bright red?
Cocoa can dull the red shade, so you might need to use more food coloring. Gel types are more intense than liquids. Also, try sticking with natural (not Dutch-processed) cocoa for a more vibrant finish.
→ Can I skip the food coloring?
Sure thing! Without it, you’ll have a tasty banana and chocolate loaf. The red hue is just for looks. If you prefer to stick with natural options, beet powder could work, though it might add its own subtle flavor.
→ How ripe should my bananas be for this?
You’ll want really ripe bananas—plenty of brown or almost-black spots. They’re much sweeter, easier to mash, and they keep the bread wonderfully moist and flavorful.
→ Can I make little muffins instead of one loaf?
Definitely! Just pour the batter into muffin liners, filling each about 2/3 of the way. Bake at 350°F (175°C) for around 20 to 25 minutes. You’ll end up with about a dozen muffins, maybe a couple more.
→ Why did cracks appear on the top of my loaf?
Cracks across the top aren’t a problem—they’re a natural part of quick breads. They happen because the center keeps rising after the surface is set. It’s a sign you’ve got a moist, well-risen loaf!
→ Can I add other ingredients to make this more fun?
Of course! Swirl some cream cheese through before baking, or add cream cheese frosting afterward. Nuts like pecans or walnuts are a great choice, as are chocolate chips (dark, milk, or white). For a crunchy topping, sprinkle some coarse sugar on before it hits the oven.
Velvety Banana Loaf
This colorful loaf brings together the sweet flavor of bananas, a hint of cocoa, and a striking red hue in an incredibly tender treat.
Heat your oven to 350°F (175°C). Coat a 9x5-inch loaf pan with grease or line it with parchment paper to make removing the bread easier.
Step 02
Grab a big bowl and mix together the mashed bananas, melted butter, sugar, eggs, and vanilla. Keep stirring until the mixture looks smooth.
Step 03
In a second bowl, give the flour, cocoa powder, baking soda, and salt a good whisk until everything is evenly combined.
Step 04
Slowly mix the dry ingredients into the banana mixture, alternating with the buttermilk. Always start and finish with the dry stuff. Stir gently after each addition, and don't go overboard with the mixing.
Step 05
Stir in that red food coloring until the batter has a nice, even color. Toss in the chocolate chips at the end, if you're using them, and mix lightly.
Step 06
Pour the batter into your loaf pan and smooth out the surface. Pop it into the heated oven and bake for 50 to 60 minutes. You'll know it's done when a toothpick inserted in the middle comes out mostly clean with just a few crumbs.
Step 07
Let the bread cool in the pan for 10 minutes. Then take it out and set it on a wire rack to cool completely before cutting. Keep it in an airtight container to stay fresh.
Notes
Bananas with lots of brown spots add the best flavor to the final loaf.
Natural cocoa powder is ideal since it works with the baking soda to help the bread rise.
Don't have buttermilk? Mix 1/2 tablespoon of lemon juice or vinegar into 1/2 cup of milk. Wait 5 minutes so it thickens slightly.
This loaf stays good at room temp for 3 days, a week in the fridge, or up to 3 months tightly wrapped in the freezer.
Required Equipment
9x5-inch loaf pan
A couple of mixing bowls
Measuring cups and spoons
Whisk
Spoon or spatula for mixing
Wire rack for cooling
Allergen Information
Review each ingredient for potential allergens and consult a healthcare professional if needed.
Has wheat (from the flour)
Contains dairy (butter, buttermilk)
Contains eggs
Might have soy (in some chocolate chips)
Nutrition Facts (Per Serving)
These details are for informational purposes only and don’t replace medical advice.

 Save
Save
 Save
Save
 Save
Save