
 Save
Save
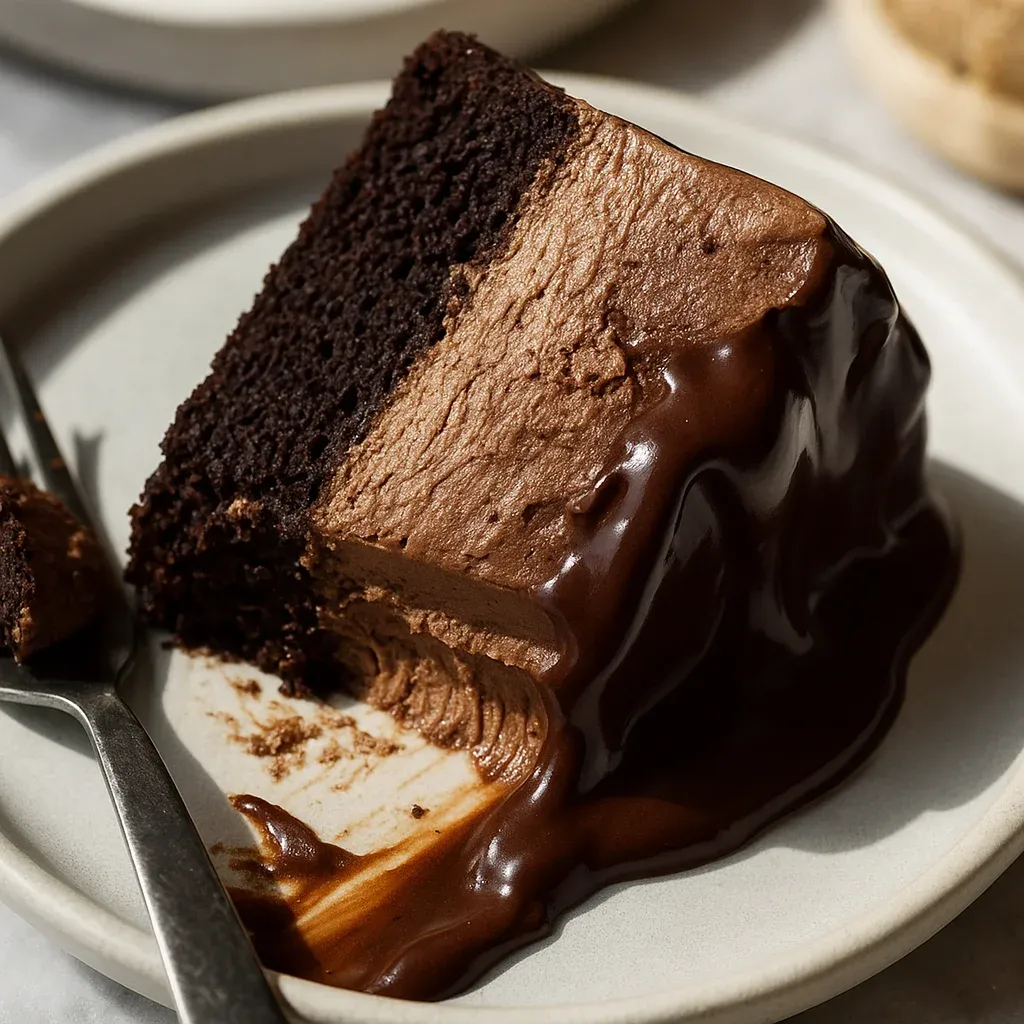
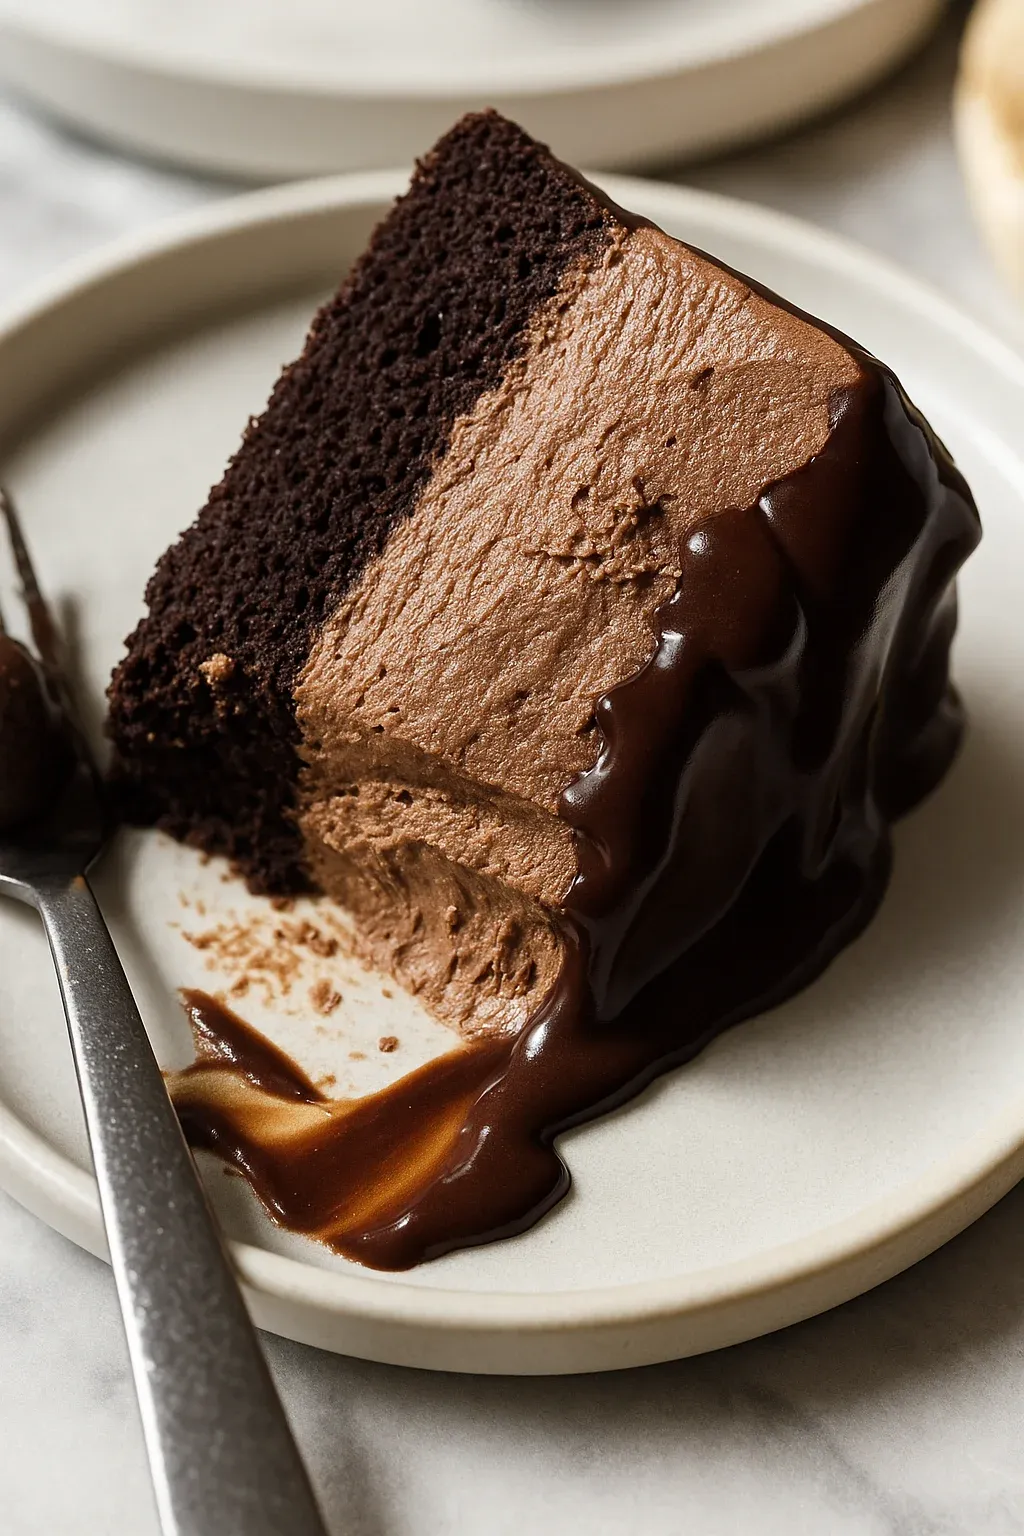
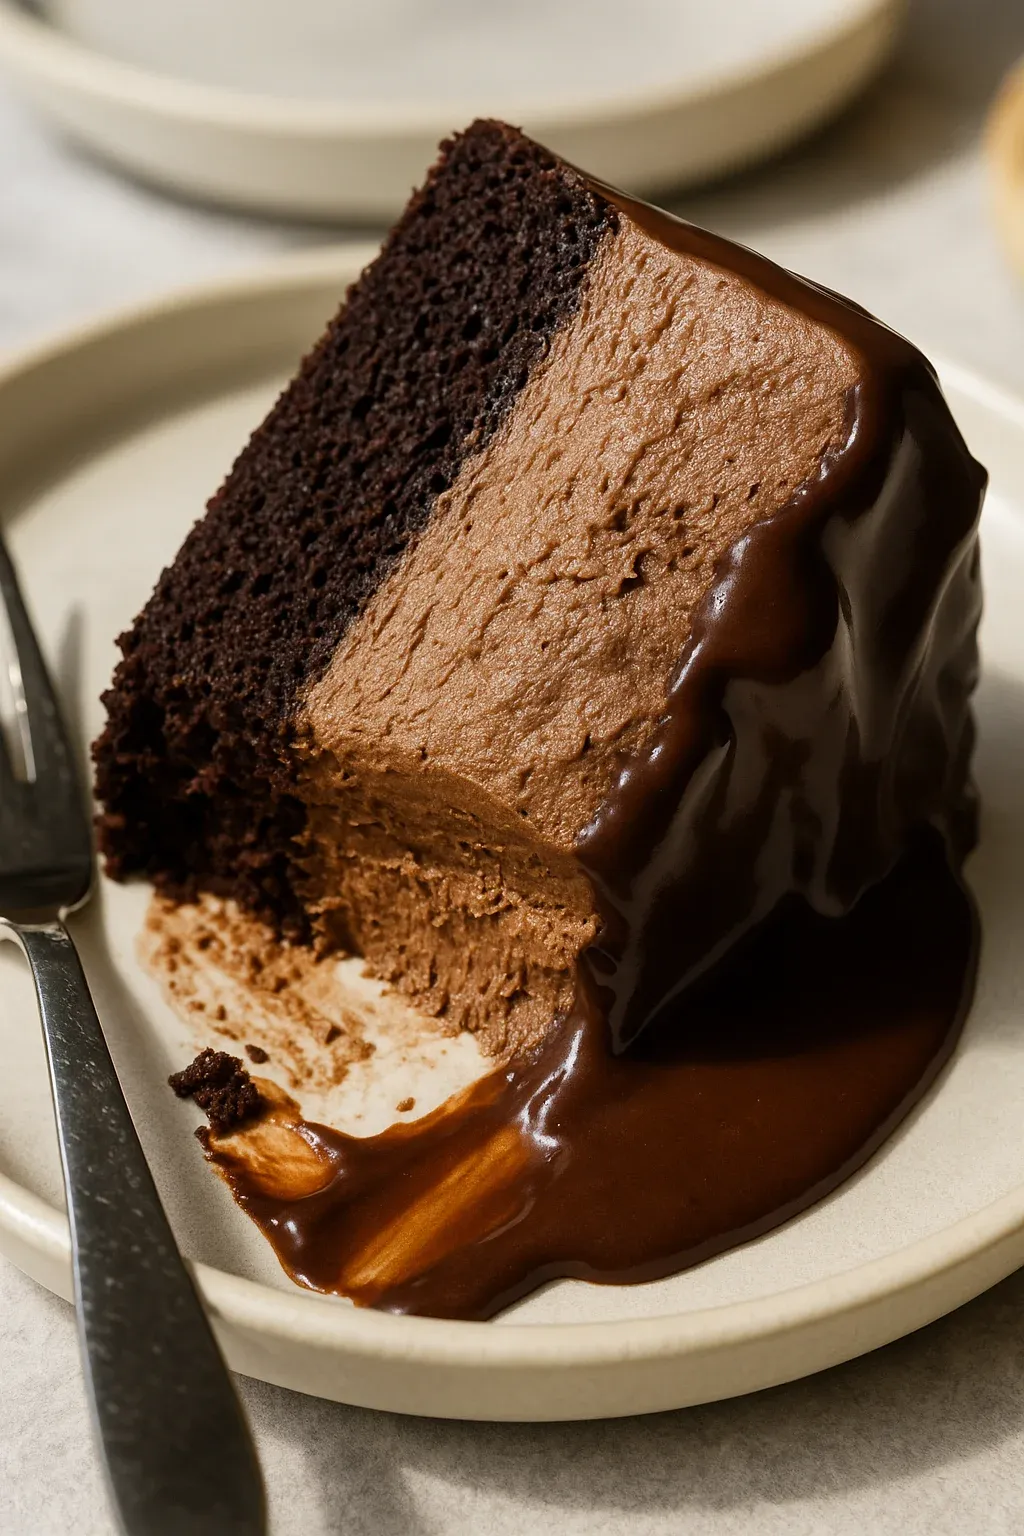
This super easy vegan chocolate mousse cake turns basic pantry items into a fancy sweet treat that'll have everyone begging for more. The mix of soft chocolate cake, fluffy mousse, and smooth ganache makes a dessert that's both indulgent and airy—just right for birthday parties or when you're wanting some chocolatey goodness.
I originally baked this for my doubtful non-vegan buddy's birthday party, and nobody could believe it had zero animal products in it. The airy texture combined with the bold chocolate flavor has turned this into my go-to celebration dessert.
What You'll Need
- All purpose flour or gluten free 1 to 1 baking flour: forms the soft foundation for our chocolate cake base
- Dutch process cocoa powder: gives a deeper, more intense chocolate taste than standard cocoa powder can
- Vegan butter: brings essential moisture and richness to the cake while keeping the texture just right
- Dairy free yogurt: adds a slight tang and helps make the cake crumb super tender
- Hot coffee: brings out the chocolate flavor without making your cake taste coffee-like
- Vegan chocolate: quality bars work way better for creating the creamiest mousse texture
- Vegan heavy cream: what makes the mousse so airy while still holding its shape perfectly
- Granulated and brown sugars: team up to add the right amount of sweetness and moisture
How To Make It
- Get Everything Ready:
- Heat your oven to 350°F and line a 9 inch springform pan with parchment on the bottom and grease the sides. Stick a big mixing bowl and whisk attachment in the freezer for the mousse later. A cold bowl really helps get the cream nice and fluffy.
- Mix Up The Cake:
- Mix all dry stuff in one bowl. In another bigger bowl, combine yogurt, butter, sugars and vanilla. Slowly add the flour mix while pouring in milk. Last, add the hot coffee which makes the chocolate taste amazing and keeps everything moist. Don't worry if the batter seems runny – that's exactly how it should be.
- Bake It:
- Pour your batter into the pan and bake for 33 to 35 minutes until you can stick a toothpick in and it comes out clean. Let it cool in the pan for 30 minutes, then take it out to flatten the top with a big knife. Put the cake back in the springform pan to add the next layers.
- Start The Chocolate Mix:
- Warm up 1 cup of vegan heavy cream until it's hot but not bubbling. Pour this over your vegan chocolate pieces in a bowl, making sure all chocolate gets covered. Leave it alone for a few minutes then stir until it's smooth. Let this mix cool down at room temp.
- Make The Mousse:
- With your cold bowl and whisk, beat the rest of the cold vegan cream until it forms stiff peaks. Carefully fold in the cooled chocolate until it's all mixed together. Your mousse should be airy and keep its shape when you lift the whisk.
- Put It Together:
- Spread the fresh mousse on top of your cooled cake that's still in the springform pan. Use a flat knife to make the top smooth. Chill for at least 3 hours or better yet, overnight, with plastic wrap on top so the mousse doesn't dry out.
- Add The Top Layer:
- About an hour before you want to serve, heat up vegan cream until hot and pour over chocolate. Wait a few minutes then stir until smooth. Let this topping cool for about 30 minutes until it gets thicker but can still be poured.
- Finish It Off:
- Pour the cooled topping over the set mousse to create a shiny surface. Put it back in the fridge for 20 to 30 minutes to let the top set. When ready to serve, run a knife around the edges before opening the springform. Add some fresh berries on top to make it look extra fancy.
 Save
Save
The vegan heavy cream really makes this recipe work. I wasn't sure the first time I tried making dairy-free mousse but was shocked at how well it whipped up. My kid now asks for this cake every birthday and says it's way better than anything from fancy bakeries.
Perfect For Planning Ahead
This dessert actually gets better after sitting in the fridge. All the flavors blend together and the mousse firms up perfectly when it chills overnight. If you're getting ready for a special event, make this a day early to save yourself time and get the best texture. Just add the top layer about an hour before serving so it looks fresh and glossy.
Mix It Up
The standard chocolate version is amazing on its own, but you can easily switch things up for different tastes. Try adding a teaspoon of espresso powder to the mousse for a coffee twist or mix in some orange zest for a chocolate-orange combo. If you like mint chocolate, just put 1/4 teaspoon of peppermint extract in the mousse part. The basic recipe works great with lots of different flavor pairings.
What To Serve With It
This cake is pretty amazing by itself, but a few extra touches can make it even better. Fresh raspberries or strawberries give a nice tangy contrast to the rich chocolate. A spoonful of coconut whipped cream on the side adds another creamy element. For fancy occasions, sprinkle some cocoa powder through a paper cutout to make a pretty design on top before bringing it to the table.
Fixing Common Issues
If your mousse won't set properly, your stuff might've been too warm. Make sure your heavy cream comes straight from the fridge and your chocolate mixture has cooled down completely before you mix them together. Your bowl and whisk need to be super cold to get the cream to whip up right.
 Save
Save
Recipe FAQs
- → How can this cake be made gluten-free?
To make this gluten-free, just use a 1:1 gluten-free all-purpose flour mix like King Arthur's Measure for Measure instead of regular flour.
- → Is it possible to prepare this dessert ahead of time?
You sure can! Make it the day before, put the layers together, and let it rest in your fridge overnight so the mousse settles perfectly.
- → What’s the best way to keep leftover cake fresh?
Keep any leftovers in a sealed container in your freezer. It'll stay tasty for up to two months. Just let it thaw in the fridge when you're ready to eat.
- → What can I swap for coffee in the batter?
Not into coffee? No problem! Use hot water or plant milk instead to get a similar deep chocolatey flavor.
- → What’s the best type of vegan cream for this dessert?
Look for vegan cream with a high fat content. Coconut cream or something soy-based both whip up beautifully for the mousse and ganache.