
 Save
Save
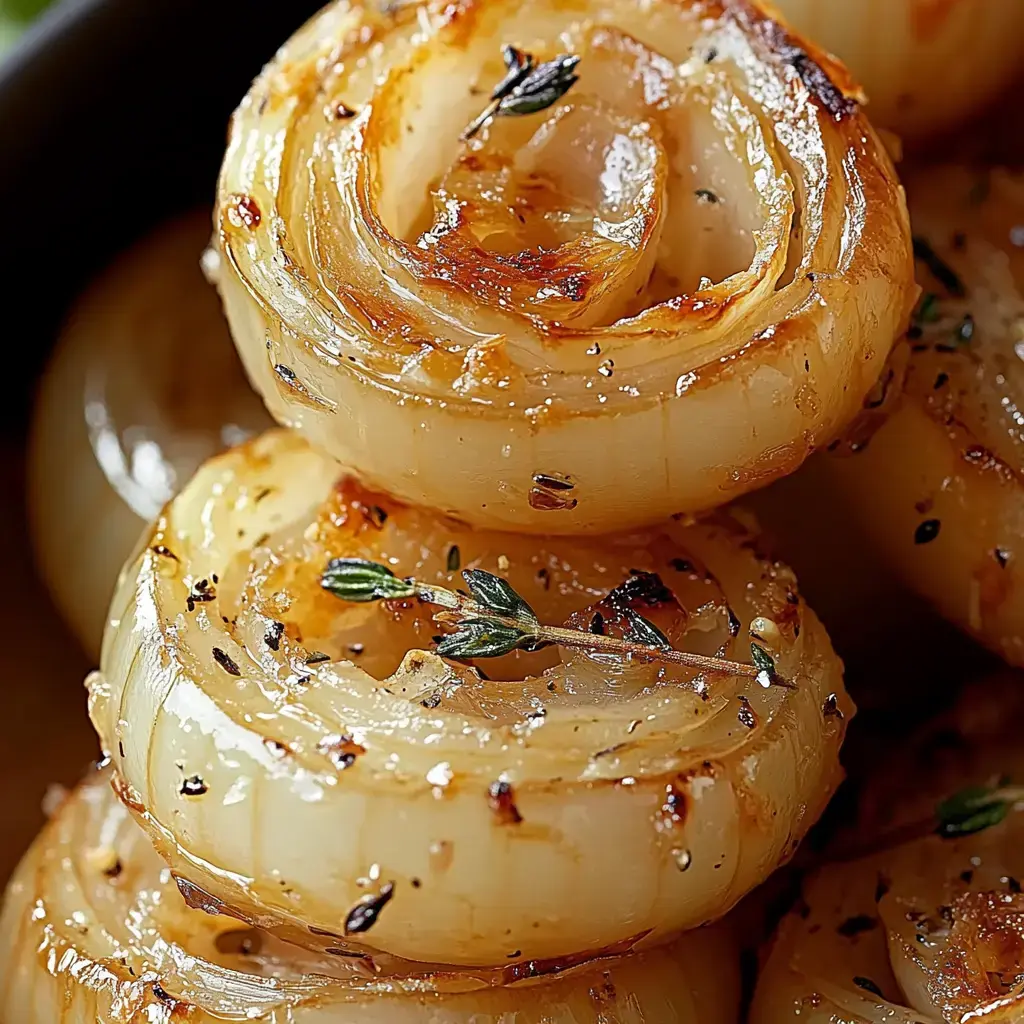
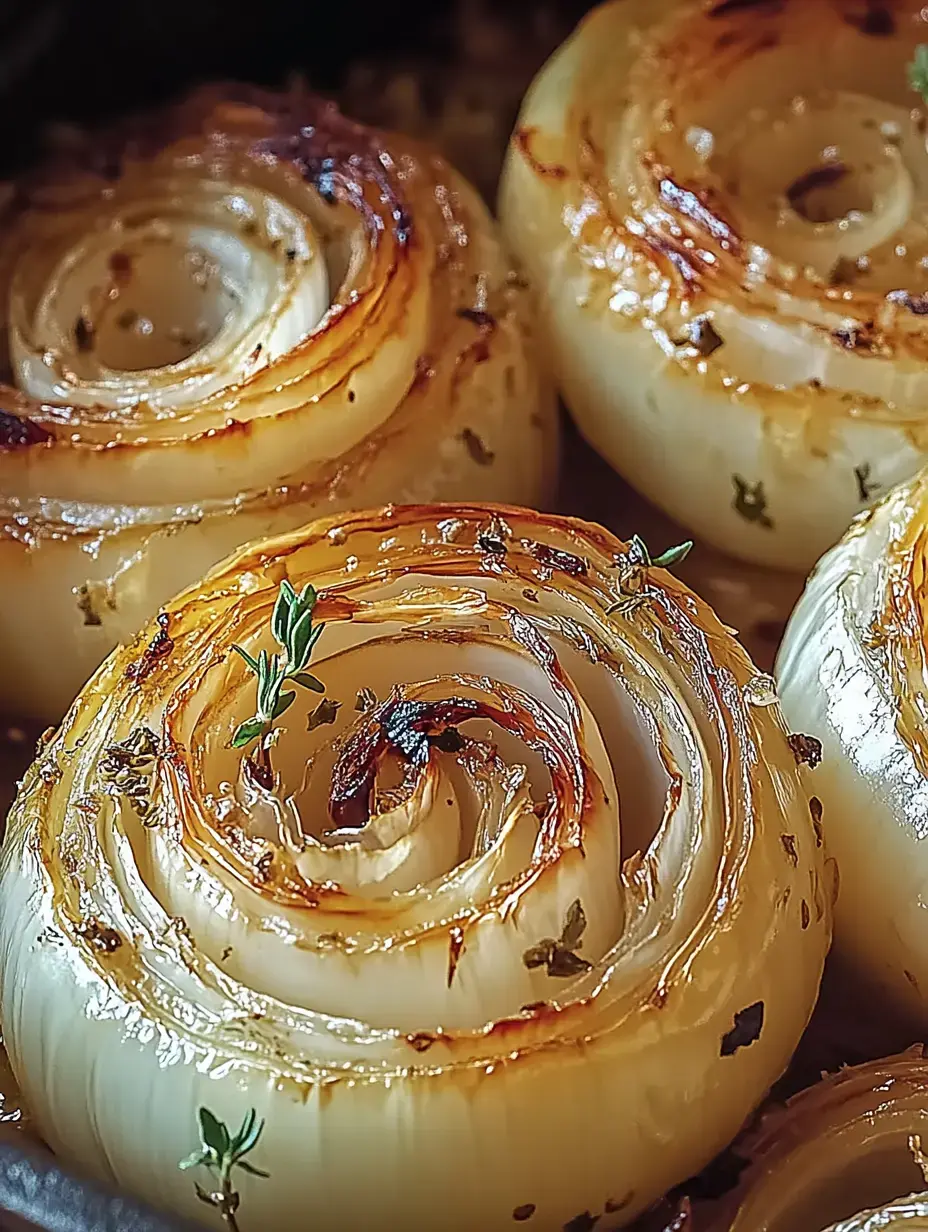
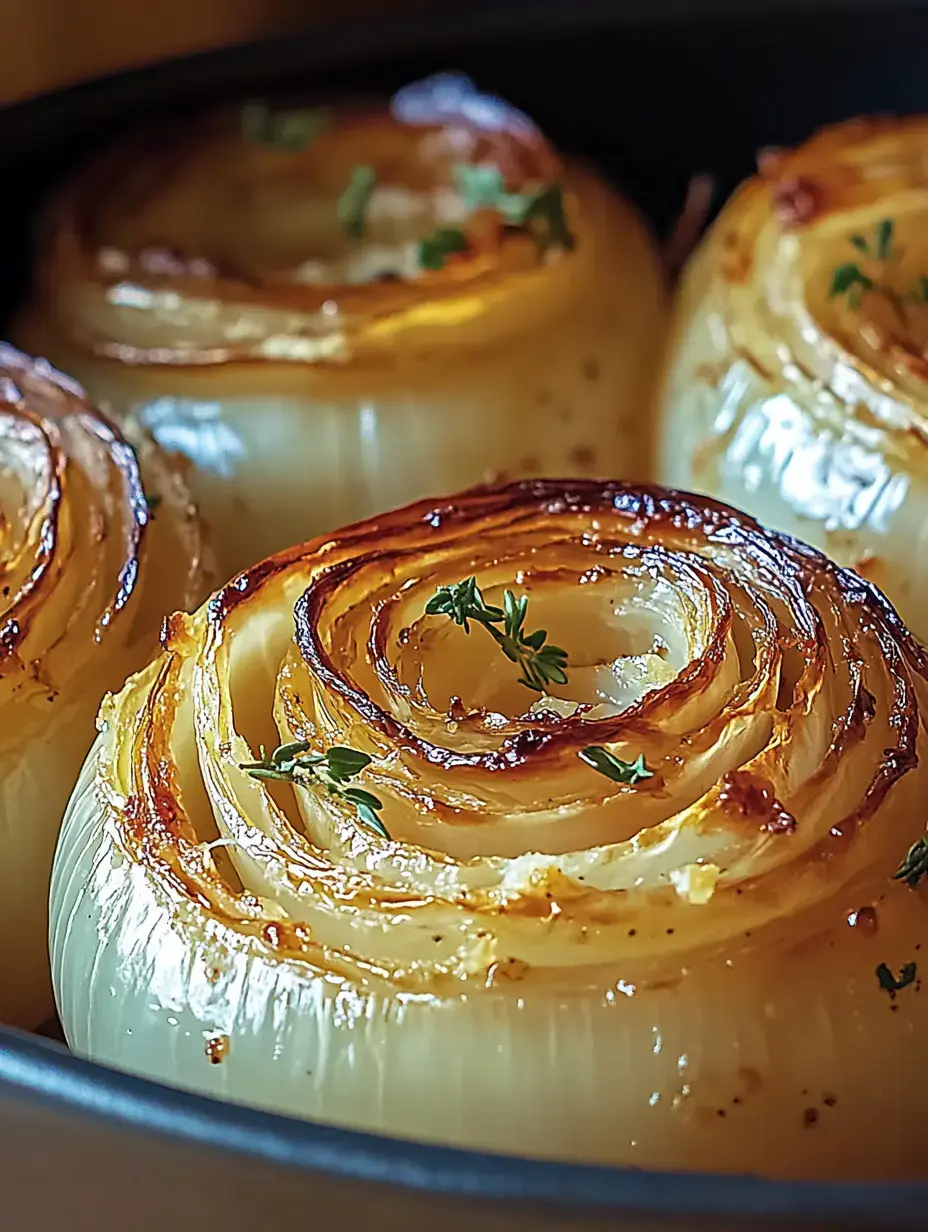
Irresistible Tennessee Onions
I've tried tons of versions, but this take on Tennessee onions is kitchen magic for me. Sweet onions bake down into silky, cheesy goodness. It's so good, you'll never believe this is just a sidekick to the main dish.
 Save
Save
What Makes This So Special
This one's all about keeping things easy. When those onions soften up and the cheesy top gets perfectly browned, everyone at the table wants a second helping. Even folks who aren't big on onions can't stay away.
What You’ll Need
- Butter: Melts in to give a delicious taste and a beautiful, golden look.
- Fresh Parsley: Scatter some across the top to add a bright pop.
- Mozzarella and Parmesan: They melt together for creamy bites with a zingy kick.
- Sweet Onions: Grab Vidalias if you can, but Walla Walla or Maui onions totally work too.
- Garlic Powder and Smoked Paprika: These spices don’t shout, but they sure make the flavors sing.
- Heavy Cream: This ties it all together and brings extra richness.
How To Make It
- Let It Rest
- Hold off a few minutes when it comes out of the oven, so everything stays in place and doesn't fall apart.
- Pre-bake Prep
- Slice and peel onions so they all cook evenly. Lay out your cheeses and spices so they’re ready to go.
- Layer Ingredients
- Grease the dish, then start stacking onions, drifting in plenty of cream and cheese as you go, so all the bites taste amazing.
- Oven Time
- Cover with foil and slide into a 375°F oven for thirty minutes. Pull the cover off and keep baking until you see golden bubbles, about fifteen more minutes. Top with parsley before serving.
Insider Tricks
Slice onions as thin as you can for quicker bake time and easier stacking. Too much onion juice? Blot it off before you build your layers so your finished dish isn’t soggy.
Tasty Twists
Want a smoky vibe? Toss in some crumbled bacon. Swap in Gruyere for more nutty flavor. Like it spicy? Go for a hit of red pepper flakes or a dash of your favorite hot sauce.
Top Serving Ideas
These onions pair perfectly with barbecue ribs, roast chicken, or a juicy steak. Or keep it meat-free—serve with garlic bread and a crisp salad for a simple meal.
 Save
Save
How to Keep and Warm Up Leftovers
Pop any extras into a sealed container and stick it in the fridge for up to three days. Warm them back up at 350°F in the oven 'til they're hot and tasty.
Prepping in Advance
Go ahead and assemble everything, then stash it in the fridge before you bake. If you’re pulling it straight from cold, add ten or fifteen extra minutes to the cooking time.
Why You’ll Be Hooked
It turns a basic onion into something fancy and comforting, no stress needed. Everyone loves how easy—and impressive—it is.
Extra Special Touches
If you want to really wow ’em, add layers of slow-cooked caramelized onions with the raw ones. Or drizzle a little truffle oil over the top right before serving for a fancy finish.
How to Freeze It
This side holds up super well in the freezer. Build it in a foil pan, wrap tightly, and freeze for up to three months. To serve, bake it frozen at 375°F for a whole hour.
Always a Hit
I can't take this to a party without people asking for seconds. It’s basic, but tastes so rich and over-the-top everyone wants the secret.
Recipe FAQs
- → What kind of onions should I use?
- Go for sweet ones like Vidalia or Walla Walla since they’re mild and tasty. Regular yellow onions will work too but taste a bit stronger.
- → Is it okay to prepare this in advance?
- Absolutely! You can put it together a day early and chill it. Just bake it fresh when you’re ready to eat.
- → What goes best with this dish?
- It’s fantastic next to grilled meats like steak, chicken, or pork. You could also serve it with mashed potatoes or on top of crusty bread.
- → Are other cheeses an option?
- Of course! Gruyere or even sharp cheddar are great alternatives. Just pick at least one cheese that melts nicely.
- → Why use foil while baking?
- The foil makes them softer by trapping steam. Taking it off at the end crisps and browns the cheesy top—perfection!