Delicious Red Velvet Treat

Category: Sweet Treats for Every Craving

Blend butter and cocoa with sugar, eggs, and dye. Stir in dry mix, bake to fudgy perfection. Add white chocolate drizzle if you’d like.
Clare Greco
Updated on Tue, 10 Jun 2025 14:26:20 GMT
Mouthwatering Velvety Brownie Squares Save
Mouthwatering Velvety Brownie Squares | homebitesbyana.com

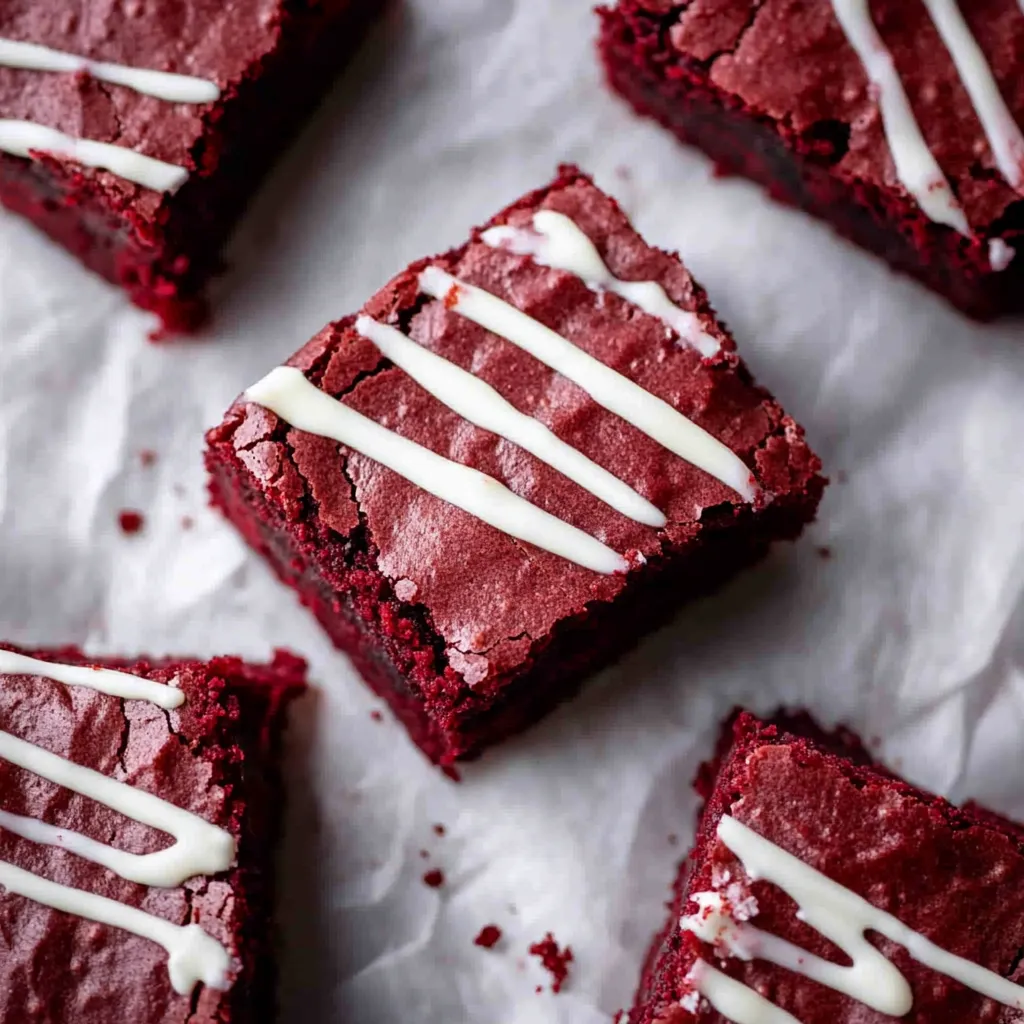
Turn those standard brownies into jaw-dropping red velvet bars. You get melt-in-your-mouth chocolate with just enough tang to make you want another bite. Rich chocolate and bold red color make these impossible to resist.

I’ve tried just about every way to bake these and finally landed on the sweet spot between chocolate and zing. They stay gooey for days, so you can turn them into snacks ahead of time.

Irresistible Ingredients

  • All-Purpose Flour: Level your measuring cup for consistency every time
  • Red Gel Food Coloring: Helps that gorgeous deep red pop
  • White Vinegar: Brings that signature tangy bite
  • Cocoa Powder: Just a little—you want that chocolate to peek through
  • Semi-Sweet Chocolate: Go with good stuff—it melts smoother
  • Butter: Unsalted works best so you control salty vibes
Ultimate Fudgy Red Velvet Brownies Save
Ultimate Fudgy Red Velvet Brownies | homebitesbyana.com

Making Brownies Easy

Baking Beauty:
It’s better if you take them out of the oven a little gooey instead of dry—keep an eye out.
Gentle Fold:
Don’t over-mix the dry stuff. Stop once it just comes together or you’ll lose that fudgy bite.
Color Magic:
Add coloring bit by bit—it doesn’t take much for an awesome red look.
Perfect Mix:
Make sure eggs are blended all the way in with your wet mix so it turns out extra smooth.
Chocolate Base:
Start by letting your butter and chocolate hang out together over low heat, so everything melts without any lumps.

The story behind red velvet is actually super cool. That famous color used to show up naturally—cocoa would mix with acid and create a reddish tint. Now we get that bright color using food dye but still keep that old-school tanginess.

Sweet Finishing Touches

Go simple and pile on whipped cream, scoop some vanilla ice cream, or swipe on cream cheese icing. For some sparkle, dust with powdered sugar, or pour a little white chocolate on top.

Fun Upgrades

Toss in white chocolate chips for an extra creamy surprise. Swirl some cream cheese into your batter for a tangy twist. Or marble it with standard brownie mix for a wild look.

Simple Storage

Pop them in a sealed box on your counter—they’ll be good for three days. Want to stack them? Use parchment so they don’t stick. You can even freeze them for a couple months, no trouble at all.

Simple Red Velvet Brownies Save
Simple Red Velvet Brownies | homebitesbyana.com

These bars are my go-to treat for celebrations. The way deep chocolate goodness mixes with that zippy red velvet flavor never fails to wow people. Shows how flipping an old favorite can lead to something totally new and awesome.

Velvety Brownies

Soft and fudgy red velvet bars, packed with flavor and the option to drizzle white chocolate on top.

Prep Time
15 min
Cooking Time
30 min
Total Time
45 min
By: Ana

Category: Desserts

Skill Level: Intermediate

Cuisine: American

Yields: 16 Servings

Dietary Preferences: Vegetarian

Ingredients

→ Liquid Mix

01 1 teaspoon vinegar (white)
02 3/4 cup melted butter (unsalted)
03 2 large eggs, beaten
04 1/2 tablespoon red food coloring (gel)
05 2 oz chopped semi-sweet chocolate bar
06 1 1/4 cup fine granulated sugar
07 2 teaspoons vanilla flavoring

→ Powders

08 1/4 teaspoon table salt
09 2 tablespoons cocoa powder (unsweetened)
10 1 1/4 cup all-purpose plain flour

→ Extras (Optional)

11 1/2 cup chips of white chocolate

Steps

Step 01

Turn oven to 350°F and line an 8x8 pan with baking paper.

Step 02

Warm butter and chocolate in the microwave, 30 seconds at a time, stirring after each round, until smooth.

Step 03

Blend sugar with the melted mix. Add eggs one by one, then stir in vinegar, vanilla, and food gel.

Step 04

Whisk together flour, cocoa, and salt. Slowly add to the wet mix, stopping as soon as it’s combined.

Step 05

Spread the batter evenly in the pan. Bake for 30-35 minutes, checking with a toothpick for a few sticky crumbs.

Step 06

Allow to cool fully. Optional: drizzle melted white chocolate and slice into squares.

Notes

  1. Keeps fresh up to 3-4 days in an airtight container at room temp
  2. Freezes nicely for up to 3 months
  3. For a fudgy texture, avoid overbaking

Required Equipment

  • Square 8x8 baking tray
  • Nonstick baking parchment
  • Safe bowl for microwave use
  • Various mixing bowls
  • Whisk or mixing spoon

Allergen Information

Review each ingredient for potential allergens and consult a healthcare professional if needed.
  • Includes dairy products
  • Eggs are used in this
  • Contains wheat/gluten

Nutrition Facts (Per Serving)

These details are for informational purposes only and don’t replace medical advice.
  • Calories: 183
  • Fat: 9 g
  • Carbs: 23 g
  • Protein: 2 g