
 Save
Save
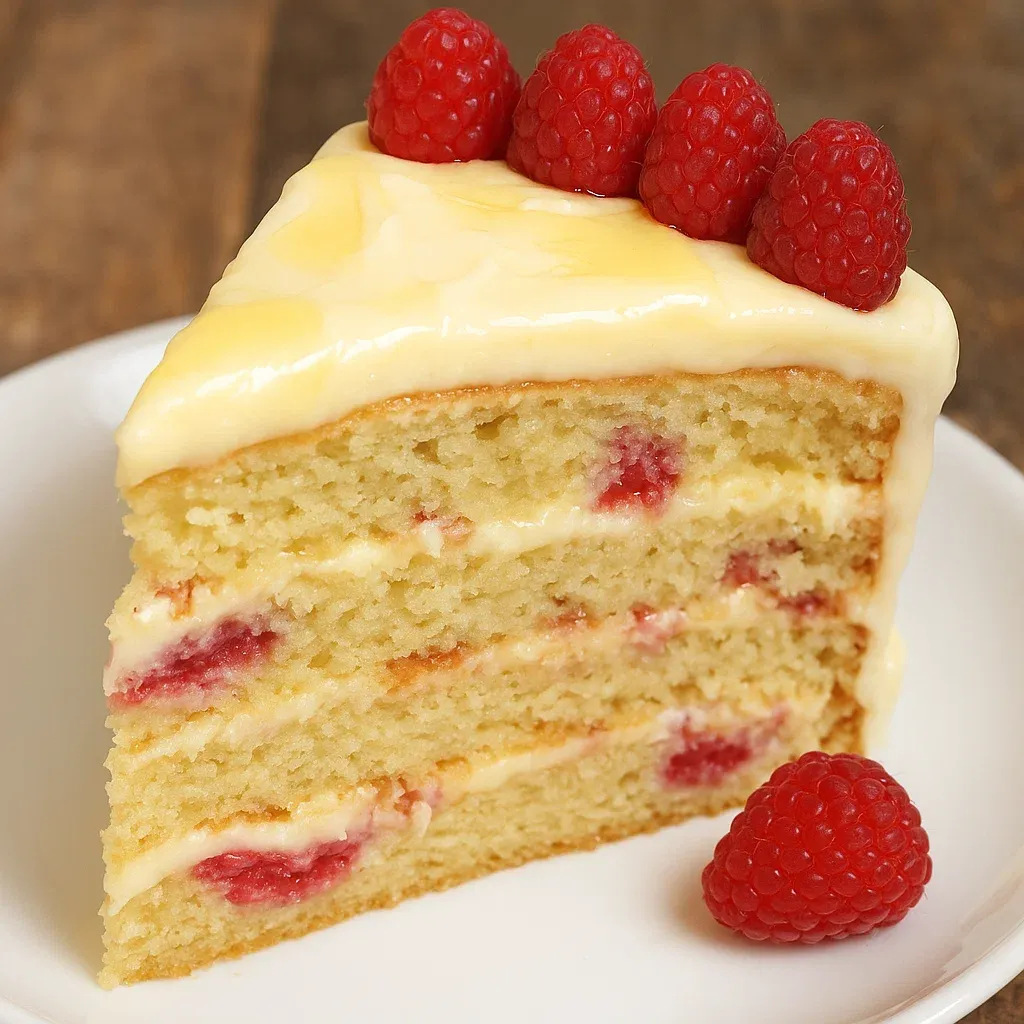
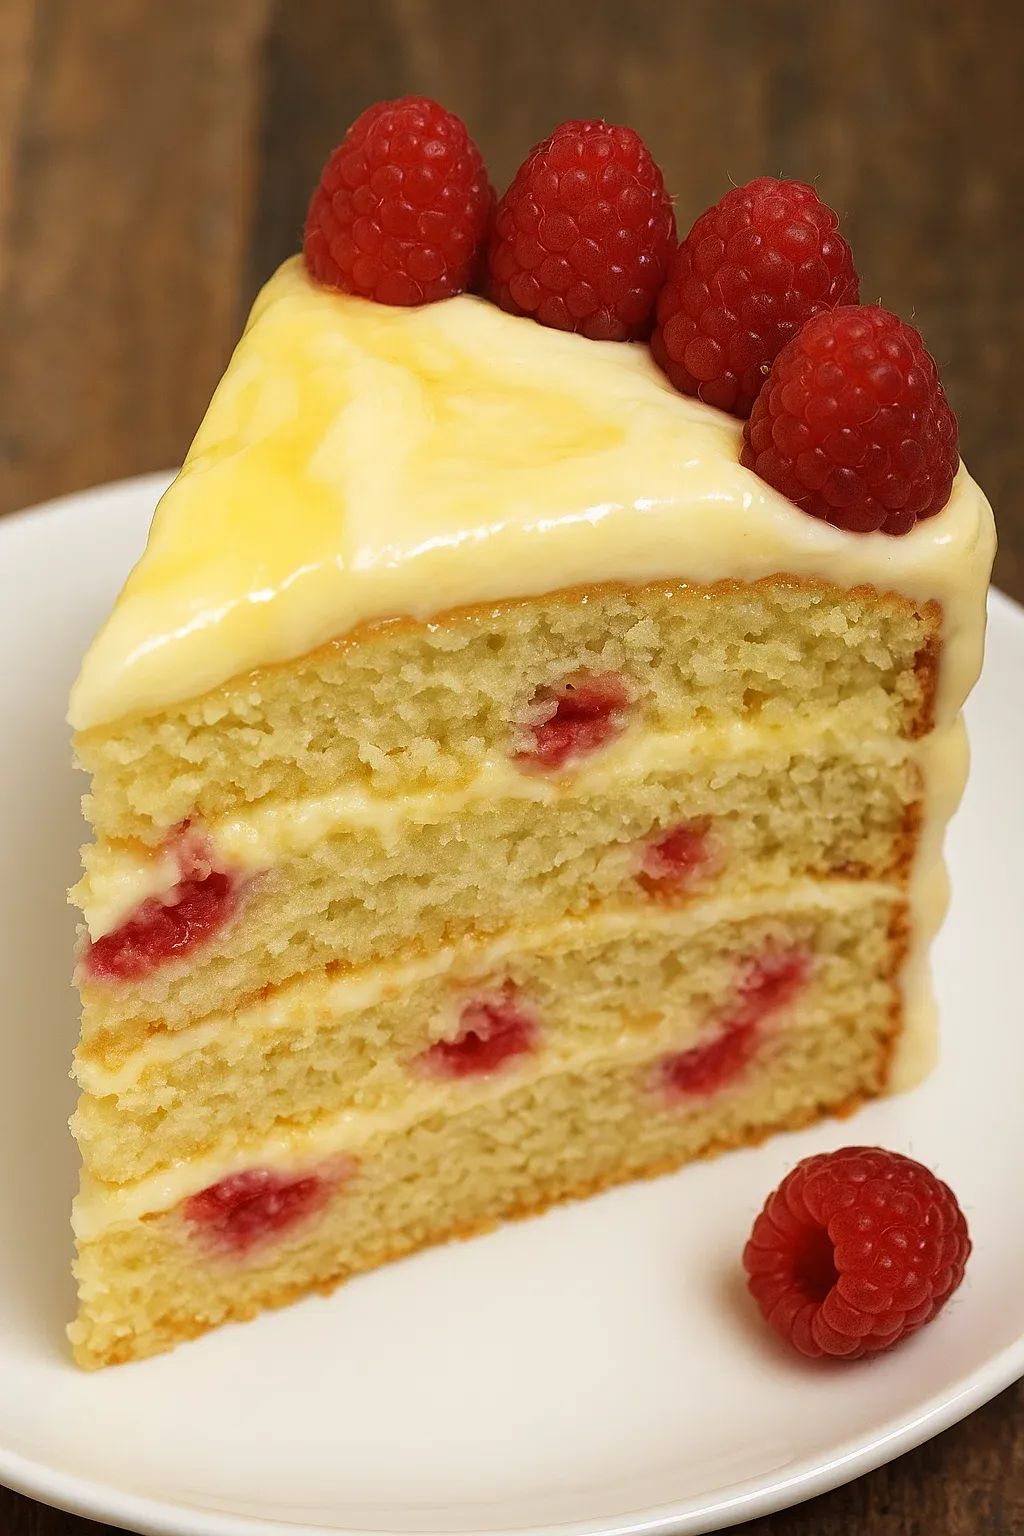
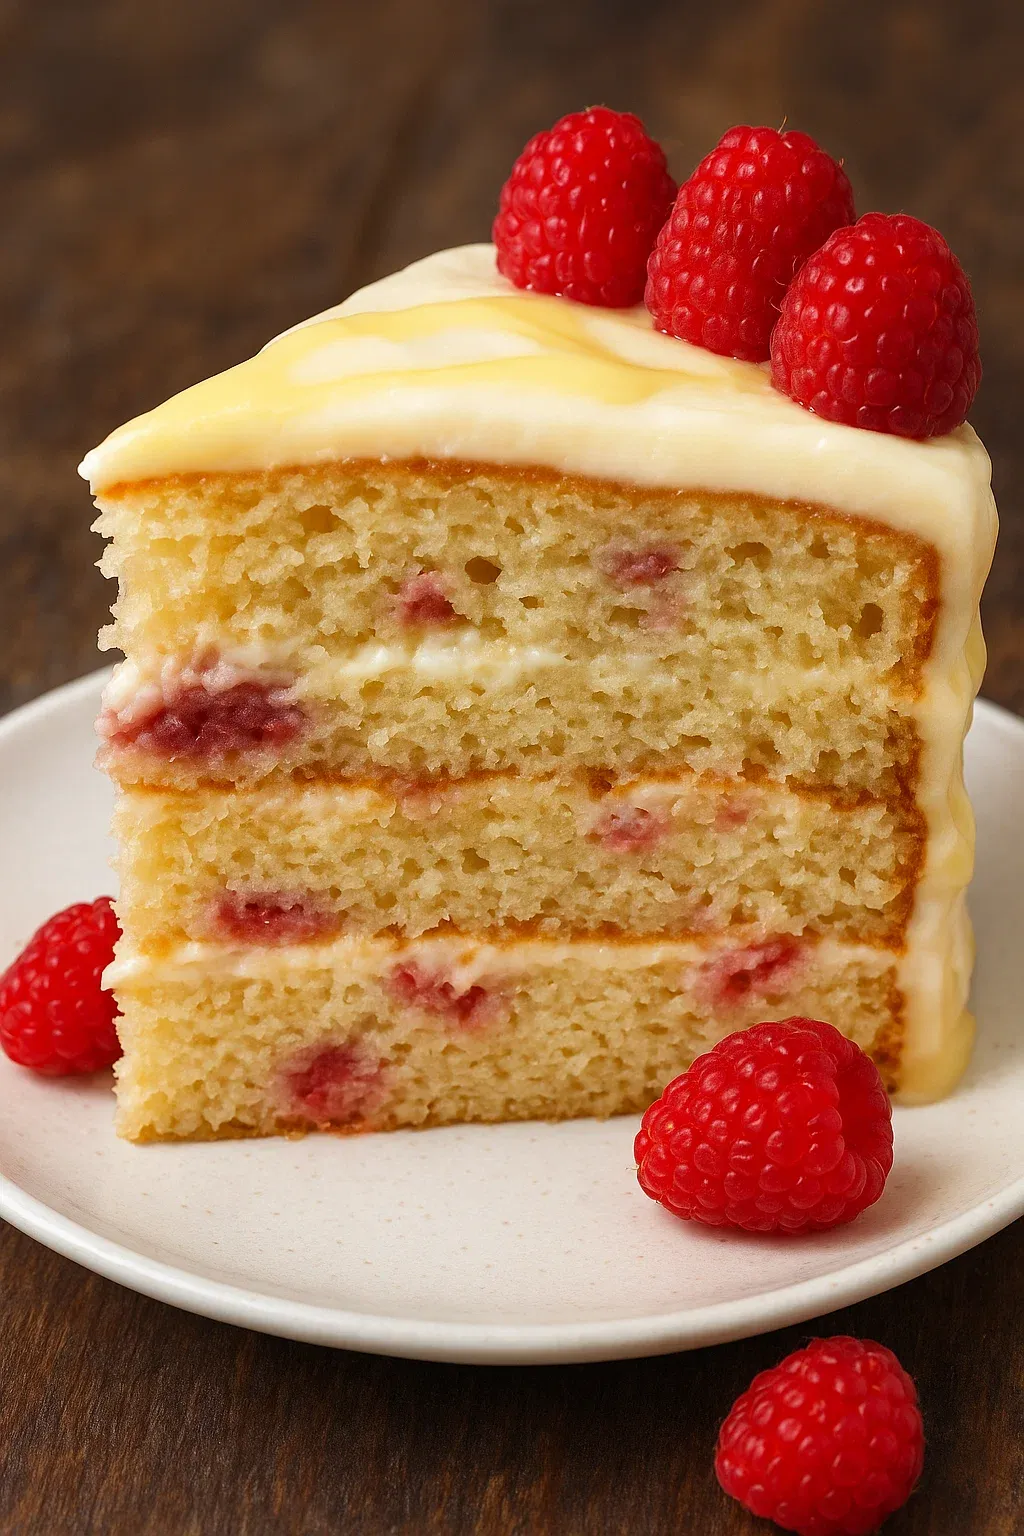
This sunshiny lemon raspberry cake brings summer to your table! Tangy citrus and sweet berries come together under a fluffy vanilla buttercream that'll make your taste buds dance with joy.
I whipped this up for my daughter's backyard bash, and everyone went crazy for the zingy lemon mixed with fresh raspberries. It's now our favorite way to celebrate when berry season rolls around.
What You'll Need
- Gluten Free flour: gives you that amazing soft texture with no sandy feel
- Unsalted butter: lets you fine-tune the taste just how you want it
- Fresh raspberries: add pops of juicy tartness in every bite
- Lemon zest and juice: pack each mouthful with bright, fresh flavor
- Plain yogurt: keeps everything moist while boosting the lemony taste
- Baking powder and baking soda: team up for the ideal lift
- Powdered sugar: makes your frosting super smooth and velvety
How To Make It
- Get Everything Ready:
- Turn your oven on to 350°F and coat your cake pans with nonstick spray. Don't miss any spots or you'll regret it later when your cake won't come out. Nobody wants a broken cake!
- Mix Your Foundation:
- Beat the butter, lemon zest, and sugar together for a full 5 minutes. This long mixing time puts tiny air bubbles in the mix that'll make your cake super fluffy. You'll notice the butter getting way lighter as you go.
- Add The Wet Stuff:
- Mix in your eggs, milk, lemon juice, and yogurt until well blended. Don't worry if it looks a bit lumpy or weird at this point – the lemon acid does funny things to dairy but it'll all work out when you add the dry ingredients.
- Get The Dry Ingredients Ready:
- Run your gluten free flour, baking powder, baking soda, and salt through a sifter. This quick step breaks up any lumps and makes your cake turn out much lighter. It only takes a minute but makes a big difference.
- Bring It All Together:
- Slowly add your dry mix to the wet mix, stirring just enough to combine them. Don't go crazy with mixing or you'll end up with a tough cake. Stop as soon as you don't see any dry spots anymore.
- Throw In The Berries:
- Gently fold in your raspberries. You want to spread them out evenly without smashing them, which would make your batter too wet and pink. A rubber spatula works great for this job.
- Bake It Up:
- Pour the mixture evenly into your pans and bake for 28-33 minutes. Your cakes are done when they bounce back slightly when touched and a toothpick comes out mostly clean when poked in the middle.
- Whip Up Your Frosting:
- Beat your room temp butter until it's super smooth, then add powdered sugar one cup at a time. This stops sugar from flying everywhere and helps it mix in right. The lemon juice makes it taste fresh and cuts the sweetness down.
 Save
Save
I really love the part where you mix in those fresh raspberries. The way they turn into little jammy surprises throughout the cake takes me back to picking berries with my grandma when I was little. She always told me that fruit desserts bring twice the joy.
Picking The Best Berries
For this cake, go for bright, plump raspberries that feel firm. Stay away from any that look squished, have fuzzy stuff growing, or seem too wet in the package. Can't find fresh ones? Frozen work too, but don't thaw them first. Add them to your batter while they're still frozen so they don't turn your cake batter pink and soggy.
Switch Things Up
This cake is super flexible. Try blackberries or blueberries instead of raspberries if you want. Want to make it extra fancy? Spread a thin layer of lemon curd between your cake layers before you frost it. Or throw some white chocolate chips into the batter – they go really well with the tangy lemon and make little melty spots throughout.
Keeping It Fresh
You can keep this cake on your counter for a couple days in a cake box or under loose plastic wrap. If you need it to last longer, stick it in the fridge for up to five days, but let it warm up before eating so it tastes better. Want to plan way ahead? The cake layers freeze great for up to three months if you wrap them tight in plastic and then foil.
 Save
Save
Recipe FAQs
- → Is it okay to use regular flour instead of gluten-free?
Yes, swapping all-purpose flour works just fine. Just keep an eye on the batter texture as it might feel a bit different.
- → Can frozen raspberries replace fresh ones?
Frozen raspberries work, but you’ll need to let them fully thaw and drain any extra liquid, or the batter could get soggy.
- → What’s the trick to keep the raspberries from sinking?
Dust the raspberries lightly with some flour before you mix them in. That should help them stay spread evenly in the cake.
- → Can I bake the layers ahead of time?
You sure can! Bake the layers up to two days early, wrap them tightly, and store in the fridge or at room temperature. Frost them later when ready to serve.
- → How long will this cake stay good?
Keep it in a sealed container at room temperature for 3 days, or in the fridge for a longer shelf life.
- → Can I use another frosting flavor?
Of course! Try adding a splash of almond extract, vanilla, or even some raspberry syrup for extra flavor.