
 Save
Save
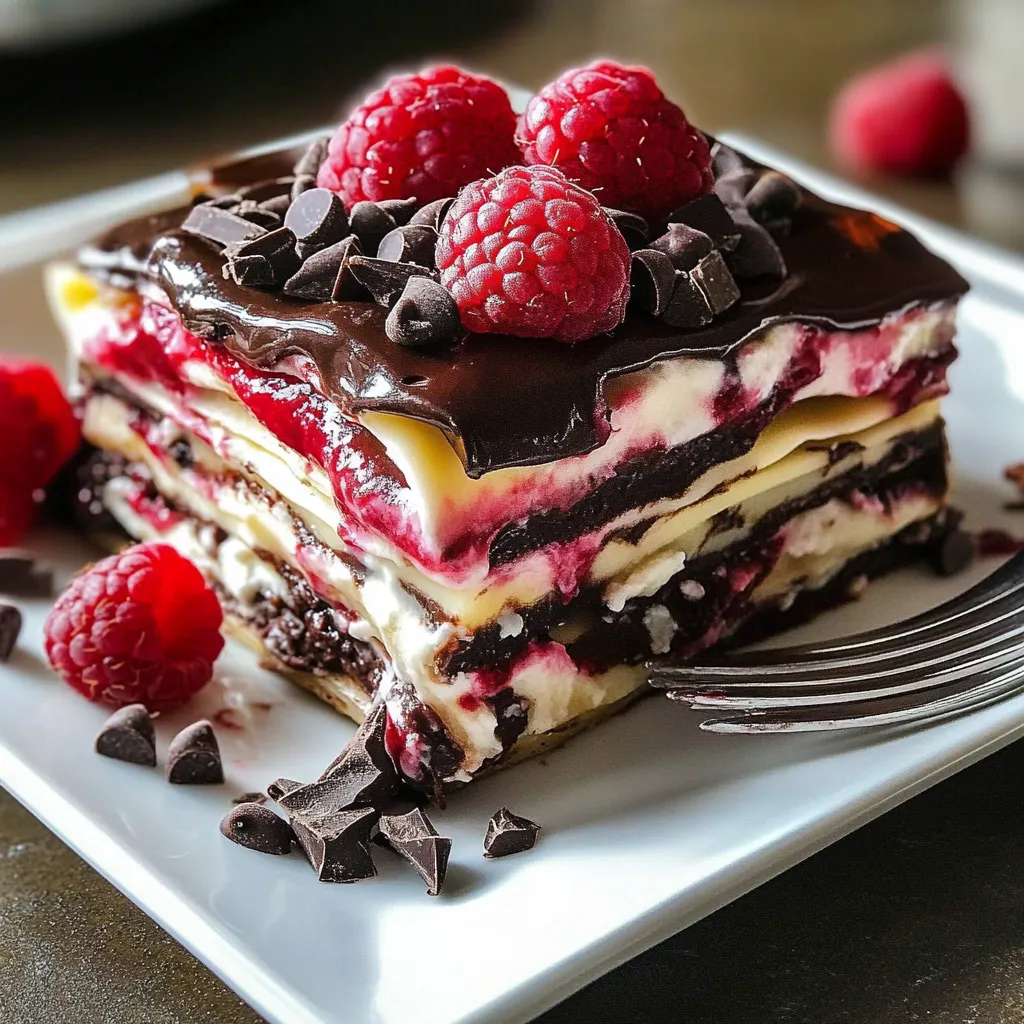
Dive into a raspberry chocolate dessert lasagna that turns basic staples into a jaw-dropping, layered treat. This chilled wonder brings together a crispy chocolate cookie bottom, smooth chocolate pudding, zesty raspberry-kissed cream cheese, and clouds of pillowy whipped topping. Each layer gives its own vibe—deep chocolatey goodness, fresh fruity tang, and sweet creaminess—all without you ever going near the oven. I stumbled on this dish during a sticky summer get-together when even looking at my oven felt like torture, and now it's my go-to show-off dish for any event where I want folks talking but don't want to sweat it out.
The first time I brought this out for my family's reunion, even my cousin—who's hilariously picky—asked for details before she was halfway done. The magic is how every layer keeps its own taste but they all meld together so well. The combo of creamy coolness with an occasional crumbly crunch keeps everyone nibbling 'just one more bite.' My dad, who skips anything with fruit, says it's the only dessert that nails both chocolatey comfort and fresh berry perk. Oh, and that pop of raspberry color? It makes every slice look Instagram-ready and mouthwatering.
Lively Ingredients
- Chocolate Sandwich Cookies: Kick things off with a crunchy, chocolatey layer. Leaving or removing the cream inside is up to you—ditch it if you want extra chocolate oomph.
- Cream Cheese: Brings tang and heft to the creamy parts. Full-fat is where you'll get the biggest flavor hit and fluffiest feel.
- Heavy Whipping Cream: Gets whipped for fluff and makes everything rich; its high fat makes for sturdy, dreamy peaks.
- Powdered Sugar: Adds smooth sweetness and keeps whipped stuff light and airy. It dissolves so you never get grit.
- Quality Chocolate Pudding: Brings slick, chocolatey melt and depth to the whole thing. Homemade pudding? Even better, but instant is perfectly good when in a hurry.
- Fresh Raspberries: Provide bold color and kicky berry flavor that cuts through all that chocolate in the best way.
- Pure Vanilla Extract: Gives everything an extra cozy smell and taste. Real extract (skip the fake stuff) really steps things up.
Simple Assembly
- Finish with Fluffy Topping:
- Cap everything off by whipping up the final layer. While you could grab a store-bought whipped topping, whipping up chilled heavy cream with a splash of vanilla and a bit of powdered sugar makes things next-level. Beat until it's thick and keeps its shape, then gently spread it all over the raspberry filling, swirling it as you go. Top with extra cookie crumbs, shaved chocolate, and a scatter of whole raspberries. Wrap the dish up with plastic (stick a few toothpicks in so it doesn’t touch the topping), and pop it in the fridge for at least 4 hours or all night. The wait gives the layers time to set and come together, so you get neat slices and punchy flavors.
- Fold Together Raspberry Layer:
- While the chocolate is firming up, grab your softened cream cheese and beat it smooth—lumps are not your friend here. Add in powdered sugar and vanilla as you go, making it fluffy. Smash up fresh raspberries with a fork (leave a few chunky bites!), and fold those in too; thaw and drain well if you're using frozen. For something totally smooth, blend the berries and remove seeds before mixing. Next, whip up heavy cream until it’s thick and fluffy, and gently fold it in. Don’t mix too hard or you'll lose that fluffiness. Once it’s all together, take your dish from the fridge, and carefully layer this rosy mix over the set chocolate pudding. Level it out for full effect.
- Make the Chocolate Layer:
- Once the crust is chilling, it's chocolate time. Mix pudding mix with a little less milk than the box says (about 1/4 cup less keeps it thicker), and whisk for a couple of minutes till it starts to set. If you went homemade, make sure it’s fully cooled. Want more chocolate? Add a spoon or two of cocoa powder. Get your crust from the fridge, then smooth the chocolate pudding over the base—don't press too hard or you might disturb the bottom. Spread it out flat, then pop the whole thing back in the fridge for at least half an hour to firm up the chocolate layer.
- Set Up the Cookie Crust:
- Start here: crush up your chocolate sandwich cookies so they're fine crumbs—just blitz 'em in a food processor. You can scrape out the white centers if you want nothing but chocolate, but it's totally optional. Chuck the crumbs in a bowl, pour over melted butter, and mix until it sticks together a little like wet sand. If you're not sure you've got enough butter, add a bit more at a time. Enough when you press and it holds its shape, but not soggy. Press into the bottom of a 9x13 pan, using a measuring cup for evenness, and don't forget those corners. Stick it in the fridge while you prep the next layer so it gets firm and ready to hold all the good stuff on top.
 Save
Save
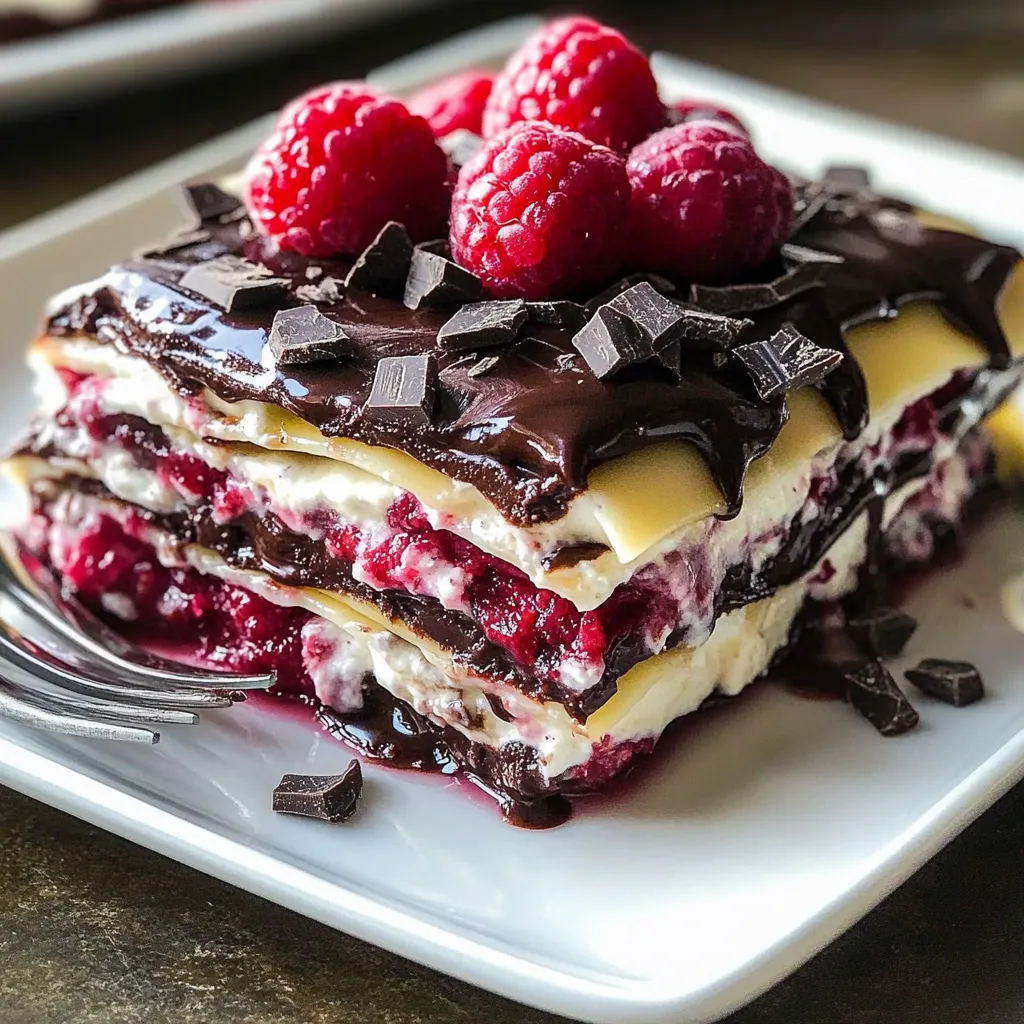
I only realized layers have to be totally chilled after I hurried once and ended up with a pink raspberry blob sinking into the chocolate. Learned my lesson after a pastry chef buddy clued me in that each layer needs real chill time to keep things looking sharp. We especially love making this when raspberries are in season in the summer. My daughter’s become the expert on getting the layers all flat and lined up—she loves the big, colorful cut. We’ve made it our party cake for happy days, and everyone always asks for 'that pink and chocolate thing' now when there’s something to celebrate.
Ways to Serve
This treat fits any vibe. For laid-back hangouts, cut chunky squares and plate them up with extra berries for color and freshness. Bright fruit against the white topping is always a hit visually. For upscale events, slice smaller, tidy servings with a hot, clean knife, lay them on white plates, and dust on a little cocoa or powdered sugar. Finish with a mint leaf and a single raspberry for that fancy touch. For parties, you can even spoon individual portions into clear jars or small cups so everyone gets a peek at those gorgeous stripes through the glass.
Fun Variations
Mint Chocolate Chill: Give it a cool twist by swapping the raspberry bit for a cream cheese and mint mix. Mix in some mint extract and chopped mint chocolates. Add a drop or two of food coloring for minty-green color, and this becomes a knockout for holidays or hot days.
Peanut Butter Crush: For dreamy peanut butter fans, add a thick peanut layer between crust and chocolate. Stir together soft cream cheese, smooth peanut butter, and powdered sugar. Replace raspberry cream with vanilla cream cheese on top for a nod to peanut butter cups, but fancier. Kids and PB-lovers will totally devour this!
Berry Bonanza: Longing for more fruit? Mix raspberries, strawberries, and blackberries for a deeper berry flavor in your cream cheese layer. Grate in some lemon zest to brighten things up. You’ll get that sweet-sour berry mix that goes perfectly with the deep chocolate, plus speckled color and fun textures.
Storage Tips
Stash in the Fridge: Keep this whole thing covered and cold for up to five days. Flavors get even better by the second day. Let it cool fully before popping it in the fridge, so you don’t get soggy layers.
Freeze Like a Champ: You can freeze leftovers for about a month if you seal it up. Some textures, especially fruit, might soften, but it’ll still taste fantastic. Let it thaw overnight in your fridge, and toss a little fresh herb or berry on top for a flavor boost if you want. Freezing changes the berry layer’s look a bit, but you'll still love the taste.
Perk It Up: If it’s been stashed for a tad, wake up the flavors just before serving with a splash of vanilla, a twist of pepper, or some bright chopped herbs like mint. Let it sit out 10-15 minutes before slicing so it’s not ice cold and you really get all the flavors.
 Save
Save
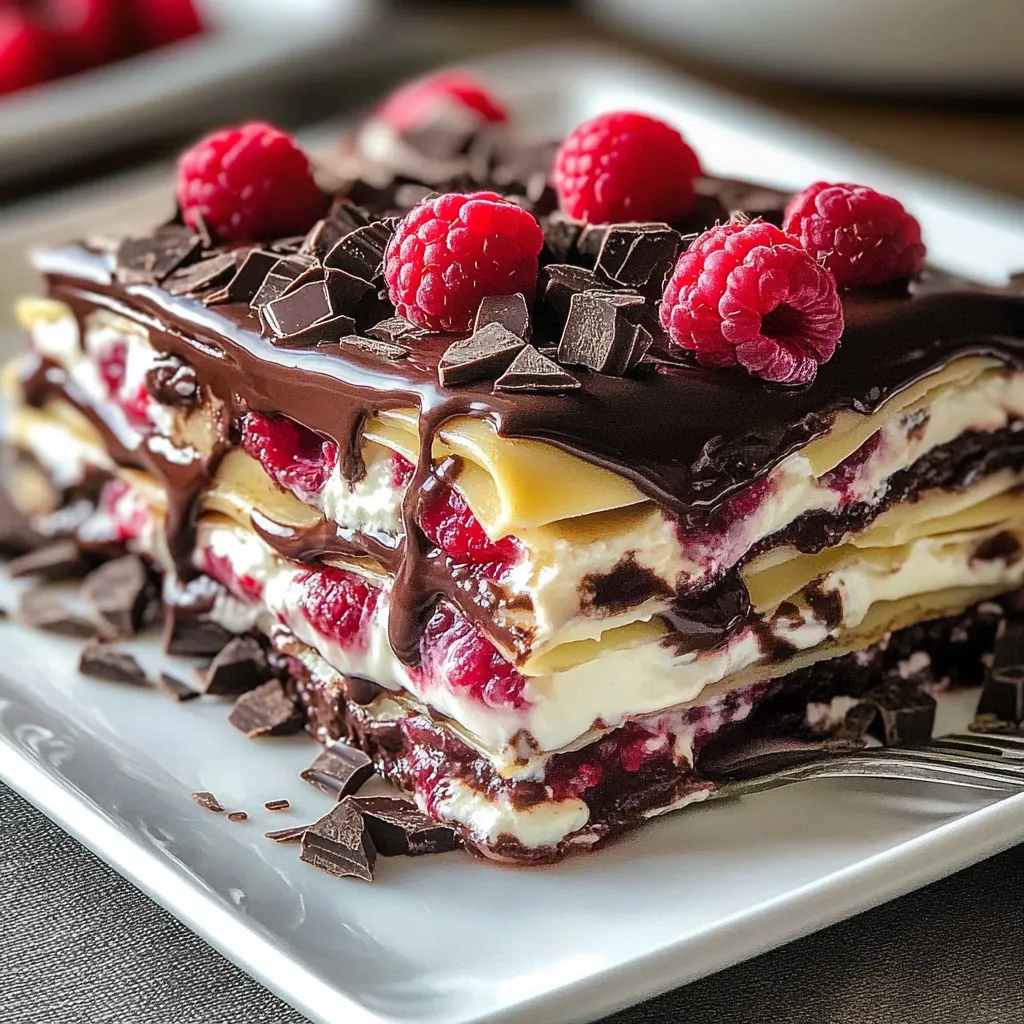
This raspberry chocolate dessert lasagna is way more than a dish—it’s the moment everyone looks forward to at my gatherings. What started as a no-bake workaround turned into the signature dessert people expect me to bring. Watching faces light up when I slice into those layers—and the happy hum when folks taste the mix of flavors—never gets old. It’s easy enough to make on a whim, stunning enough to bring to any party, and never lets me down, no matter how last-minute I am. Just proves that you don’t have to get fancy to wow a crowd—you just need a reliable showstopper like this one.
Recipe FAQs
- → Can I swap out the raspberries for other fruits?
- Sure thing! Raspberries bring a tart flavor, but you can try blueberries, blackberries, or a mix of your favorites. Diced strawberries are a great option too. If you use blueberries, lightly mash them to release their juices into the filling.
- → What happens if I don't take the cream out of the Oreos?
- No need to worry—keeping the cream is totally fine! While leaving it out gives a less sugary base, using whole Oreos still works great. You might just need 18-20 cookies and a little less butter (about 5 tablespoons), since the filling adds moisture.
- → How long can this dessert be made ahead of time?
- You can prep this dish up to 2 days before serving. Store it covered in the fridge, and it’ll actually taste better as the flavors meld. If you want to add fresh fruit on top, save that for right before serving.
- → Can this get frozen for future use?
- Yep, freezing works! Wrap it tightly with plastic wrap and foil to protect against freezer burn, and it’ll last about a month. Let it thaw in the fridge overnight when you’re ready to eat. The raspberry layer texture might change a little, but the flavor will hold up perfectly.
- → Is there something I can use instead of Cool Whip?
- You sure can! Try making your own whipped topping by beating 2 cups of heavy cream with 1 teaspoon vanilla extract and 1/4 cup powdered sugar until it gets thick. This makes about the same amount as an 8 oz tub of Cool Whip, but keep in mind it won’t hold up as long.