
 Save
Save
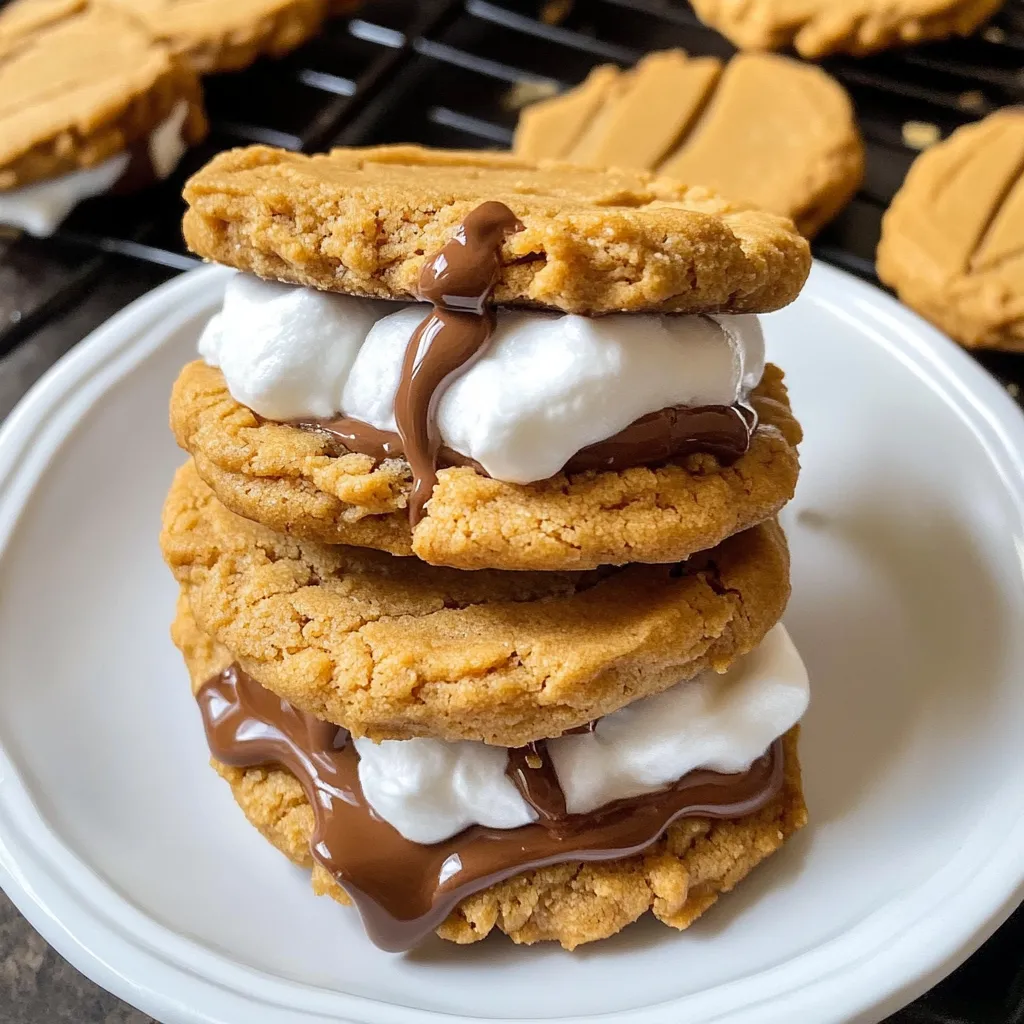
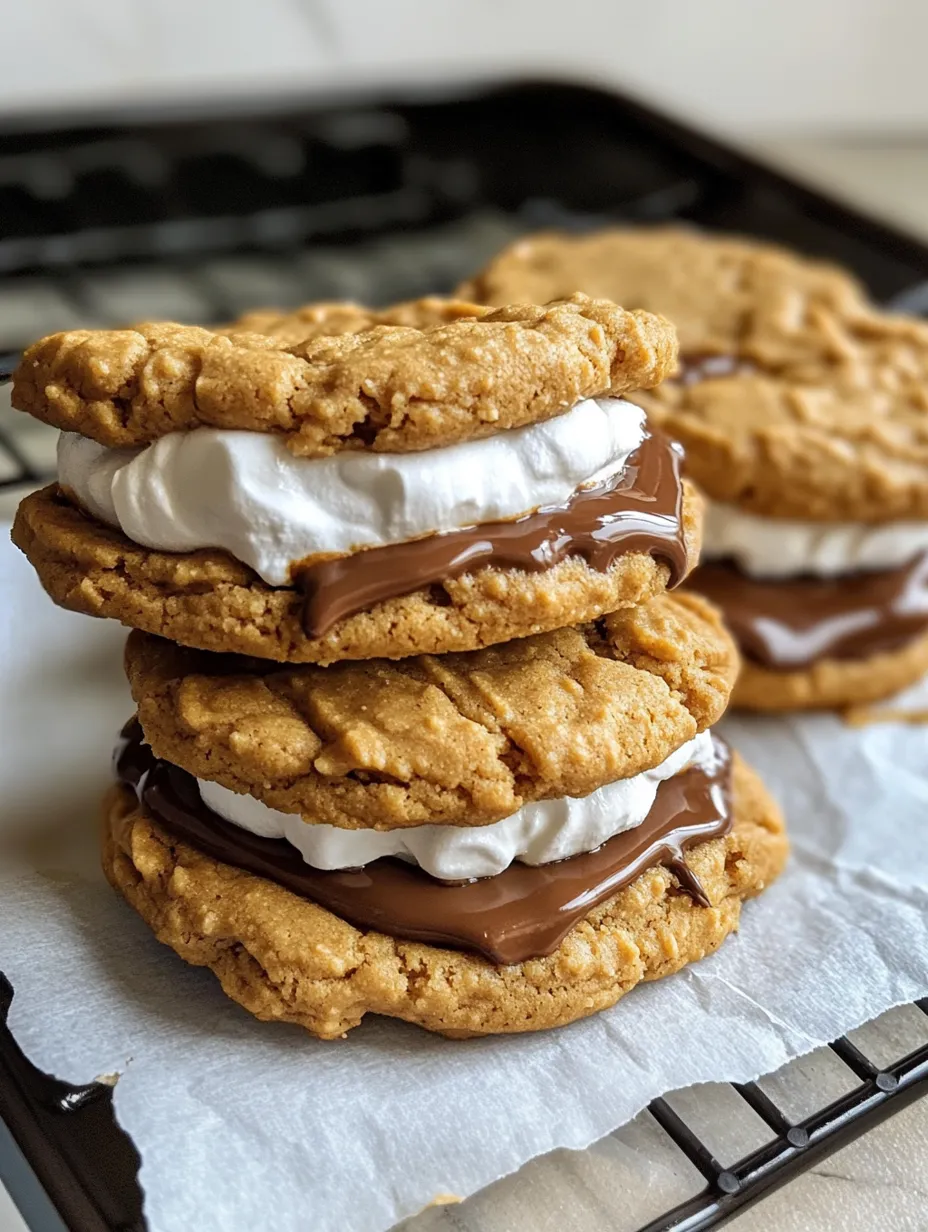
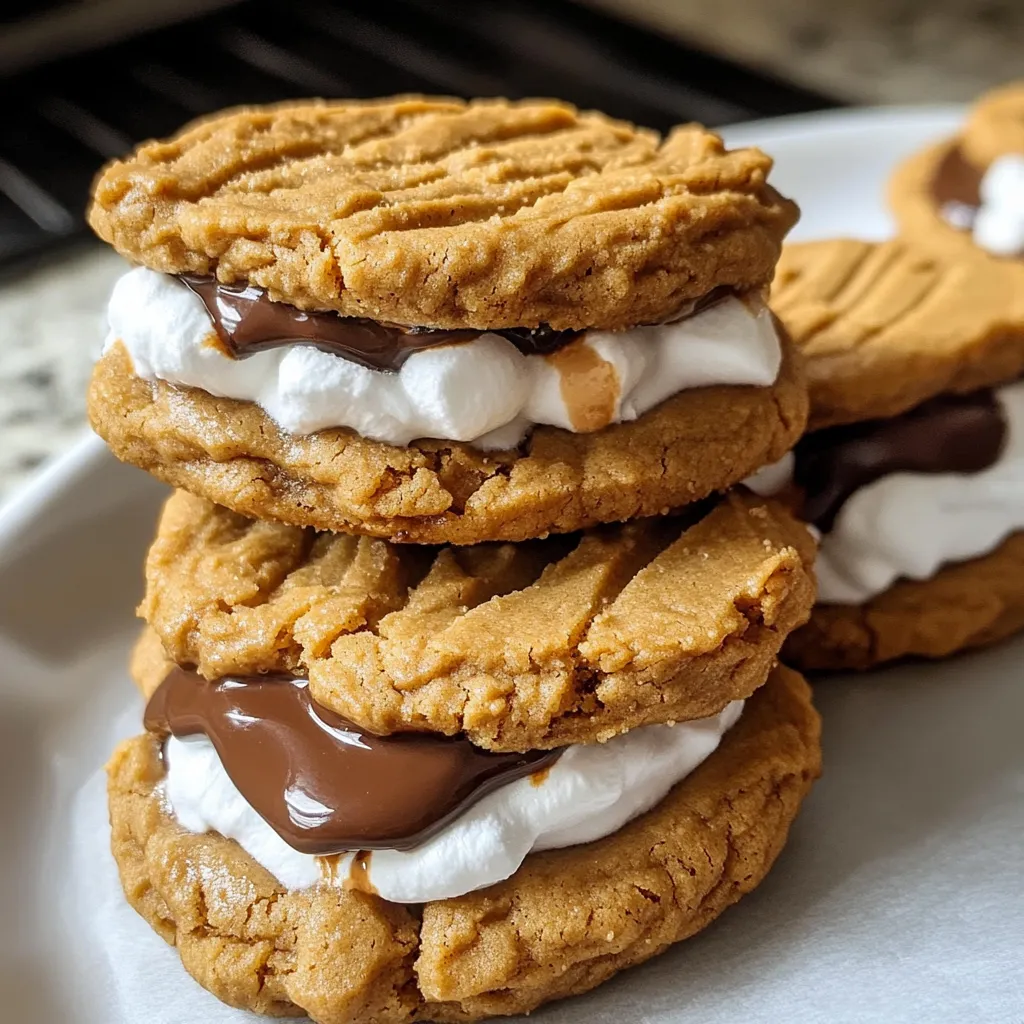
Bringing together all your favorite s'mores flavors with a peanut butter spin, this sweet sandwich cookie gives you that cozy campfire nostalgia in every bite. Get soft peanut butter cookies packed with marshmallow fluff, velvety melted chocolate, and creamy peanut butter—it's a handheld treat that'll knock your socks off, no campfire needed.
I whipped these up the first time for my niece’s birthday since we had to skip the backyard fire. Everyone raved, and now they're top of the list for holidays and family parties. They're just too good not to share.
Tasty Ingredients
- All purpose flour: this is the main part of the dough that keeps everything together and makes it soft
- Creamy peanut butter: loads the cookies with flavor and makes them chewy grab something good-quality for a better bite
- Unsalted butter: bumps up the rich taste and brings out the best texture in your cookies just make sure it's softened first
- Granulated sugar and brown sugar: both play their part in making the cookies sweet and moist
- Large egg: holds the dough together and gives the cookies shape
- Vanilla extract: takes the flavor up a notch pure vanilla makes a big difference
- Baking powder: gives the cookies that gentle lift so they're not too flat
- Kosher salt: makes the peanut butter taste pop and keeps things from getting overly sweet
- Marshmallow fluff: delivers that soft, gooey middle and is way less messy than regular marshmallows
- Milk chocolate chips: perfect for melting and give you that classic, chocolatey finish pick the best chips you can
Easy How-To Guide
- Get Things Ready:
- Fire up your oven to 350°F and cover your trays with parchment paper. That way you get cookies with browned edges and soft middles, and cleanup’s a breeze.
- Mix Up the Butter and Sugars:
- Beat butter, peanut butter, and both sugars until it gets really fluffy. Let that mixer go to work for a couple minutes—it helps your cookies bake up perfect every time.
- Stir In the Egg and Vanilla:
- Add your egg and vanilla and mix till smooth. The egg keeps everything held together and the vanilla is like the magic touch. Don’t forget to scrape your bowl so nothing gets left out.
- Combine All Your Dry Stuff:
- In a second bowl, stir together flour, salt, and baking powder so everything’s even before you add it to the dough. This way you get cookies that bake up the same every batch.
- Bring the Dough Together:
- Slowly mix in the flour blend with your wet ingredients until the dough’s just come together and soft. Try not to work it too much or you’ll end up with tough cookies.
- Scoop and Smash:
- Drop dough by tablespoon onto your parchment—leave some room between so they don’t stick. Press them down with a fork to get those signature crisscrosses and help them bake evenly.
- Bake ‘Em Up:
- Let those cookies bake for 10–12 minutes till the edges look gold but the middles are still soft. Keep an eye on them since they can go from golden to burned fast. Once done, give them 5 minutes on the pan to finish setting up, then move to a cooling rack.
- Put ‘Em Together:
- After cooling, spread marshmallow fluff on the back of one cookie. Warm up some peanut butter and drizzle it over. Melt your chocolate chips in the microwave in bursts, pour that over the fluff, then slap another cookie on top and press gently to make a sandwich.
 Save
Save
Marshmallow fluff is honestly the key here. I figured it out on a rainy day when campfire s’mores weren’t in the cards. My kids now think these cookies beat the real thing since the fluff is so perfectly gooey and way less messy to eat.
Keep Them Fresh
You can stash these cookie sandwiches in a sealed container on the counter for about three days. If you want to save them longer, refrigerate for a week or freeze for three months (separate each with parchment if you freeze so they don’t stick together). Give frozen cookies about half an hour on the counter to thaw. They’ll still taste great—just know the marshmallow might not be quite as gooey once thawed.
Smart Swaps
There’s tons of ways to switch these up for different needs. Try almond butter or sunflower seed butter if you want to avoid peanuts or want a new flavor. Switch out milk chocolate for dark or white chocolate if that’s your thing. For gluten-free, just use a good gluten-free flour blend (make sure it’s got xanthan gum). If you’re into texture, swap in crunchy peanut butter—just know your cookies might come out a bit different.
Fun Serving Ideas
Sure, these peanut butter s'mores cookies are awesome as is, but you can take it up a notch. Try serving them next to a scoop of vanilla ice cream for a real treat. They're also great with a cold glass of milk or a mug of coffee. For a nice touch at parties, put them on a tiered tray with fresh berries and some mint. They’ll look cute on a dessert table or packed up as party favors, too.
 Save
Save
Recipe FAQs
- → Could I swap creamy peanut butter for chunky?
Absolutely! Chunky PB works and gives a little crunch. Just be careful with the dough—it might need extra care to shape properly.
- → What’s the easiest way to melt chocolate smoothly?
Pop your chocolate in a heat-safe bowl and zap it in the microwave for 20 seconds at a time, stirring between each round. If you have one, a double boiler is another great option!
- → How long do these cookies stay fresh, and how do I store them?
Keep them chilled in a tightly sealed container for up to 5 days. Bring to room temperature before digging in for the best texture and flavor.
- → Is it possible to make these cookies gluten-free?
Totally! Use your favorite gluten-free baking flour, and double-check that the marshmallow fluff and other ingredients are gluten-free too.
- → Can I prep parts of this dessert ahead of time?
You sure can! Bake the cookies the day before and stash them in an airtight box. Then, put everything together just before serving for ultimate freshness.