
 Save
Save
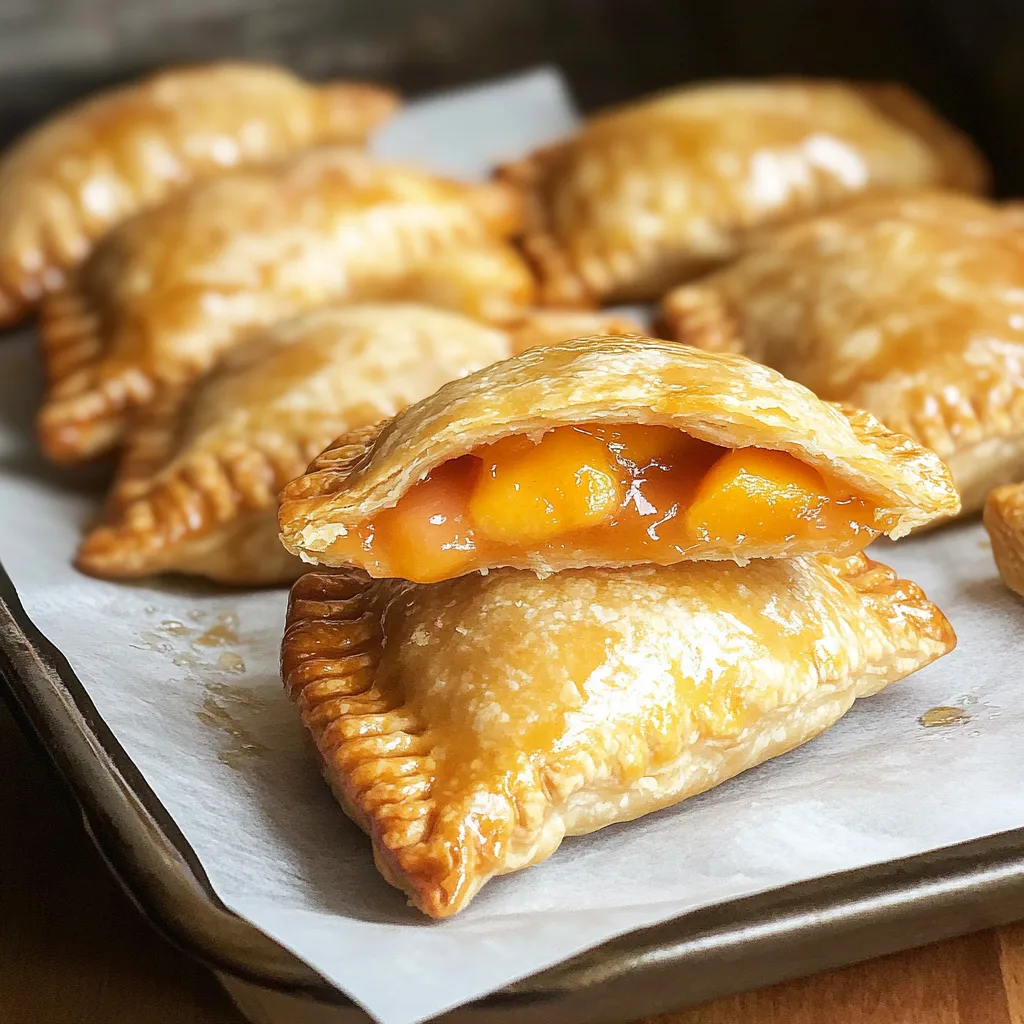
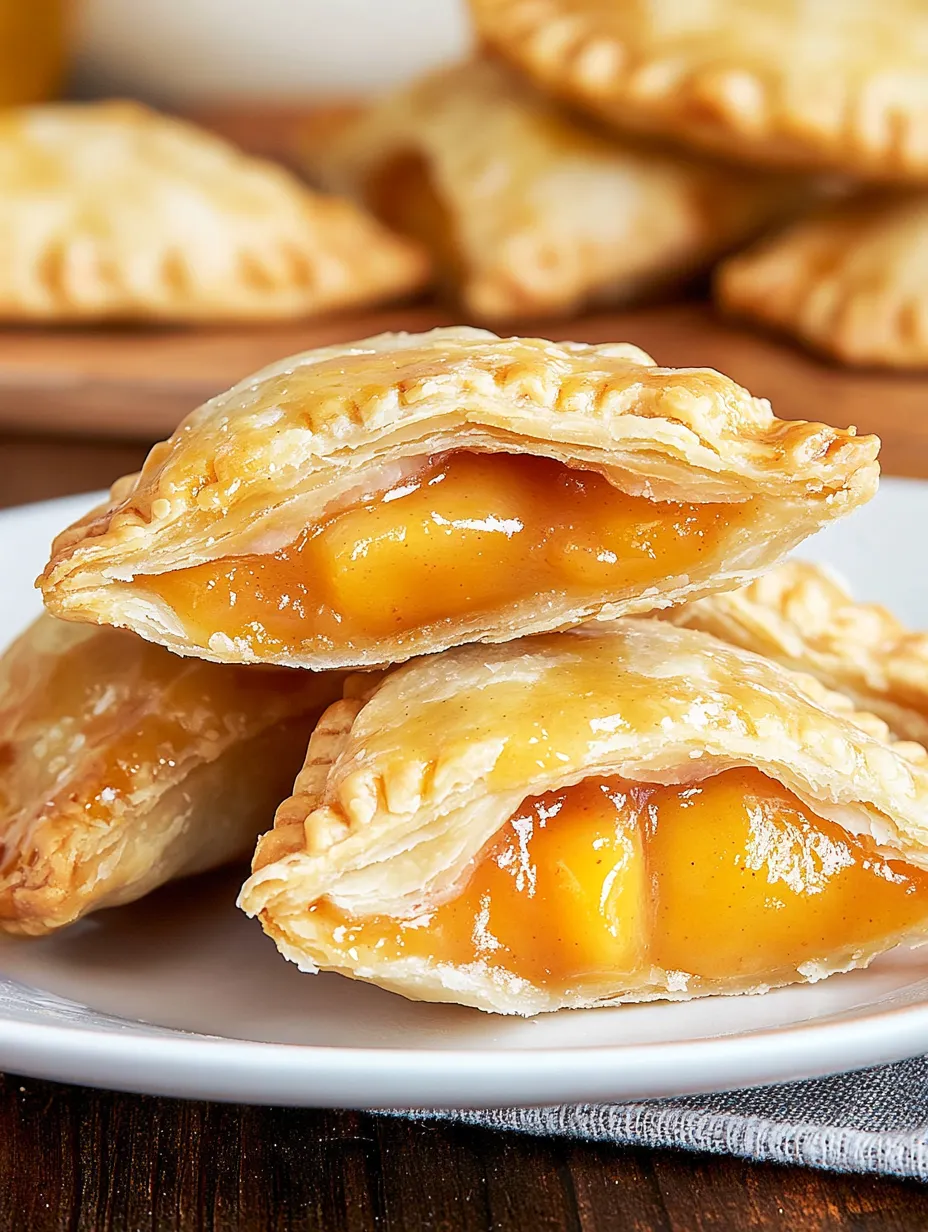
I keep these peach hand pies on standby every summer when friends drop by. I stumbled onto this trick years back while hunting for a sweet snack to pack for concerts at our neighborhood park. Flaky crust, gooey peach center, and a quick sugar glaze come together for that just-right mix of crisp, juicy, and sweet. People are sure I spent ages pulling these off. Honestly, the store-bought crust and canned peaches mean I can get them finished in under sixty minutes. It’s just mini pies you grab and walk around with— forget forks and plates!
I took a batch of these to our block party last summer. Joe who always says he’s not into sweets, grabbed three and later asked if I had any more stashed away. That night, his wife caught him raiding the fridge for leftovers! Now he keeps asking for 'those fried peach bites' at any BBQ we have.
Irresistible Ingredients
- Pre-made pie crust: Makes a perfectly crisp crust every time with nearly zero work. I’ve tried making dough from scratch, but honestly, the chilled pie crust from the store is just right and so much faster.
- Peach pie filling (canned): Sweet peaches, ready to go without extra steps. I always spring for a fancy brand—the taste is worth it.
- Vegetable oil: You’ll need this for frying everything up until golden and crisp. I stick with basic veggie or peanut oil—they cook evenly and don’t mess with the flavors.
- Easy glaze (sugar): Just three things—makes the topping shine and stays put thanks to corn syrup. Not too sticky, not too runny, just right.
 Save
Save
Simple Step Guide
- Instant glazing:
- Spread on the sugar topping while the pies are still hot from oil—it seals in the freshness and gives you that dreamy bakery shine.
- Fork crimping:
- Use your fork to really press the edges together. I actually go around twice—once to seal and one more for that pretty look, which is handy if you mix up fillings, too.
- Edge wetting:
- Get your finger (or a small brush) wet and swipe it on the dough edges before folding. It keeps your pies from leaking everywhere as they fry.
- How much filling:
- Don’t overdo it! Two spoonfuls fills each round just right. I tried adding extra and had pies explode on me in hot oil. Less mess, same great flavor.
- Sizing:
- If you cut your circles about five to six inches across, the balance of pastry and fruit comes out perfect. Bigger pies are hard to flip in oil, and smaller ones barely hold any filling.
- Oil temp:
- Keep your frying oil at 375°F. Too chilly? The dough soaks up oil. Too hot? They burn before they’re done. A thermometer is your buddy here.
I’ve played around with this method for years, making small tweaks each time. Early on, I’d stuff way too much fruit inside and wind up with a grease-fire mess in my pan. This version keeps the filling just right—enough flavor, no leaks. I also tried all sorts of glazes before finally landing on this super simple one that sets without being tooth-achingly sweet or hiding the peach taste.
Serving Suggestions
These are lovely at room temp for parties, or a little warm if you want to go all out. In summer, put them out with a scoop of vanilla ice cream to dip. At breakfast or brunch, they’re great alongside your mug of coffee. For lots of guests, I bake multiple flavors (try apple, blueberry, or cherry) and put them all out together with cute labels so folks can pick what they like.
Fun Variations
Stir a shake of cinnamon into the fruit for that cozy twist. If you’re feeling fancy, a bit of bourbon in the mix takes them up a notch. Got fresh peaches? Just simmer them with sugar and cornstarch until thick—works perfect. For holidays, I’ll toss colored sprinkles or sparkling sugar over the glaze before it dries.
Storing Tips
You’ll get the yummiest results eating these the same day. But toss them in a sealed box on the counter, and you’ll have another day. Need longer? Pop them in the fridge for about three days. To make them taste fresh again, heat in a 300°F oven for five minutes so the crust crisps up. Freezing? Skip it—glaze and dough take a hit in texture after thawing.
 Save
Save
I’ve been making peach hand pies for all kinds of summer hangouts and backyard get-togethers, or even just for fun on a lazy weekend. That mix of crackly, golden crust and syrupy peach inside never gets old, and they always disappear quick. It’s extra nice that everyone gets their own little pie. Sometimes, I go small batch just for me! My grandma used to make similar fried pies, but this way is ten times easier—exactly the kind of homemade treat I want to make again and again.
Recipe FAQs
- → Is it possible to bake instead of fry these pies?
- Totally! Brush them with an egg wash, then bake in the oven at 375°F for around 20 minutes until they're golden. Glaze 'em after baking!
- → How should I keep any leftovers?
- Keep them in a sealed container at room temperature for up to 2 days. They're tastiest when fresh, as the crust loses its crispness over time.
- → Can homemade filling be swapped for canned?
- Of course! Just make sure your filling is thick enough to avoid leaking while cooking.
- → What’s the trick to sealing them properly?
- Use a bit of water to wet the edges, then press down with a fork for a crimped finish that'll hold everything in place.
- → Can I prep these early for a gathering?
- Yep! Assemble the pies and store them uncooked in the fridge for up to a day. Fry them fresh right before serving for the best taste!