
 Save
Save
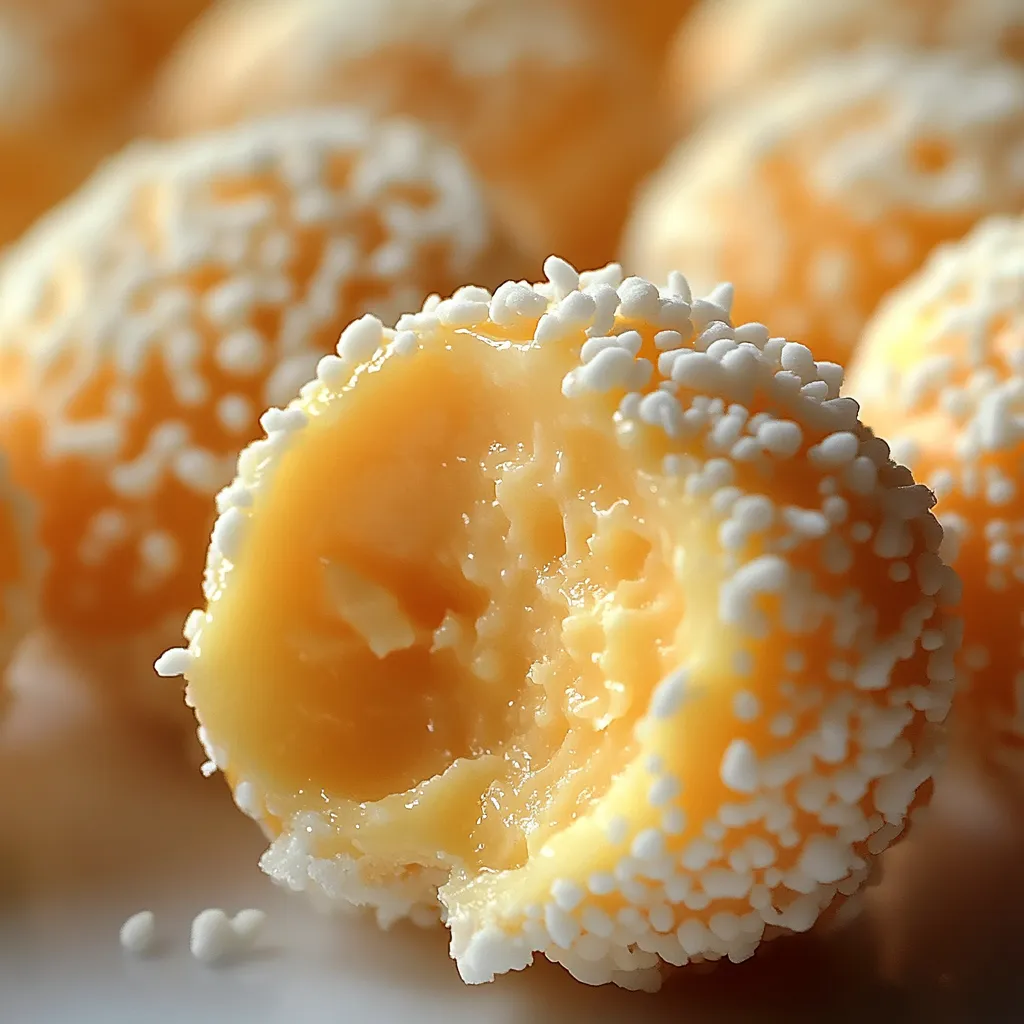
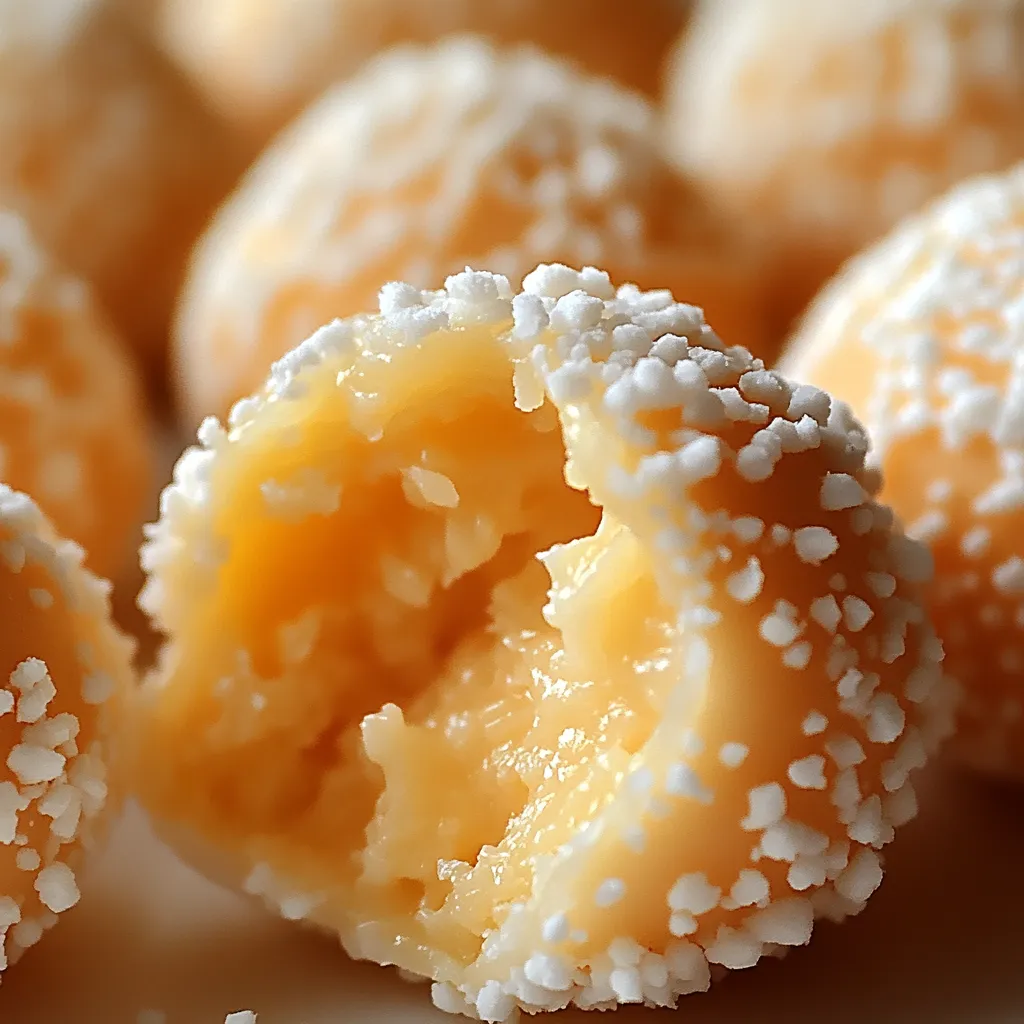
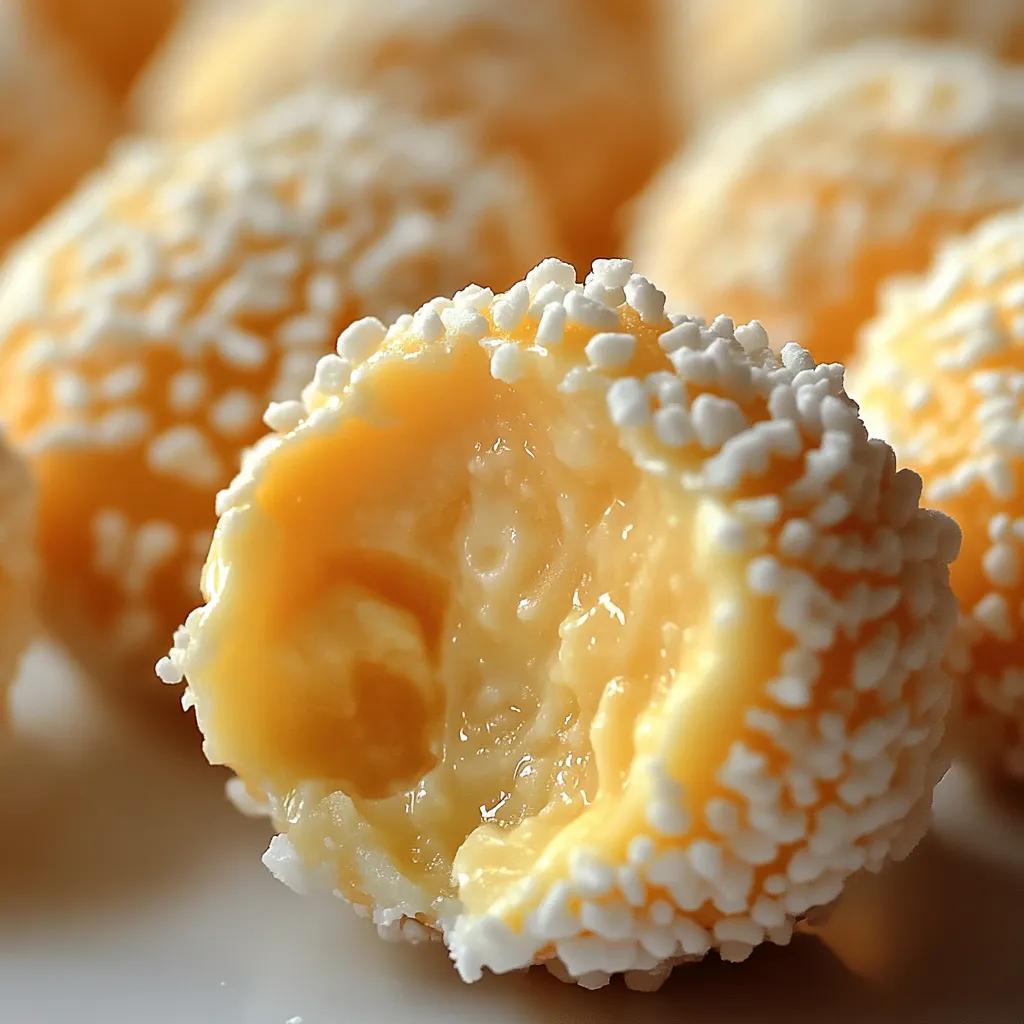
Skip the oven and whip up these dreamy orange treats that pack a punch of citrus and creamy goodness in every bite. Smooth cream cheese pairs with zippy orange for a nostalgic flavor combo that feels like summer, all wrapped up with a crisp white chocolate shell. They're super simple and look stunning with hardly any work—perfect for anyone craving sweet-tart bites that feel both classic and new.
I stumbled on this idea looking for something cool to serve on hot days. I made a batch for a block party and before long, everyone wanted the instructions to make their own. The creamsicle taste and bold orange color sent us all down memory lane—it was like a trip back to chasing ice cream trucks, but fancier for grown-ups, too.
Zesty Citrus Elements
- Decorative elements: Add sprinkles, a bit of zest, or sliced candied peel to make the outsides as fun and tasty as the filling.
- Food coloring: Grab gel food color for bright shades without runny chocolate. You can swap in natural picks like turmeric for a subtle yellow-orange tint.
- White chocolate: Pick higher-quality bars or candy melts with cocoa butter for that smooth shell—skip anything with just oil.
- Orange zest: Fresh grated peel brings a big citrus punch. Go organic if you can for a cleaner taste.
- Orange extract: Stick to real extract to avoid fake aftertastes—tweak how much you use depending on how strong you want it.
- Powdered sugar: Adds sweetness and keeps things smooth. Sift first for no lumps and a silky blend.
- Cream cheese: Use full-fat blocks, not spreads, and let it warm up so you get the creamiest filling.
Making the Spheres
Blending the Center
Start by beating your cream cheese until not a bump’s left. Using it at room temp helps dodge lumps. Then slowly work in the powdered sugar for just the right sweetness and an easy-to-shape middle.
Boosting the Taste
Stir both grated orange peel and a splash of orange extract through the whole batch so every bite pops. The oils in the zest ramp up the flavor more than extract by itself ever could. Adjust both to your liking so the mix lands somewhere between creamy and bright.
Cooling Off
Seal the bowl and pop it in the fridge until it's firm and not sticky. This chill time's key for easy rolling and helps the truffles keep their shape later on.
Rolling Time
Scoop out little portions with a spoon or mini scoop. Roll each piece fast with your hands but don’t hang on too long or they’ll soften. Drop them back into the fridge right after shaping so they stay solid for dipping.
Melting the Chocolate
Melt your white chocolate gently—short bursts in the microwave or over steam—so it doesn’t burn. Mix well once melted, then stir in food coloring if you want. Keep it warm enough so it covers easily without being too thick.
Dipping the Bites
Work in batches—keep extra truffles cold while dipping each one. Use a fork to dunk and coat each ball, then tap to knock off extra chocolate. Set finished ones on parchment with space in between so they don’t stick.
Sprinkles & Finishing Touches
Splash on sprinkles or zest fast before the coating sets. Move quick, especially if your kitchen is warm, so it sticks nicely. Play with colors for a really eye-catching look.
 Save
Save
When I rushed these for the first time, I learned waiting is worth it. My first batch flattened because I skipped the chilling. Now I let each stage firm up and end up with round, polished bites that hold up perfectly even outside the fridge.
White chocolate needs extra kindness compared to darker kinds. My best batches come from microwaving on half power, stirring a lot, and being patient. That way you get a glossy shell that has a real nice crunch when you bite into it.
Getting just the right orange color took a little experimenting. Natural dyes give you soft and pretty pastels—great for spring—while gel coloring gets you bold Halloween shades or sports colors. If you want to avoid dyes, a little turmeric will do the trick without changing the flavor.
Simply Stunning Presentation
Pop each truffle into a mini cupcake liner, then line them up inside a box with a matching ribbon on top. The liners stop them from sticking together and make the whole thing feel extra special. For holidays, just match the colors to the season for an even fancier look.
Put together a dessert board with these orange bites, plus lemon cookies and chocolate-dipped strawberries. The mix of flavors and textures will please everyone and fits any event where you want a bright, citrus theme—try it for weddings or tea parties.
On hot days, set these chilled truffles out with mimosas or sparkling wine for an easy, grownup dessert. Their creamy cool filling is super refreshing, and the citrus goes perfectly with bubbly drinks. Serve them on mini plates with picks for fuss-free snacking.
Flavor Swaps
Switch out the orange for lime zest and lime extract to give these a tropical spin. You’ll get a tangy bite that feels like key lime pie, and it goes so well with white chocolate. Top with a small bit of lime zest so folks know the difference.
Mix a little cinnamon into the cream cheese along with the orange to add cozy spice. It makes the whole thing taste like winter desserts but still keeps them fresh and zesty.
Level them up for the grown-ups by adding a little orange liqueur like Grand Marnier or Cointreau. Use about two teaspoons and cut back the extract just a bit so it all stays balanced and not too strong.
Storing for Later
Keep your truffles in single layers, with parchment between, so they don’t stick. The fridge helps them stay fresh for up to a week. Let them sit out for 10 to 15 minutes before you dig in for the best taste.
To save them longer, stash well-wrapped truffles in the freezer between parchment sheets. They keep for up to two months just fine. Defrost in the fridge overnight so you don’t get sticky condensation on the chocolate.
If you’re taking these somewhere warm, put them in an insulated box with cold packs. The cream cheese will soften up fast in hot temps, so chill them again when you arrive and serve right from the fridge for the prettiest look.
It’s kind of magical making these bold, sunny treats by hand. They brighten any dessert spread and the creamsicle flavor always brings out those happy childhood vibes. Sure, you need to let things chill between steps, but you’re hardly in the kitchen at all—so these are great even if you’re new to candy making. I keep coming back to this method every season, just swapping up the decorations or colors to fit whatever occasion I’ve got coming up.
 Save
Save
Recipe FAQs
- → Is it possible to prepare these ahead of time?
- Definitely! You can chill these bites in the fridge for up to seven days, or stash them in the freezer for up to three months. Super handy for parties or holidays!
- → What should I do if orange juice concentrate isn't available?
- No problem! Mix 2-3 tablespoons of regular orange juice with half a teaspoon of orange extract. Just hold back on the juice if the mixture gets too sticky.
- → Can I swap out vanilla wafers for something else?
- Sure thing! Graham crackers will work well, though the taste will shift slightly. For something fun, try golden Oreos without the filling!
- → Why did my white chocolate turn clumpy?
- Melting white chocolate can be tricky. Make sure your bites are well chilled first, watch for water splashing into the chocolate, and try adding a bit of coconut oil or shortening to make it smoother.
- → How can I make the orange flavor pop more?
- For a bolder orange taste, toss in more orange zest or a small splash of orange extract. Start small—around 1/4 teaspoon of extract—and adjust to taste!