
 Save
Save
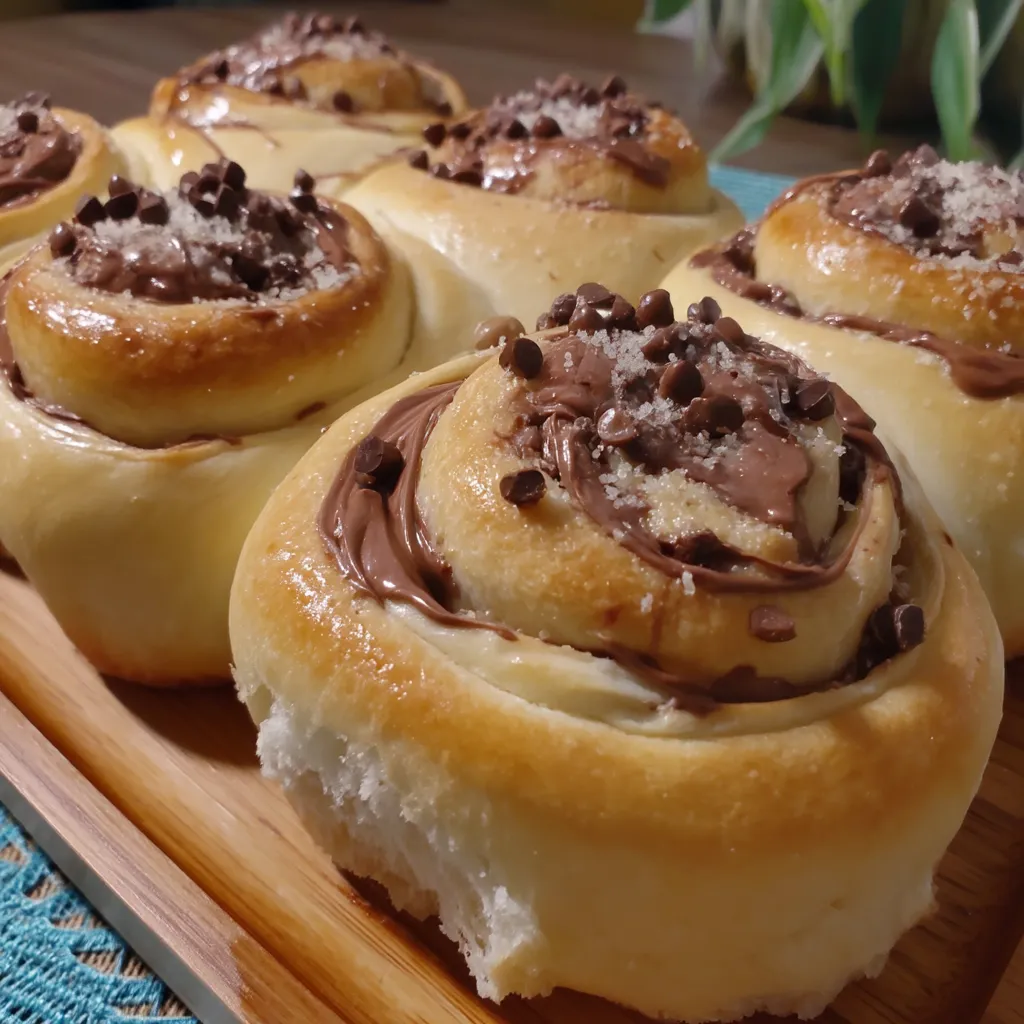
These cloud-like Nutella swirl buns turn basic pantry staples into cafe-quality delights with ribbons of chocolate hazelnut spread woven throughout each mouthful. They're just right for lazy weekend baking sessions or when you're craving something extra special.
I started bringing these buns to our family get-togethers after I nailed the recipe during a stormy weekend last fall. When my nephew took his first bite of a warm roll and his eyes lit up, I knew this was a keeper.
What You'll Need
- Warm water: Creates the ideal setting to wake up your yeast for proper puffing. It should feel like comfortable bathwater on your wrist.
- Active dry yeast: Gives your dough its lift. Don't forget to check if it's fresh before starting.
- Granulated sugar: Helps the yeast grow and adds just enough sweetness to the dough.
- Large egg: Makes the dough rich and soft so it practically melts when you bite into it.
- Milk: Helps create that soft, tearable texture that makes these buns so satisfying.
- Soft butter: Mixes in smoothly and adds that can't-resist richness to your buns.
- All-purpose flour: Does the job perfectly here. No fancy flours needed for great results.
- Nutella spread: The star of the show. Let it sit out so it's easier to spread.
- Chocolate chips: Create little bursts of melty chocolate throughout your buns.
- Heavy cream: Brushed on top before baking for a soft crust and golden color.
How To Make Them
- Get The Yeast Going:
- Mix warm water about 110°F with the active dry yeast and a spoonful of sugar in a small bowl. Let it sit for about 10 minutes until it's bubbly and smells yeasty. This shows your yeast is ready to work its magic.
- Mix The Dry Stuff:
- Stir together flour and the rest of your sugar in a big bowl until they're well mixed. This helps spread the sweetness evenly through your dough. Using instant yeast? Just add it right to this mixture.
- Mix It All Up:
- Pour your bubbly yeast mix, milk, egg, and softened butter into your flour. Stir with a wooden spoon until you get a rough, slightly sticky ball. Don't worry if it looks messy at this point.
- Work The Dough:
- Put your dough on a lightly floured counter and knead it for about 10-15 minutes until it feels smooth and springy. You can also use a stand mixer with a dough hook for 8-10 minutes. Good dough will stretch without breaking.
- Let It Grow:
- Put your dough in a greased bowl, flip it once to coat it, then cover with a kitchen towel or plastic wrap. Let it rise somewhere warm for about 90 minutes until it's doubled in size. When you poke it gently, the dent should slowly fill back in.
- Shape Your Buns:
- Roll out the dough on a floured surface into a big rectangle about 12 by 15 inches, roughly 1/4 inch thick. Spread Nutella all over it but leave a small strip bare along one long edge. Scatter chocolate chips on top of the Nutella. Roll it up from the covered long edge into a tight log and pinch the seam to close it.
- Cut Them Neatly:
- For clean cuts, slide a piece of dental floss or kitchen string under your log. Cross the ends and pull them through to cut without flattening your rolls. Cut into 6 pieces for big buns or 8 for medium ones.
- Second Rising:
- Place your cut buns in a greased 9-inch cake pan. Add a splash of heavy cream to the bottom of the pan. Sprinkle more mini chocolate chips on top if you want. Cover loosely and let them puff up for another 30 minutes until they're touching each other.
- Bake Until Golden:
- Heat your oven to 374°F and bake for 15-17 minutes until they're golden on top and read 190°F inside on a thermometer. Your kitchen will smell amazing as they bake.
- Final Touches:
- For extra goodness, brush some melted butter on the hot buns right after baking. Let them cool for 5-10 minutes before eating so you don't burn yourself on the hot filling.
 Save
Save
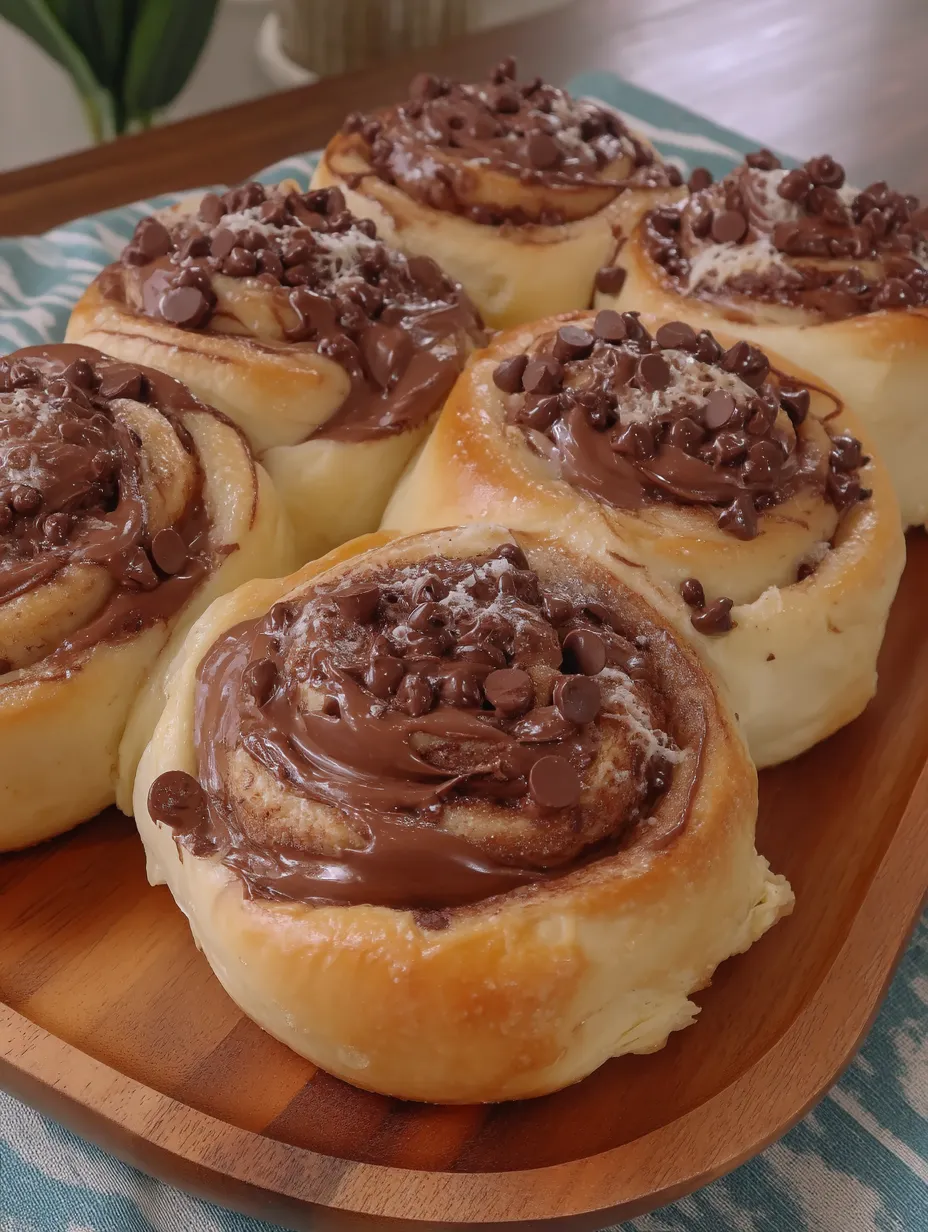
I've found that the brand of Nutella really matters in this recipe. Once when my in-laws were visiting, I splurged on the Italian import version, and everyone noticed how much richer it tasted. That batch vanished so fast I barely got one myself!
Make Them The Night Before
You can make these rolls up to the cutting step, then put them in your greased pan. Cover them tightly with plastic and pop them in the fridge for 8-12 hours. In the morning, take them out, let them warm up for 30-45 minutes, then bake as usual. The slow rise makes them taste even better, and you'll have way less work in the morning.
Keeping Them Fresh
After they've cooled completely, store your buns in an airtight container on the counter for up to 2 days. Need longer? Keep them in the fridge for up to 5 days. To freeze them, wrap each one in plastic, then put them in a freezer bag with all the air squeezed out. When you want one, thaw it in the fridge overnight and warm it in a 300°F oven for 10 minutes or zap it in the microwave for 20-30 seconds.
What To Serve With Them
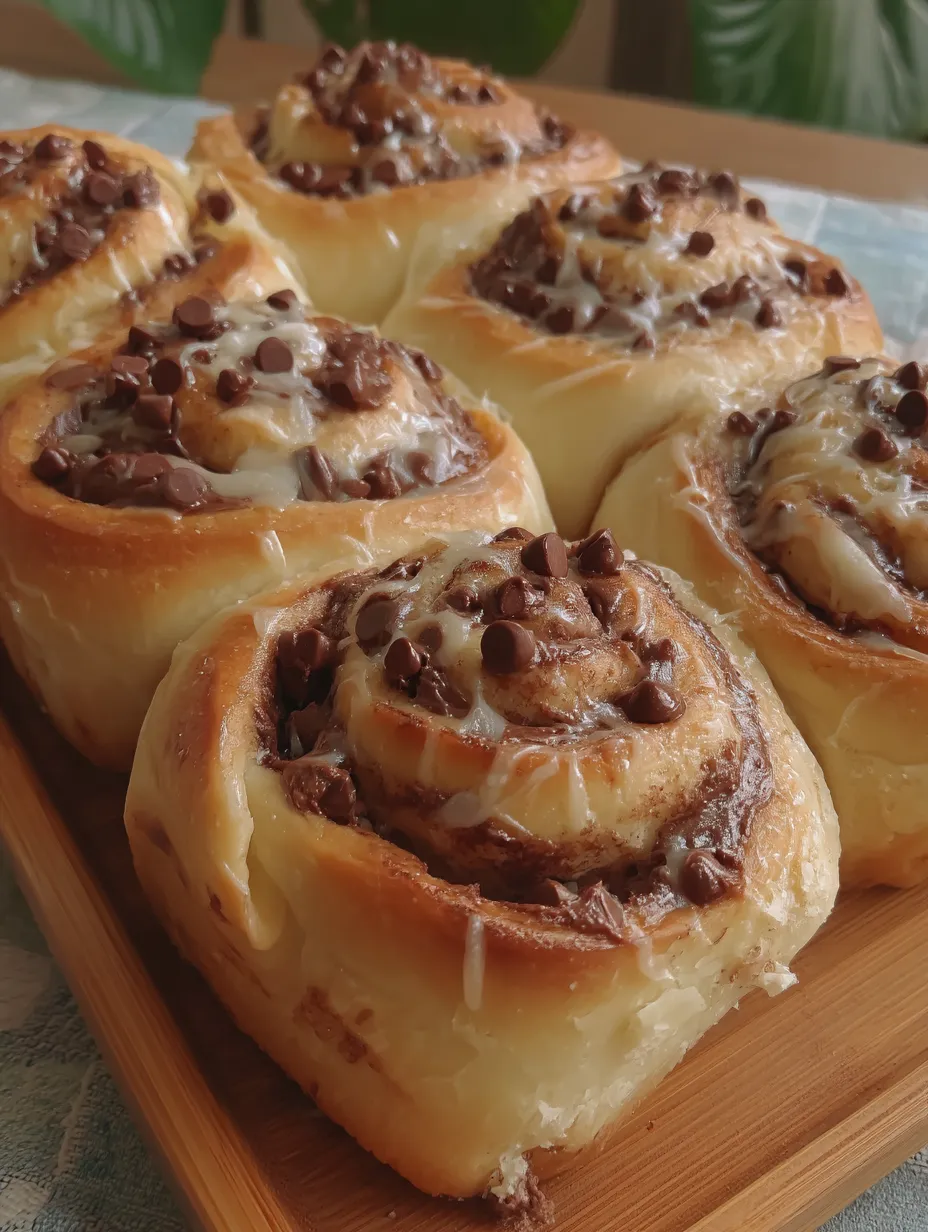
These rich buns taste amazing with a strong cup of coffee, especially dark espresso that cuts through the sweetness. For special occasions, add some fresh berries and a dollop of whipped cream to balance out the richness. Kids and grown-ups alike will love having them with a cold glass of milk to complete that classic chocolate experience.
 Save
Save
Recipe FAQs
- → Is instant yeast a good alternative to active dry yeast?
Yes, instant yeast works just fine! You can mix it straight into the dry ingredients—no need to activate it in water beforehand.
- → What can I do to get soft, tender rolls?
The secret is warm liquid for the dough, kneading it well to make it stretchy, and letting it rise properly. Adding cream while they bake keeps them extra tender.
- → Can I switch up the filling?
Absolutely! Besides Nutella and chocolate chips, you could use things like fruit spreads, creamy peanut butter, or even throw in some chopped nuts for crunch.
- → How can I avoid sticky dough while rolling it out?
To stop the dough from sticking, dust your work surface and rolling pin with a bit of flour. Try to keep the dough about ¼" thick as you roll.
- → Can I make these in advance?
Totally! You can assemble them up to the point of the second rise, cover them, and store them in the fridge overnight. Let them warm up to room temp before baking.