
 Save
Save
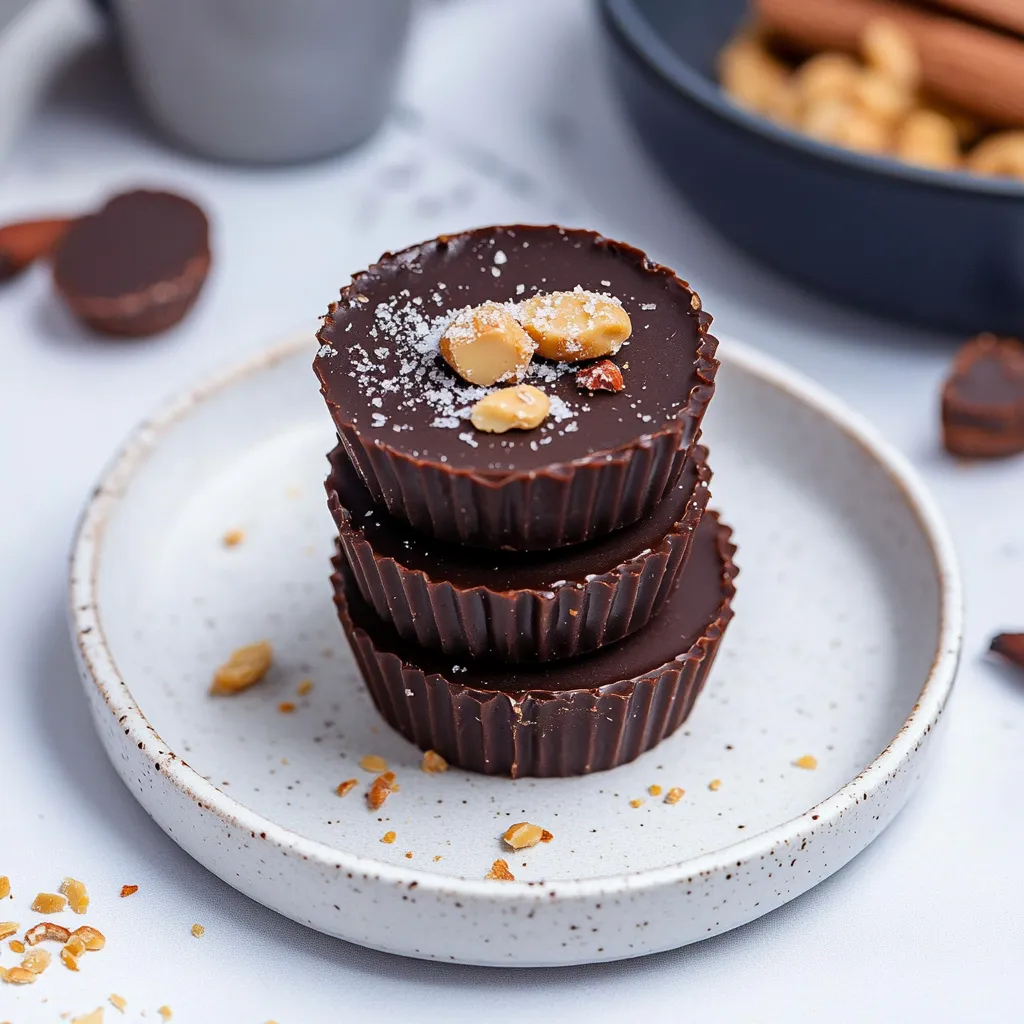
Dreamy PB Choco Cups. My mouth's already watering just thinking about them. These treats turn everyday pantry items - peanut butter, cocoa, coconut oil, and maple syrup - into something totally magical. They're actually yummier than what you'd buy at the store, and they happen to be vegan, gluten-free, and dairy-free too.
I've been hooked on Reese's cups since I was little. That chocolate-peanut butter combo just hits differently than other candy. I've made traditional versions at home before, but sometimes I want that same awesome taste without feeling awful afterward. These cups give me exactly that - all the yumminess with none of the guilt. My neighbor has a kid who can't eat dairy, and watching him get so excited when I brought these over made my whole week.
Wholesome Flavor Components
- Cocoa powder: Go with regular for that familiar taste or dark if you want something deeper and less sweet. Both ways, you're getting pure chocolate flavor without extra junk.
- Natural sweetener: Maple syrup works perfectly here, but you can swap in honey if you're not keeping things vegan. Each one brings its own unique sweetness.
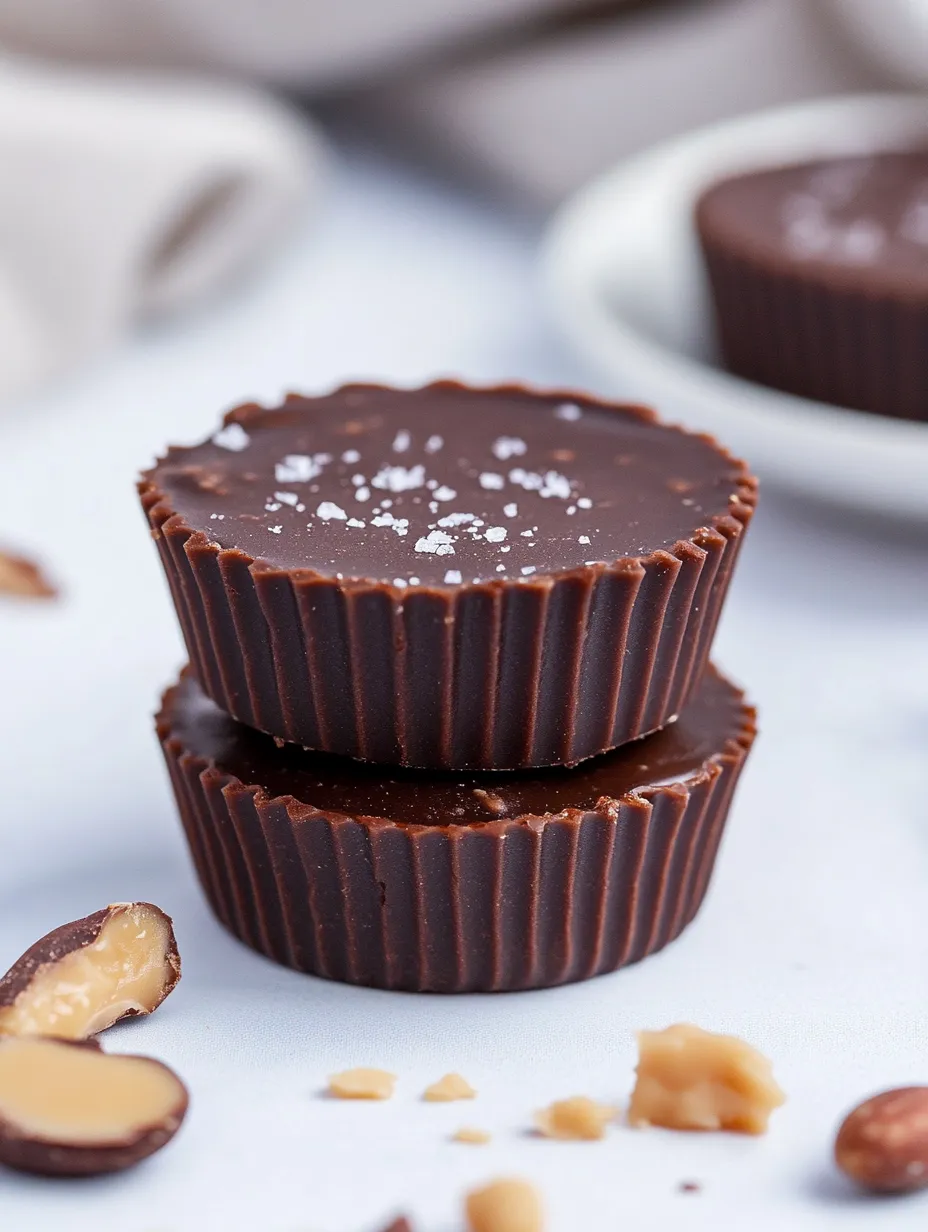
- Coconut oil: This makes your chocolate break with that perfect crack when you bite in. It also adds just a hint of sweetness that works with everything else.
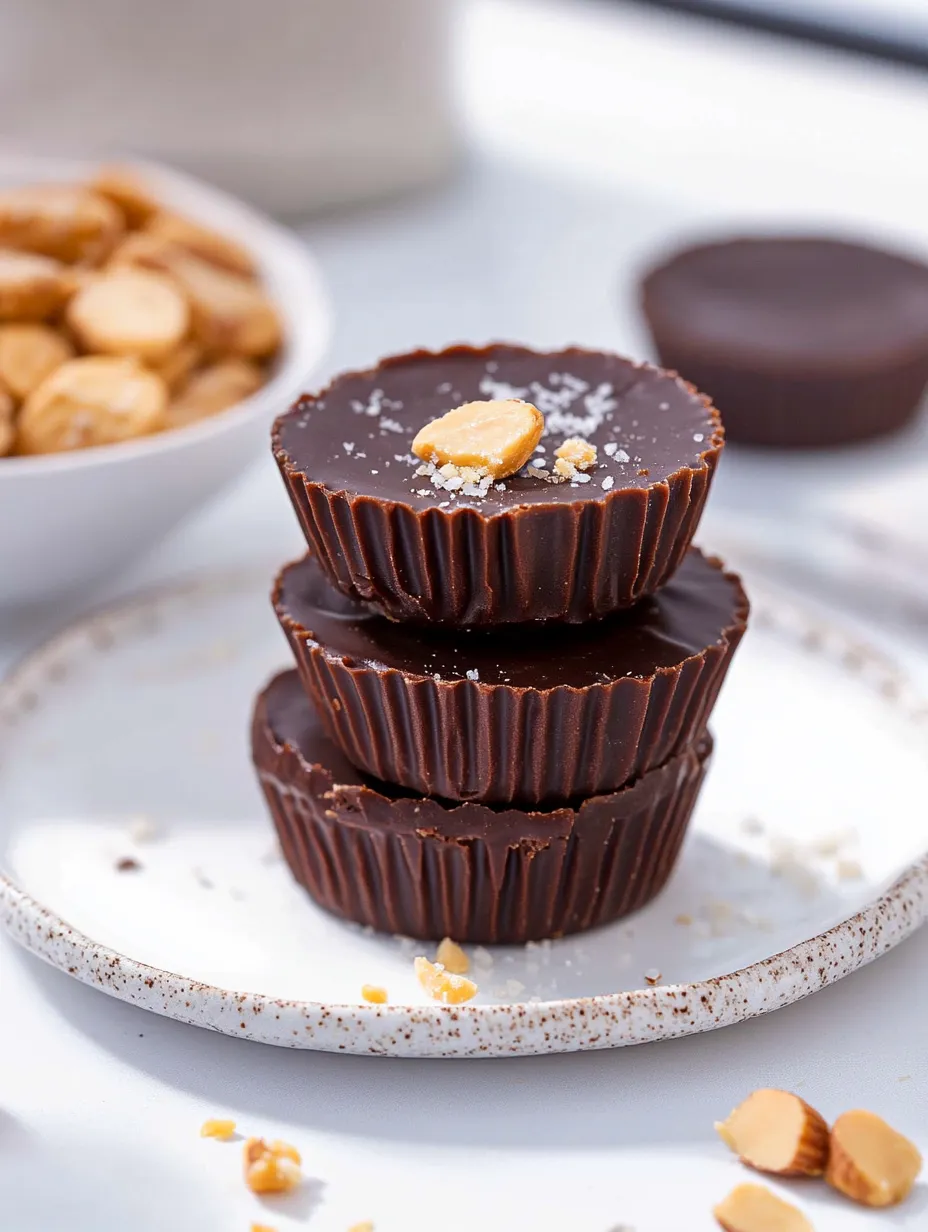
- Peanut butter: Smooth works best for the texture, but pick whatever you like. Just make sure to stir natural kinds really well before you measure.
- Salt: This isn't optional! It makes everything taste sweeter and creates amazing balance. That little sprinkle on top makes everything pop.
 Save
Save
I started playing around with better-for-you desserts about five years back when my sister found out gluten wasn't her friend. Our family always gets together around food, and watching her skip dessert made me want to make treats everyone could enjoy. These cups were one of my first big wins - even my dad, who usually rolls his eyes at "health food," grabs these without thinking twice.
Sweet Treat Assembly
- Peanut butter prep
- Mix your peanut butter layer first - don't skip this step! The chocolate starts to harden really fast once it's mixed. I learned this the hard way and ended up with chocolate that was too thick to spread. Mix the peanut butter with sweetener until it's totally smooth, which takes about 30 seconds of stirring.
- Temperature matters
- Your ingredients mix way better at room temperature than straight from the fridge. I take my maple syrup out early when I start getting everything ready. Cold sweetener makes little bumps in both mixtures that never go away. Nobody wants bumpy peanut butter cups!
- Liner preparation
- Set up your muffin tin with liners before you start mixing. Once your chocolate is ready, you'll need to work fast. Regular muffin liners work so much better than tiny ones - you can't really layer properly in the small size. I've tried both ways and bigger is definitely better.
- Chocolate blending
- Stir together cocoa powder, oil, maple syrup and salt with steady mixing. It might look weird and separated at first but keep going - it suddenly comes together like magic. If your kitchen is cold, warming the coconut oil a tiny bit helps everything mix easier.
- Layer construction
- You gotta move pretty quick because the chocolate starts setting up fast. Put in two teaspoons of chocolate for the bottom, spread it flat. Then add two teaspoons of peanut butter mixture, pushing it gently toward the edges. Finish with two more teaspoons of chocolate on top, smoothing it out. Don't stress if they're not perfect - they'll taste amazing anyway.
- Patience period
- The toughest part isn't making these - it's waiting for them to get firm. Two hours minimum in the fridge, though leaving them overnight works great too. I've definitely grabbed one too early and made a huge mess. Trust me, they're worth waiting for.
My son and his buddies ate a whole batch of these last weekend after playing basketball. I caught them checking what was in them afterward, looking confused that something so tasty could be made without all the usual junk. My daughter now wants these instead of cake every birthday, with just one candle stuck in. I've made this recipe so many times that I always keep everything I need in the pantry.
Creative Variations
You can switch up these cups in so many ways. Sometimes I use crunchy peanut butter for some extra bite. Swapping in almond butter makes them taste a bit fancier, perfect when friends come over for dinner. Adding a tiny bit of cinnamon to the chocolate makes them taste like Mexican hot chocolate, which goes great with coffee after a meal. During Christmas, I've stuck little bits of candy cane on top for a minty holiday twist.
Gift-Worthy Treats
These cups make awesome homemade gifts. I've put them in little boxes with parchment paper for my kids' teachers. They travel pretty well when it's not hot out - just keep them away from heat or sun. For school bake sales, I put each cup in a tiny liner inside a regular one to make them look extra special and stay protected. People always look impressed when I mention there's no regular sugar or dairy in them.
Easy Substitutions
If someone can't have peanuts, sunflower seed butter works surprisingly well instead. The flavor changes a bit but still tastes great. Almond butter makes a more grown-up version that some of my friends actually like better. For extra sweetness, try mixing tiny chocolate chips into the peanut butter part. If you've got a major sweet tooth, you might want to add a bit more maple syrup to the chocolate mixture, though I think it's just right as is.
Keeping Them Fresh
You'll need to keep these cups in the fridge - they get soft really fast at room temp because of the coconut oil. Store them in something with a good lid to keep them fresh. I usually leave the paper wrappers on until I'm ready to eat them so they don't stick together. For freezing, I lay them flat in a container with parchment between layers if I need to stack them. They thaw perfectly in about 20 minutes in the fridge.
 Save
Save
I've whipped up these PB cups countless times over the years, tweaking things a little each time until I got them just right. What started as a way to work around dietary needs has turned into our go-to treat. There's something really special about making a healthier version of a classic that actually tastes better than the original. The fact that they vanish faster than store-bought candy whenever I make them tells me all I need to know. Better stuff really does make better food.
Recipe FAQs
- → Is it okay to use a different type of nut butter?
- Sure thing! You can swap peanut butter for almond, cashew, or even sunflower seed butter if you need a nut-free option. The flavor will change slightly, but it’ll still work perfectly texture-wise.
- → What’s causing my chocolate mix to split apart?
- Cold maple syrup is usually the culprit—it can make the coconut oil clump up. Try using maple syrup at room temperature, and whisk fast to get it all smooth again.
- → Do I need to keep these refrigerated?
- Yep, these hold up best in the fridge since coconut oil gets soft at room temp. They’ll be okay for a few hours sitting out, but to keep them firm, store them in the fridge.
- → How do I tone down the sweetness level?
- Cut back the maple syrup to about 1/3 cup for the chocolate and 2 tablespoons for the peanut butter layer. A darker cocoa powder or an extra pinch of salt can also balance the flavor.
- → Can I use honey in place of maple syrup?
- Of course! Swap maple syrup with an equal amount of honey. Just remember, honey’s flavor is stronger and it won’t be vegan anymore.