 Save
Save
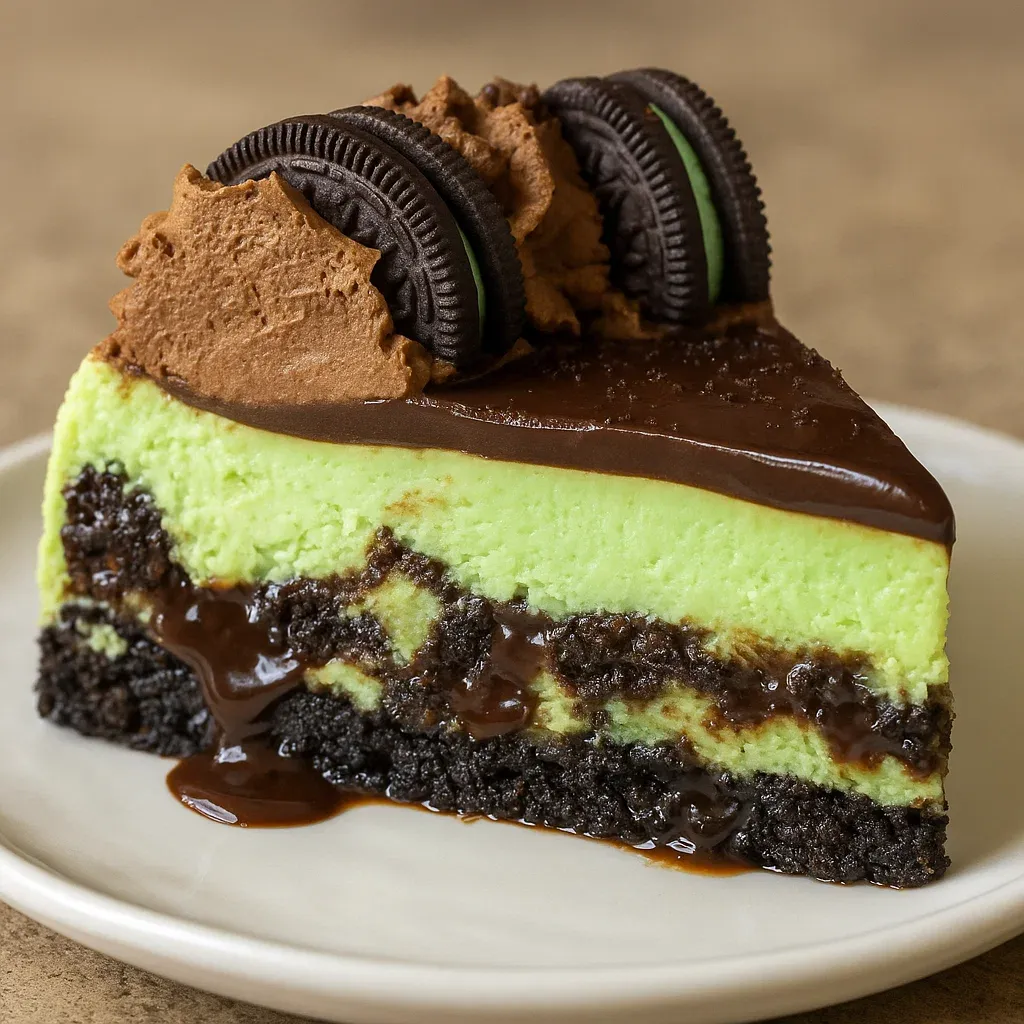
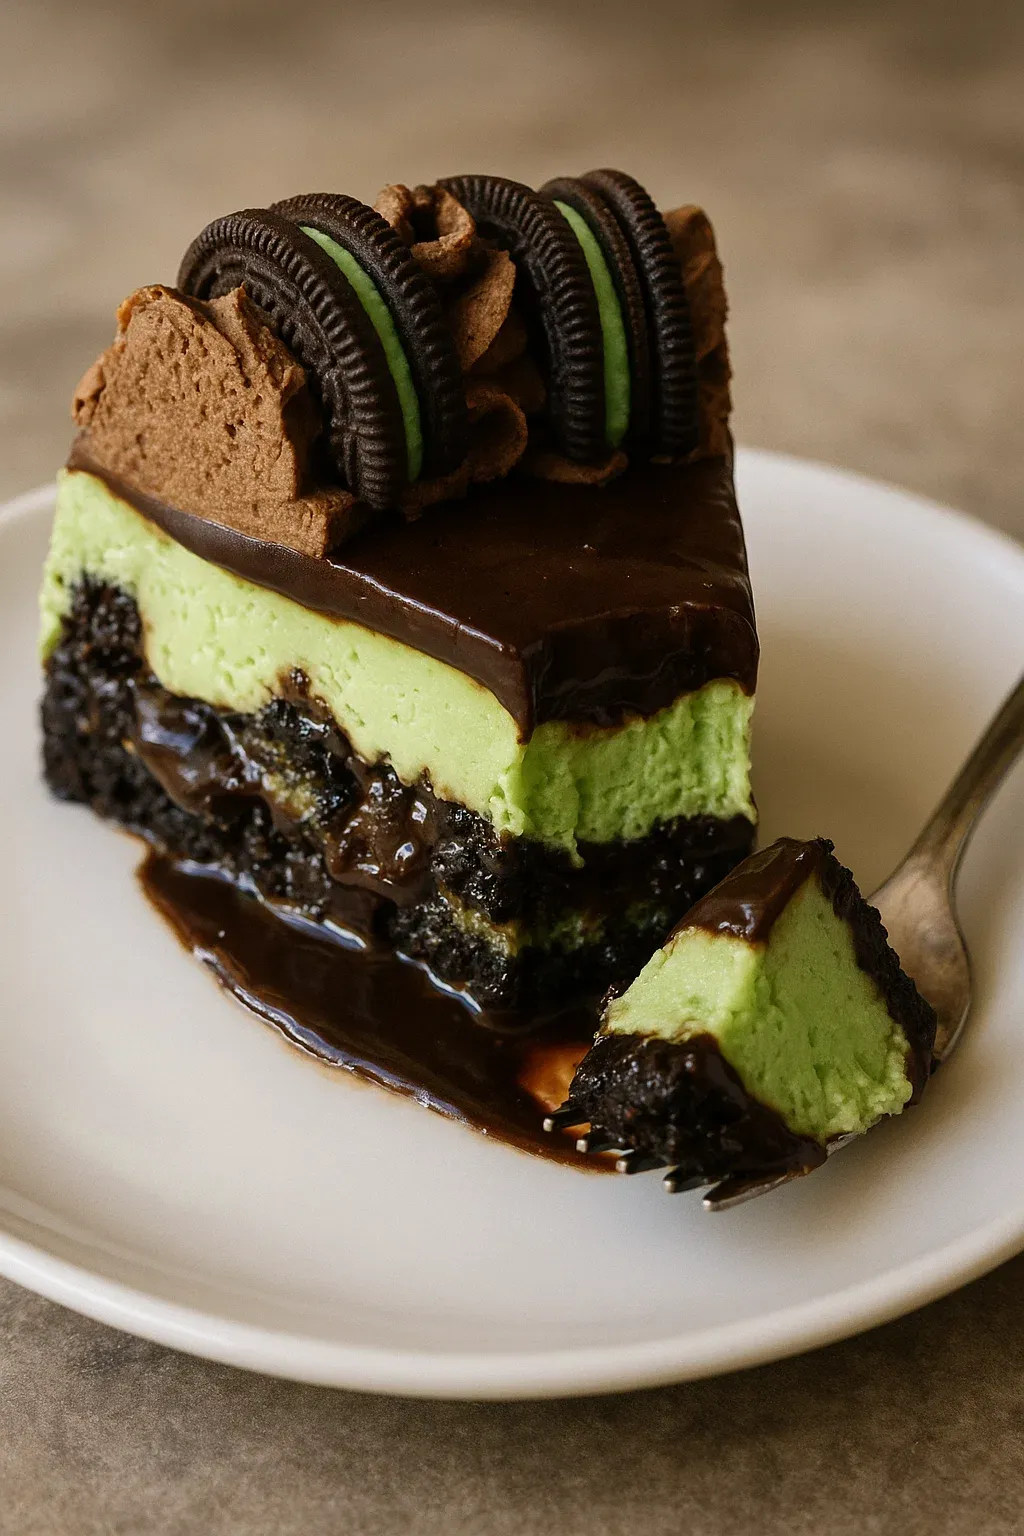
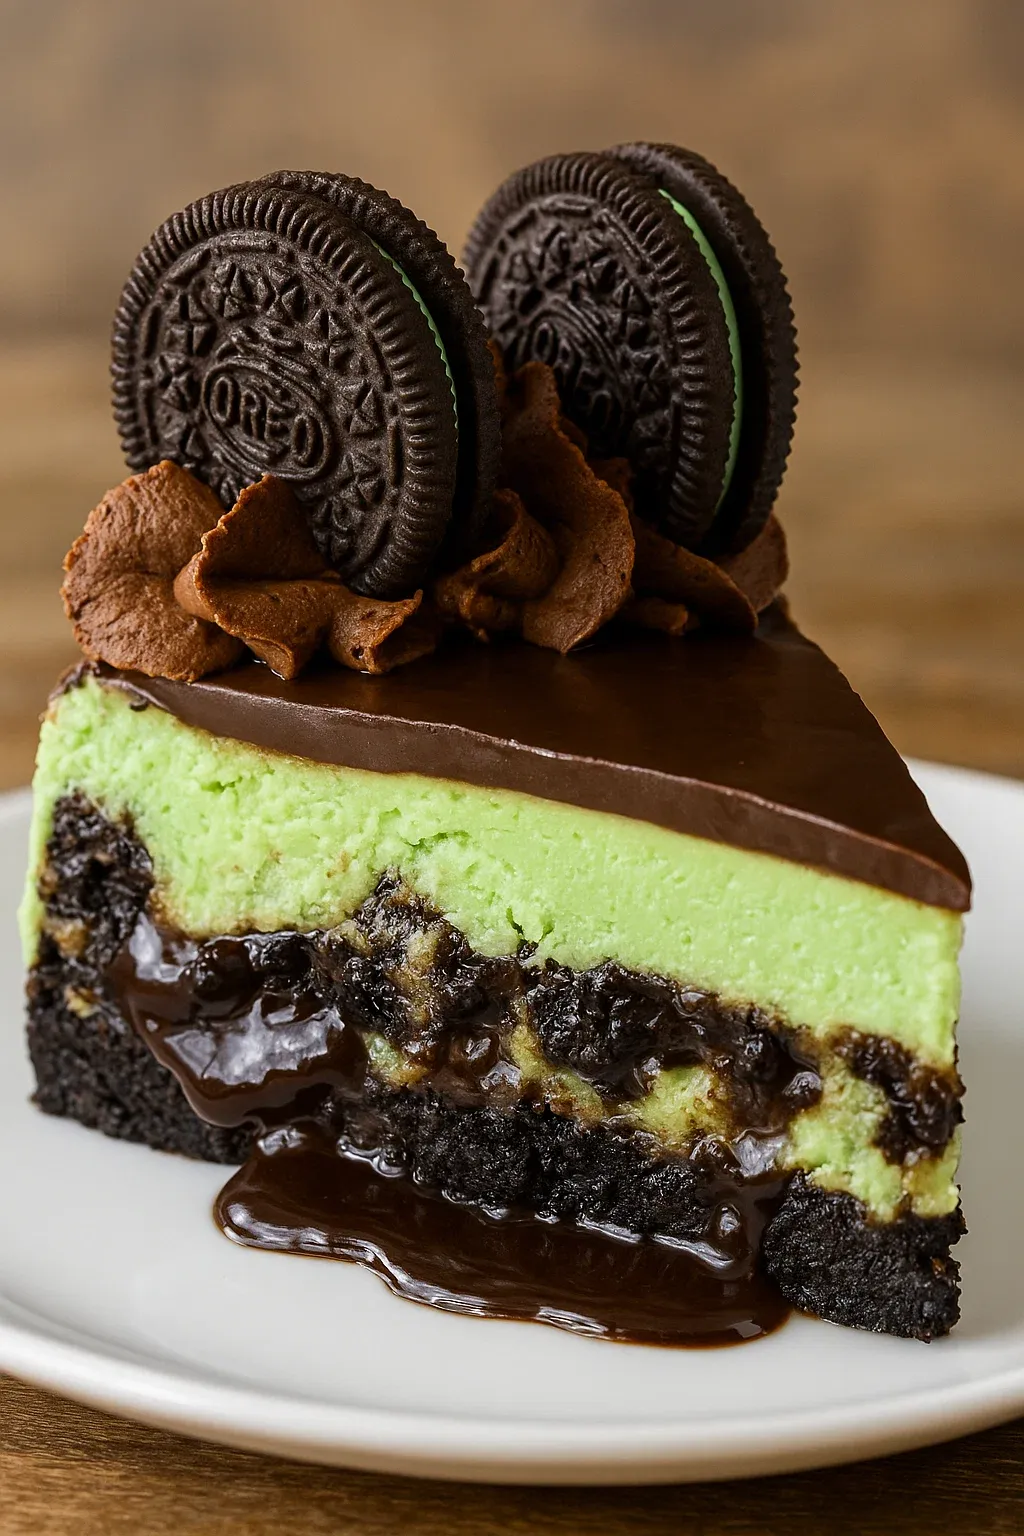
This mint Oreo cheesecake brings together two amazing flavors in one rich treat. The smooth mint cheesecake loaded with crushed Oreos and drizzled chocolate makes a stunning dessert that'll wow everyone at your next party or family dinner.
I whipped up this cheesecake for my daughter's birthday celebration, and everyone loved it so much that now my family asks for it at every get-together. There's something magical about the cool mint flavor mixed with rich chocolate.
Ingredients
- Oreo Crust: Crushed mint Oreos form a tasty chocolate base and butter holds it all together for a solid foundation
- Mint Cheesecake Filling: Cream cheese delivers that thick, tangy foundation grab full-fat blocks for the smoothest result
- Sugar: Cuts through the tang of cream cheese without going overboard on sweetness
- All-purpose flour: Works as a stabilizer to keep the cheesecake from cracking
- Sour cream: Brings moisture and helps create that silky-smooth feel
- Mint extract: Gives that cool, refreshing taste stick with pure extract for best results
- Vanilla extract: Makes the mint flavor richer and more balanced
- Eggs: Hold everything together and build structure make sure they're room temp for easy mixing
- Chopped Mint Oreos: Add nice crunchy bits and flavor pockets throughout
- Chocolate sauce: Makes beautiful chocolate swirls in every bite
- Green food coloring: Not needed but gives that nice minty look
- Chocolate Ganache Topping: Semi-sweet chocolate chips melt down to a shiny layer quality chips make a big difference
- Heavy whipping cream (topping): Thins the chocolate to just the right spreading consistency
- Chocolate Whipped Cream: Heavy whipping cream whips up into fluffy decorative peaks use it straight from the fridge for best whipping
- Powdered sugar: Adds sweetness that blends in perfectly
- Cocoa powder: Brings chocolate flavor without making things too heavy
- Vanilla extract: Ties all the flavors together nicely
Step-by-Step Instructions
- Prepare the Crust:
- Blend mint Oreos to fine crumbs. Mix with melted butter until it looks like wet sand. Push firmly into the bottom and about 1 inch up the sides of your springform pan. Bake at 325°F for 10 minutes until it sets. You'll know it's done when it looks a bit darker and smells good. Let it cool completely before adding filling.
- Prepare Water Bath Protection:
- Cover the outside of your springform pan with thick aluminum foil, making sure water can't get in. The foil should go all the way up the sides without any tears. You can also use a silicone pan like in the pictures for better protection.
- Mix the Cheesecake Batter:
- Mix cream cheese, sugar, and flour on low until totally smooth. This could take 2-3 minutes. Clean the sides of the bowl between each new ingredient. Add sour cream and extracts, mixing on low just until combined. Add eggs one by one, mixing gently after each. Your batter should be completely smooth without lumps.
- Create the Layers:
- Pour a third of the batter over the cool crust, spreading it out evenly. Scatter chopped Oreos on top. Drizzle chocolate sauce in a zigzag over the Oreos. Pour the rest of the batter on top, covering everything. Make sure the top layer is thick enough to keep the Oreos from showing.
- Bake with Care:
- Put the wrapped springform pan in a bigger roasting pan. Pour hot water into the bigger pan, making a water bath that comes halfway up the springform. Bake at 300°F for 70-80 minutes. The edges should be firm while the middle still jiggles slightly like set Jell-O.
- Cool Gradually:
- Turn the oven off but leave the door closed for 30 minutes. Then open the door a little for another 30 minutes. This slow cooling stops the quick temperature change that causes cracks. Chill for at least 5 hours or overnight until totally firm.
- Add the Finishing Touches:
- Pour warm ganache over the cold cheesecake, spreading to the edges. Whip the chocolate cream until stiff. Pipe pretty swirls around the edge and place Oreo halves between the swirls. Keep in the fridge until ready to serve.
 Save
Save
Cream cheese really makes or breaks this dessert. My grandma taught me that letting it warm up completely to room temperature is crucial for that dreamy smooth texture. I usually put mine out at least two hours before I start baking to get the creamiest, most velvety results.
Troubleshooting Your Cheesecake
Stopping cracks starts with how you mix. Always use low speed when adding ingredients to keep air bubbles down. The water bath adds moisture and spreads heat evenly, while cooling slowly prevents the sudden temperature drops that make the top crack. Don't worry if you get cracks anyway. The chocolate ganache topping will hide them completely.
Perfect Storage Solutions
This cheesecake stays fresh in the fridge for up to 5 days. Keep it in an airtight container or carefully wrap with plastic, using toothpicks to keep the wrap from touching the decorations. To store longer, freeze single slices on a cookie sheet until hard, then wrap each in plastic and put in a freezer container for up to 3 months. Let thaw in the fridge overnight.
Flavor Variations
Mint Oreos give you that classic mint chocolate chip ice cream taste, but this flexible recipe works just as well with regular Oreos for a traditional cookies and cream cheesecake. For Christmas, try using peppermint extract instead of mint and add crushed candy canes on top. If you want less mint flavor, cut the extract down to 1 tablespoon and add more vanilla. You can easily tweak it to match what you like.
 Save
Save
Recipe FAQs
- → What can I do to stop my cheesecake from cracking?
Stick to mixing on low speed so you don't add too much air, and cool the cheesecake slowly inside the oven once it’s done. Using a water bath keeps the temperature steady for even baking.
- → Can I replace mint Oreos with regular ones?
You sure can! The cheesecake will still taste amazing, but you’ll lose the minty kick.
- → What’s the best way to store this cheesecake?
Keep it covered tightly in plastic wrap or put it in a sealed container in the fridge. If it’s sliced, lay the pieces in a single layer in your container.
- → Is it okay to freeze the cheesecake?
Absolutely! Wrap it tightly in plastic wrap followed by foil. You can freeze either individual slices or the whole cheesecake for up to 3 months. Let it thaw in the fridge when you’re ready to enjoy it.
- → Why use a water bath for baking?
It keeps the baking even and prevents a tough texture, so you end up with a creamy cheesecake. Plus, it stops the outer edges from cooking way faster than the center.
- → Can I add food coloring to the cheesecake?
Totally! A little green gel color makes it pop visually. It’ll look great but won’t change the taste. Your choice!
