
 Save
Save
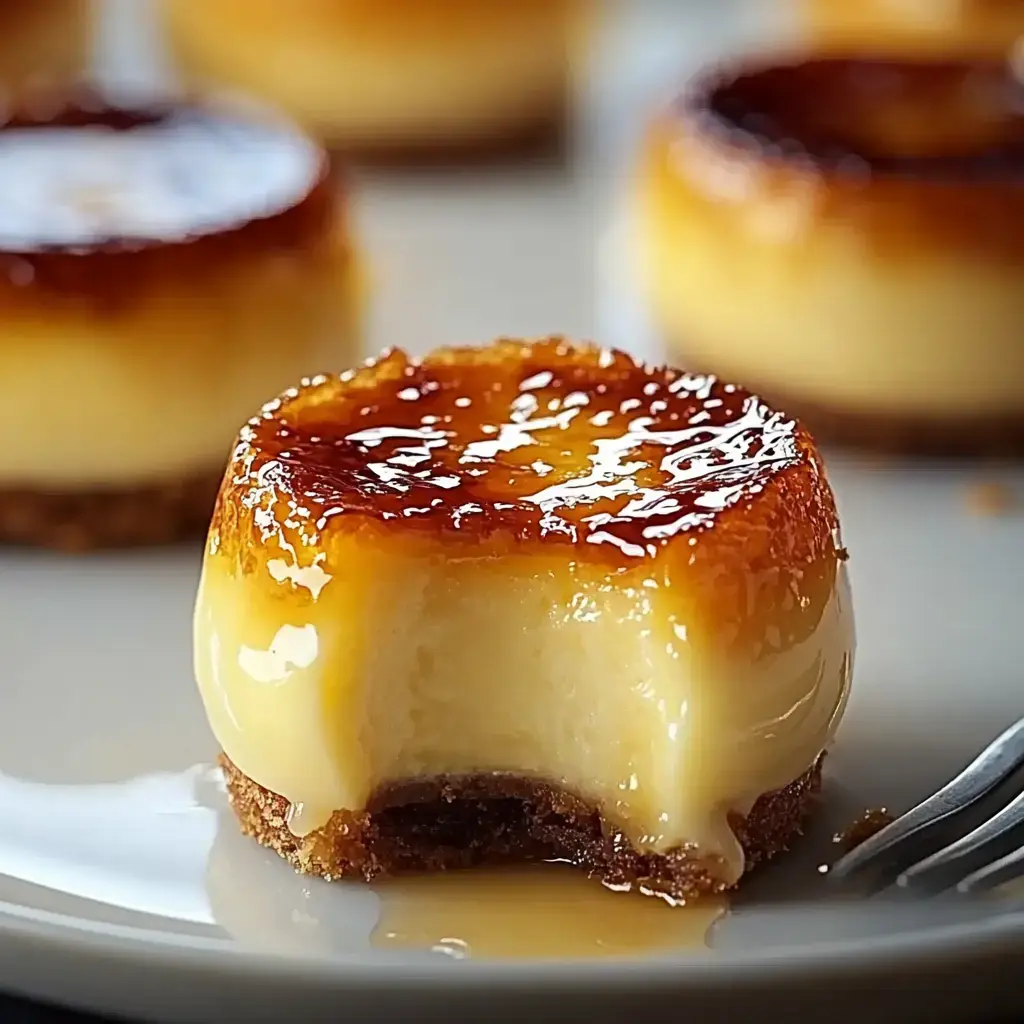
These cute little treats mash up my favorite parts of cheesecake and crème brûlée. I put them together when I couldn’t pick just one for a party, and now everyone always wants me to bring them. There’s nothing like tapping into that crunchy sugar on top before you get a creamy bite underneath. They always steal the show.
What Sets Them Apart
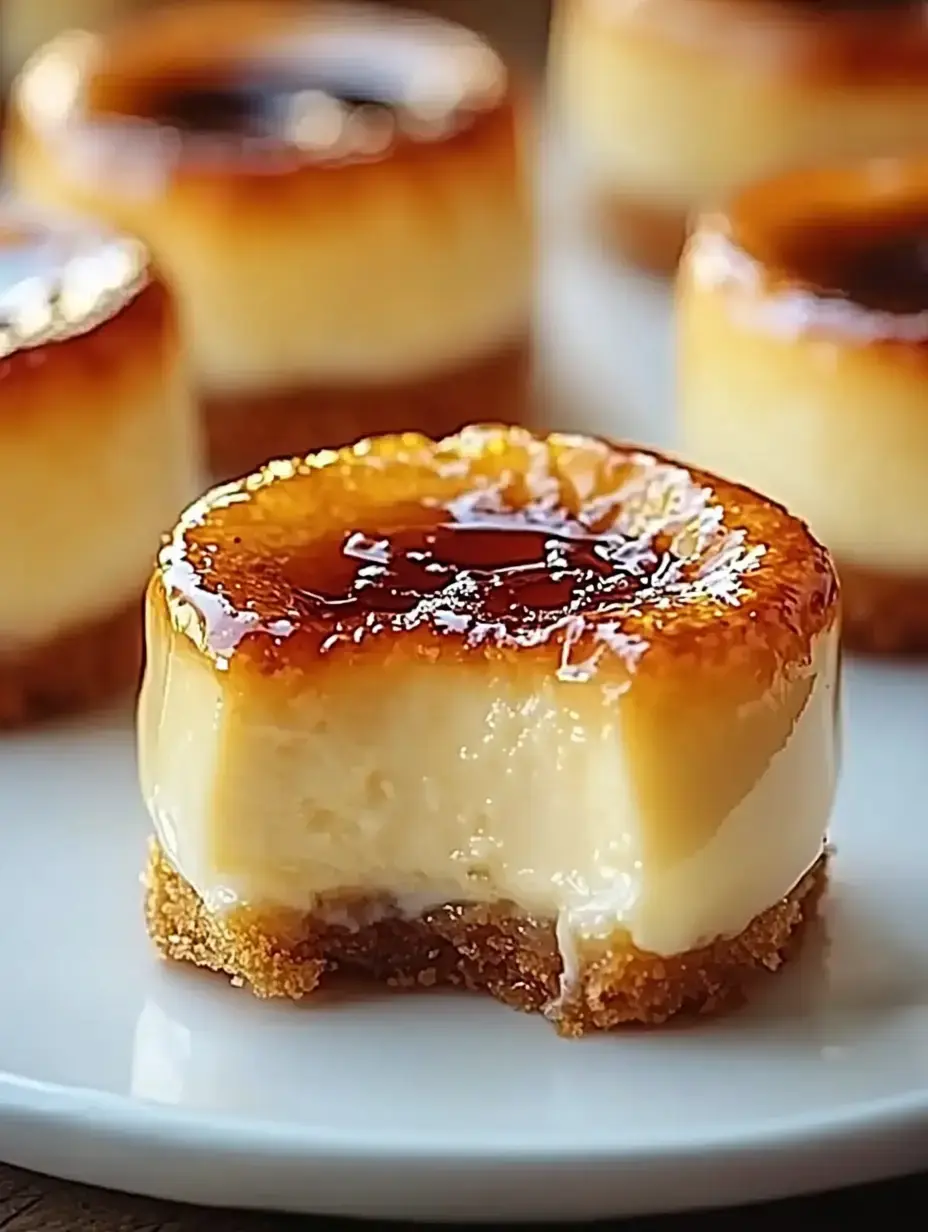
Every bite of these mini treats is creamy and dreamy with a layer of shattery caramel on top. You’ll love seeing folks break through the sugar shell to the soft cheesecake inside. Since they’re single-serving, you won’t worry about messy slices or complicated plating when company’s over.
What You’ll Grab
- Heavy Cream: ¼ cup, for extra smoothness in the filling.
- Eggs: 2 large, to keep things lifted and give it body.
- Graham Cracker Crumbs: 1 cup, for that crumbly, classic base.
- Cream Cheese: 16 oz, let it soften to get the filling perfectly creamy.
- Butter: 3 tablespoons, melted, so the crust holds together.
- Vanilla Extract: 1 teaspoon, gives extra depth in flavor.
- Granulated Sugar: 2 tablespoons for the crust, ½ cup in the filling, ¼ cup for that crackly top.
Incredible Mini Cheesecake Creation
- Create Brûlée Topping
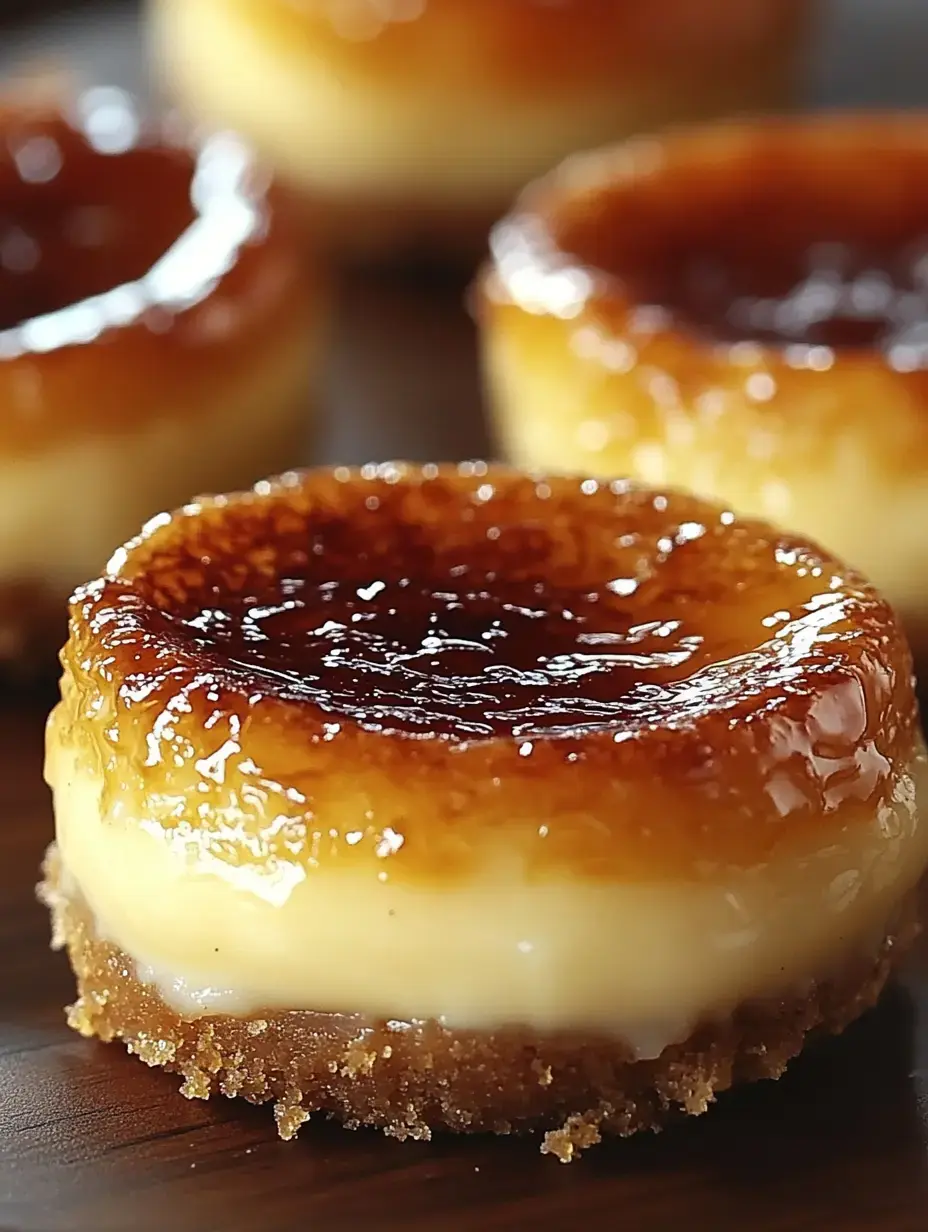
- Sprinkle a teaspoon of sugar over each cold cheesecake. Use your torch to melt and crisp the sugar, or slip them under the broiler but keep a close eye so nothing burns.
- Fill and Bake
- Spoon the mixture over your chilled crusts, about three-quarters full. Bake for 18-20 minutes. You want them to look set but still have a little jiggle. Cool them off, then pop in the fridge for a couple hours minimum.
- Prepare Cheesecake Filling
- Beat together cream cheese with ½ cup sugar until it looks smooth and lump-free. Drop in eggs one at a time, then pour in vanilla and cream, mixing until you get a rich, smooth batter.
- Make the Crust
- Mix those cracker crumbs, melted butter, and 2 tablespoons of sugar in a bowl. Press it into the bottom of each muffin liner and bake just 5 minutes. Let them chill before adding the filling.
- Preheat and Prep
- Heat oven to 325°F (163°C). Set up muffin liners in your tin so everything pops out easily later.
 Save
Save
Pro Tips from My Kitchen
Through lots of tries, I can promise that room temp ingredients mean super smooth filling. If you’re torching the tops, move in gentle swirls and keep it moving. When using a broiler, leave the oven cracked and watch them like crazy since they can burn super fast.
Ways to Mix It Up
Go ahead and try new twists. Swap in chocolate cookies for the crust or stir a little espresso powder into the filling. Lately I’m all about a thin spread of raspberry compote under the sugar for extra zing.
Tips for Storing
Keep these in your fridge for three days tops, but always wait to torch the sugar until right before serving. I love prepping them early for parties to make life easy. Just know that once you get that sugar crust, they’re best eaten quick so the top stays crunchy.
Serve with Flair
They’re easy to dress up—add some fresh berries or a sprig of mint to make them look like a million bucks. At parties, I torch the sugar topping in front of everyone. That snapping sugar sound always wows the crowd.
 Save
Save
Why You’ll Be Obsessed
They walk the line between fancy and easy—anyone can pull them off, even if you’re new to baking. Breaking through the sweet crust into the creamy middle is the best kind of dessert moment.
Final Thoughts
These cute cakes mix creamy cheesecake with brûlée sugar. Bake them in a muffin pan for the perfect single-serve delight.
Recipe FAQs
- → Can these be prepped early?
Definitely! Make them up to 48 hours ahead, but caramelize the sugar just before serving.
- → Why keep the centers a bit wobbly?
They finish setting as they cool down. Overbaking will dry them out or cause cracks.
- → What if I don’t have a torch?
You can use the broiler, though a torch gives a more even caramelization.
- → How do I avoid cracks?
Mix gently after adding the eggs and avoid baking too long. Slight movement in the center is good.
- → Can I make these without gluten?
Sure! Swap out the graham crackers for gluten-free ones or use gluten-free cookies.