
 Save
Save
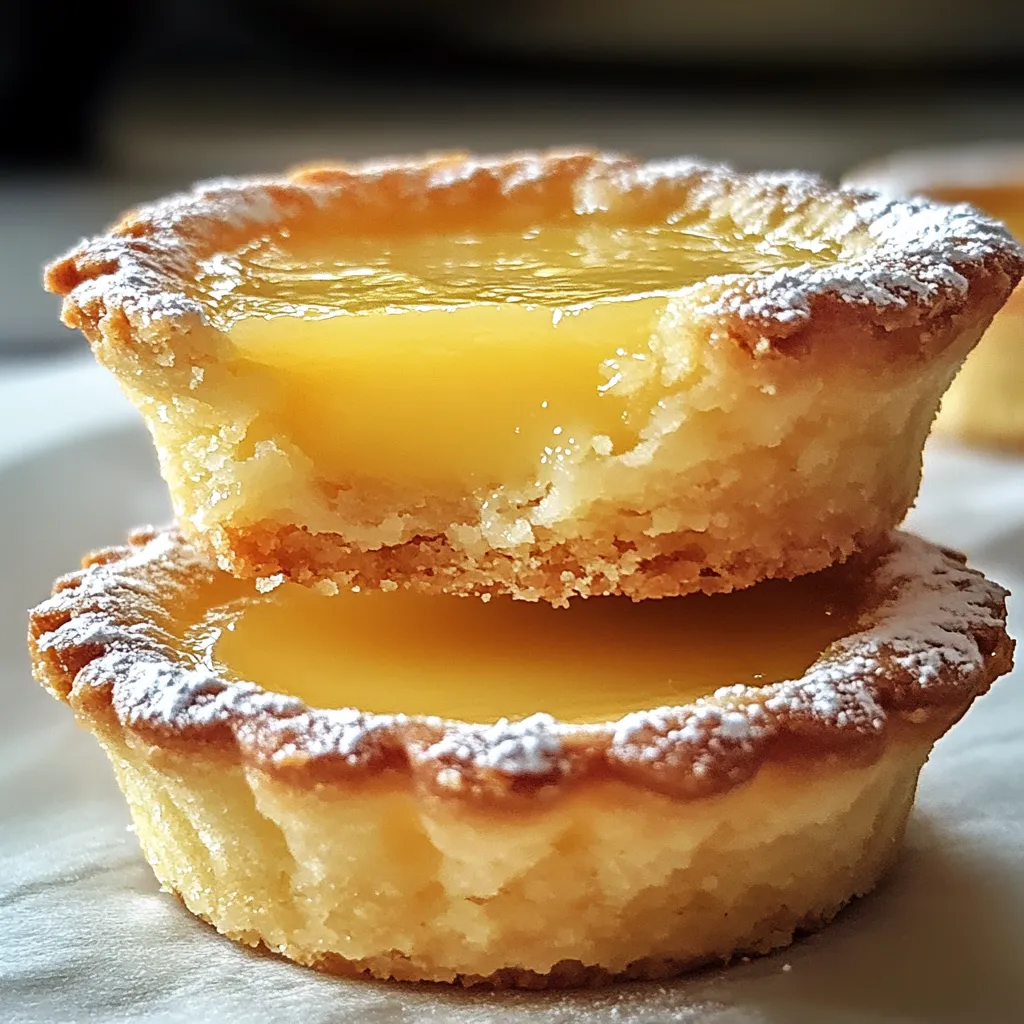
These lemon bar cookie cups pack everything you crave in a lemon dessert into a cute, snack-sized bite. The buttery cookie bottom hugs a bold, creamy lemon middle that’s mellow but zingy. When they bake up, you get that classic crackly top and a super smooth inside, all tucked into a crisp shell. I stumbled onto this idea at a garden get-together where I needed easy-to-eat sweets for guests holding drinks, and honestly, now everyone always asks for them at every party I throw.
The first time I made these was for my kid’s bridal shower, since the bright yellow filling matched our spring style perfectly. My secretive mother-in-law even broke her own rule and asked for the recipe! There’s just something about that crispy shell with the creamy, lemony inside that gets folks who “don’t do sweets” taking seconds. People can’t resist the combo of tang and buttery crunch.
Zesty Ingredients List
- Fresh Lemons: Both zest and juice pack these with real tart citrus punch you just won’t get from a bottle. Go for ones that feel heavy and look bright for max juice.
- Unsalted Butter: This is what makes that base rich and tender. Use it soft so it mixes in smooth and blends properly.
- All-Purpose Flour: Holds the crust together but still keeps things tender. Be sure your measurements are right so the base stays just right.
- Granulated Sugar: Sweetens up the tart lemon and helps get that thin, crisp layer on top. Finer sugar melts in the filling more easily.
- Large Eggs: Make the lemon filling rich and help it set up. Let them warm up a bit first so they mix in easily and give the right texture.
- Pure Vanilla Extract: Makes the lemon pop by adding a little warmth in the background. It’s subtle but totally changes the vibe.
- Powdered Sugar: Sprinkle this on top for that sweet finish and a pretty touch. It’s the last step that gives both taste and style.
No-Fuss Method
- Bake Up the Cups:
- Crank your oven to 350°F first so it’s ready. Spray your mini muffin pan well—don’t forget those pesky corners, or you’ll be digging cookies out later. In a bowl, beat your room temp butter and sugar until it’s fluffy and pale. Two or three minutes usually does the trick—this puts air in your dough and helps the texture stay light. Add flour in slowly and mix just until it looks crumbly, but test by pressing it together to check if it sticks. Don’t overdo it or your base gets tough. Scoop even bits of dough into the tins, then use your fingers or a teaspoon to press them down and push some up the sides. Give it a good press so they hold their shape when you pop them out later.
- Set the Crust:
- Bake those pressed shells for about 8-10 minutes right in the center of the oven. You want the outer edges just starting to get golden—they’re not done yet, just set enough. This stops a soggy bottom later on. If the middle puffs up, press it back down gently while they’re still warm for extra space. Let them hang out in the pan for about five minutes before filling—that way, your crust doesn’t soak up too much of the lemon mix.
- Mix That Lemon Goodness:
- While the bases bake, stir up your filling. Whisk the eggs and sugar together in a bowl until smooth and just a little lighter. Pour in strained lemon juice and zest, making sure no pulp or seeds sneak through. The zest is what brings out that fresh lemon flavor, so don’t skip it. Add a pinch of baking powder to get that signature gentle crackle on top, but still keep things soft inside. Make sure you whisk it all until there’s no grainy sugar left. The fresher you use the filling, the better—it gets too strong if it sits around.
- Finish & Cool:
- Spoon the lemon filling into each cooked crust (but only fill about three-quarters up since it’ll puff a bit). Pop the tray back in for 12-15 minutes until the filling holds but has a slight wobble in the middle—think cheesecake vibes. The tops should look shiny but not brown. Let them cool all the way in the tin since they’ll fall apart if you try to take them out warm. Once cool, slide a thin knife around each one and gently lift them out. Dust with powdered sugar right before you serve so it keeps looking pretty.
 Save
Save
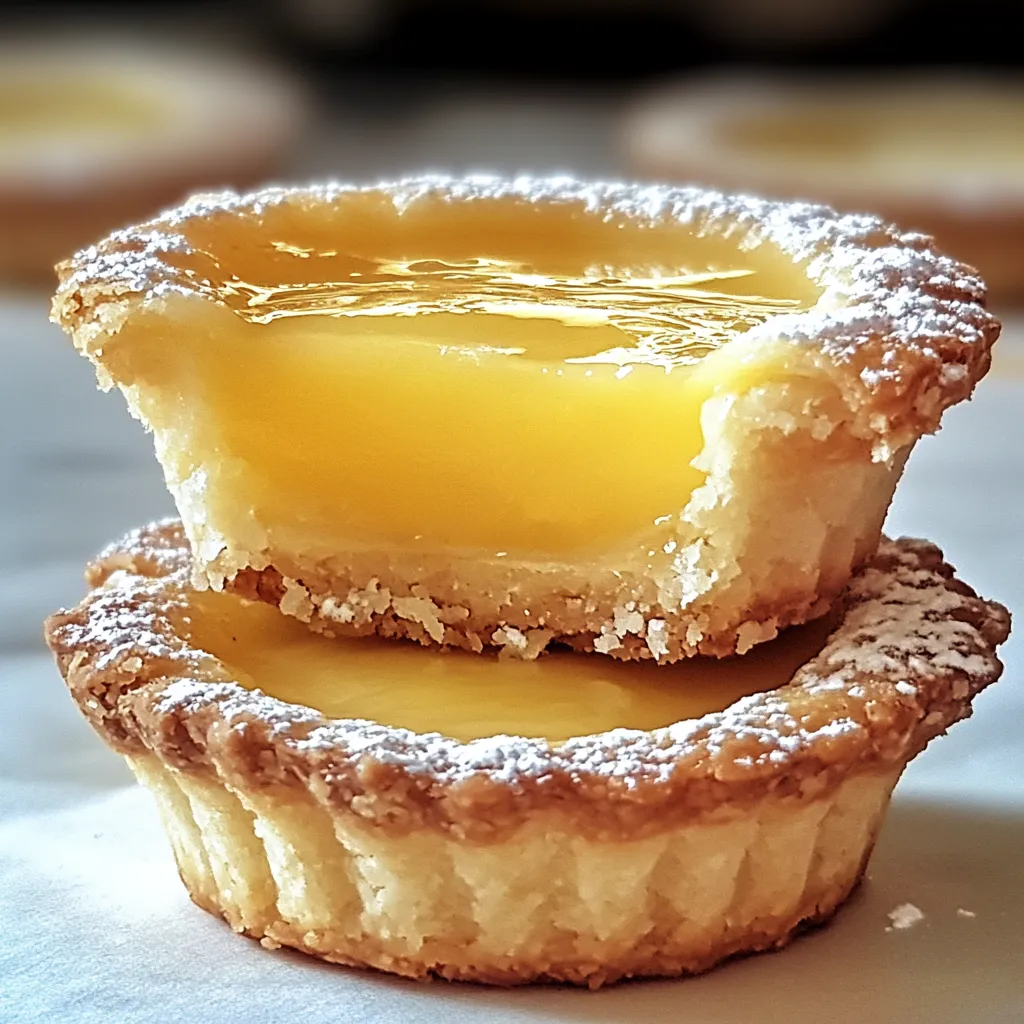
After a flop where my first batch was runny in the middle, a pastry chef buddy tipped me off: toss in a sprinkle more flour to the filling for firmer cups that are still creamy inside. My favorite way to eat these is cold from the fridge during summer—those cool, citrusy insides just hit the spot when it’s hot out. And even my husband, who’s usually all about chocolate, asks for these at every picnic or cookout we have.
Serving Ideas Worth Trying
These are awesome for pretty much any event. Pile them onto a big white plate, then toss in fresh berries and some mint leaves for a pop of color. The sweet berries and tangy lemon just work. For a tea party feel, serve one on a plate with a scoop of vanilla ice cream and a little cookie on the side.
If you’re all about brunch, lay out a board with these lemon cups, mini chocolate tarts, and lots of fruit—that spread is a people-pleaser every time. At holidays, stack them with other small treats on a tiered stand so everyone can sample a few different goodies. Or wow your friends at spring and summer hangs by pairing the cups with a mini jug of raspberry sauce for drizzling—pretty and tasty!
Tasty Twists
Berries Galore: For a fruity upgrade, drop a fresh raspberry or blueberry in each cup before baking. They’ll burst a bit for a swirl of berry color and flavor. Top with more fresh fruit and a leaf of mint after baking for party vibes.
Go Coconut: Add some island flavor with 1/2 teaspoon coconut extract in the lemon mix and fold toasted coconut (about 1/4 cup) into the crust. Dust on more coconut and a tiny pineapple chunk after for those summer feels—perfect with drinks outside.
Lavender Hits: Bump up the fancy factor by letting sugar sit with 1/2 teaspoon edible lavender buds for at least a day (strain out the buds later). That mellow floral note blends with the lemon for a dessert that feels extra special at stylish get-togethers.
Keep 'Em Fresh
Room Temp Tips: Store cooled cups in a sealed box on the counter up to three days. Stick some parchment between layers so they don’t stick, and save the powdered sugar sprinkle for last.
Fridge Bonus: Want them to last a week (or if it’s hot out)? Pop them in the fridge. The chill actually firms up that filling even more. Let them sit out 15 minutes before serving so the flavors shine.
Freezer Friendly: Freeze on a sheet pan first, then layer them with parchment in a container for up to two months. Thaw in the fridge overnight and bring to room temp, then dust with sugar before digging in.
 Save
Save
These lemon bar cups are my go-to favorite for everything from backyard BBQs to fancy holiday spreads. I love how I don’t have to stress—super flexible and always work out. They’re pretty enough for company, but easy enough for weekday snacks. There’s something special about bringing out a sunny treat in winter when lemons are everywhere, too. Seeing folks light up after tasting that tangy, buttery bite makes every batch worth it.
Recipe FAQs
- → Is it ok to make these lemon cups ahead?
- Sure thing! You can prep them 1-2 days early. Put them in the fridge in a covered container. The filling might make the cups a bit softer, but they’ll still taste great! Dust the powdered sugar right before serving for a nice finish.
- → Why didn’t my lemon filling thicken?
- Stirring constantly at medium heat gives the best results. Cooking it too fast or not enough stirring might keep it from thickening. If needed, mix a teaspoon of cornstarch with a tablespoon of water, then stir that in for extra thickening.
- → Can I keep these lemon cups in the freezer?
- Absolutely! Freeze them in a single layer inside an airtight box for up to a month. Move them to the fridge overnight to thaw, then let them reach room temp. Add powdered sugar on top just before enjoying!
- → How do I know if my cookie cups are cooked?
- They should be a light golden color at the edges but still soft in the middle. Don’t leave them in too long or they’ll get crunchy and hard to take out. Let them cool in the pan to firm up properly.
- → Can I use lemon juice from a bottle instead of fresh?
- Yep, bottled juice works if you're in a pinch. But don’t skip the zest—it's what gives that incredible lemony pop with all those natural oils!