
 Save
Save
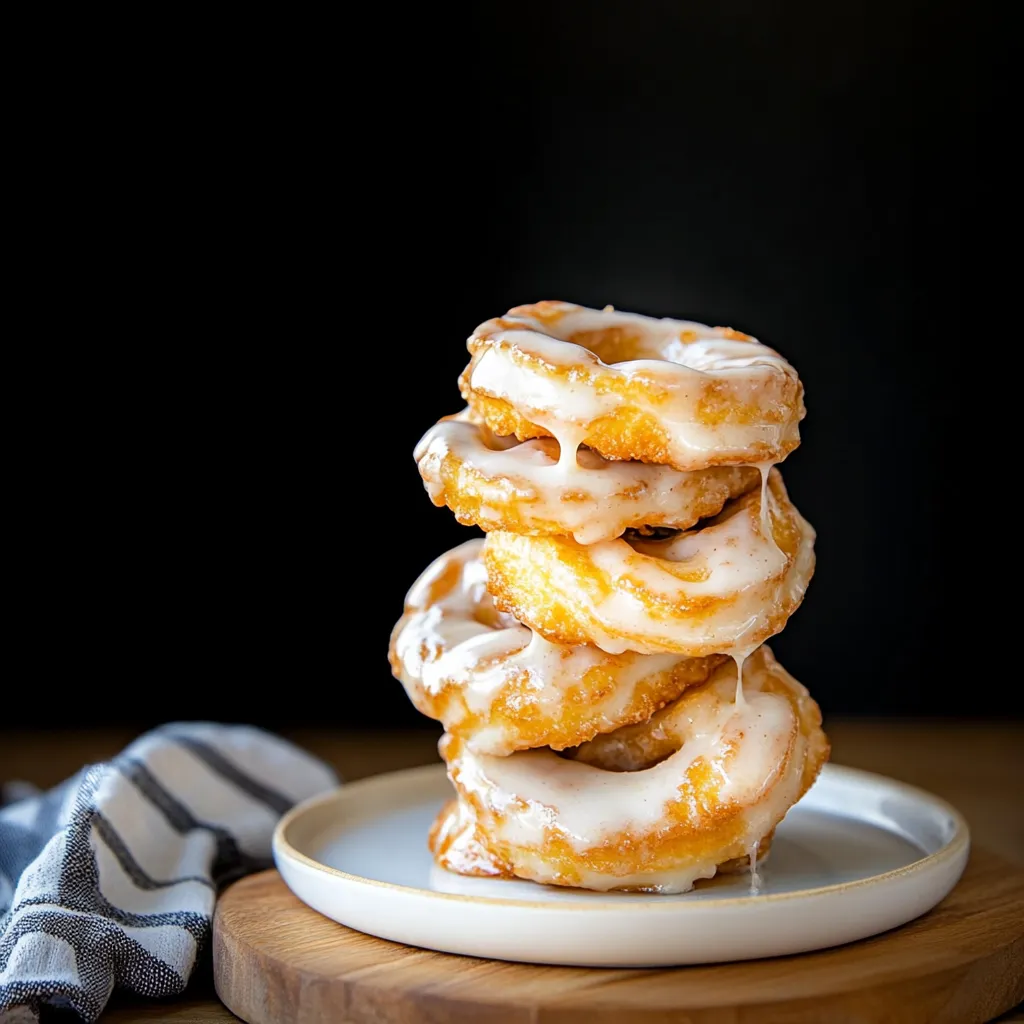
I never pictured myself as someone who'd whip up donuts from scratch. As a kid, donuts only came from those pink boxes at the store. But then I saw someone on TV crank out these French crullers like it was no big deal, so I thought, why not? Turns out, they really are that simple.
When I made these last weekend, my neighbor dropped by as they were cooling. She grabbed a cup of coffee and managed to down three, even though she claimed she was "just having a tiny bite." That's exactly how hard these are to resist.
Irresistible Essential Ingredients
- Vegetable oil for frying: regular oil does the trick, nothing fancy required
- Flour: just the usual kind, no need for anything special here
- Butter: use the real deal, trust me
- Eggs: these are what make them puff up all airy and light
- Powdered sugar: dust it on or make a sweet glaze to finish things off
 Save
Save
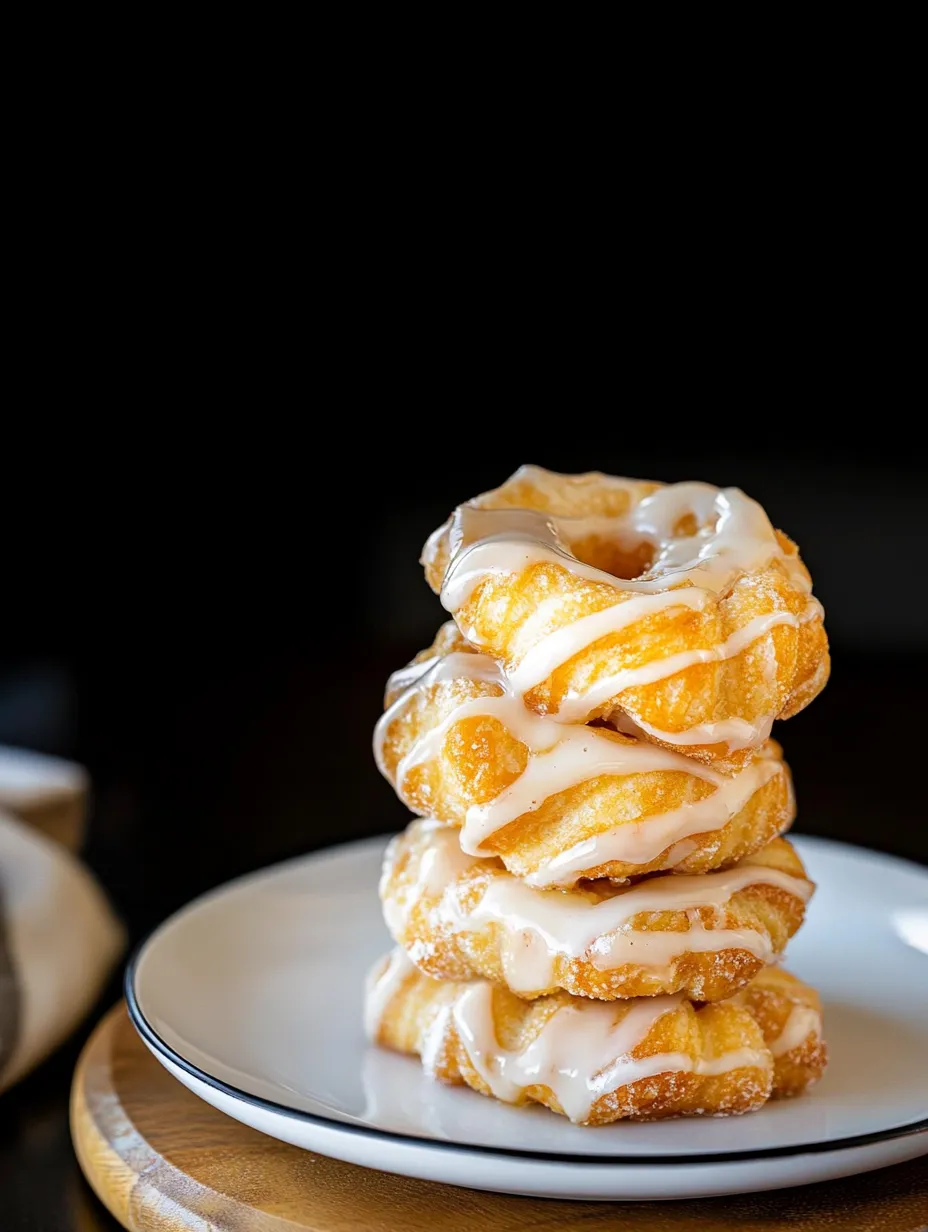
The magic here is thanks to pâte à choux, which sounds way fancier than it is. Don't worry about the French, it's pretty much just boiling water and butter, mixing in flour, then stirring in eggs until everything looks like a thick cake mix.
The first time I mixed up this dough, I was sure I'd blown it. It's nothing like regular donut dough—it's sticky and shiny, kind of like pudding. But honestly, that's exactly right. All that moisture is what turns them into those hollow, airy bites when you fry them.
Piping is where you can have a little fun. Grab a star tip for ridges that get extra crunchy. My first go looked more like random swirls than donuts, but they were still awesome.
You can't skip the freezer step, just don't do it. I tried once and ended up with shapeless blobs instead of nice rings. Thirty minutes in the freezer really helps them hold up when they hit the hot oil.
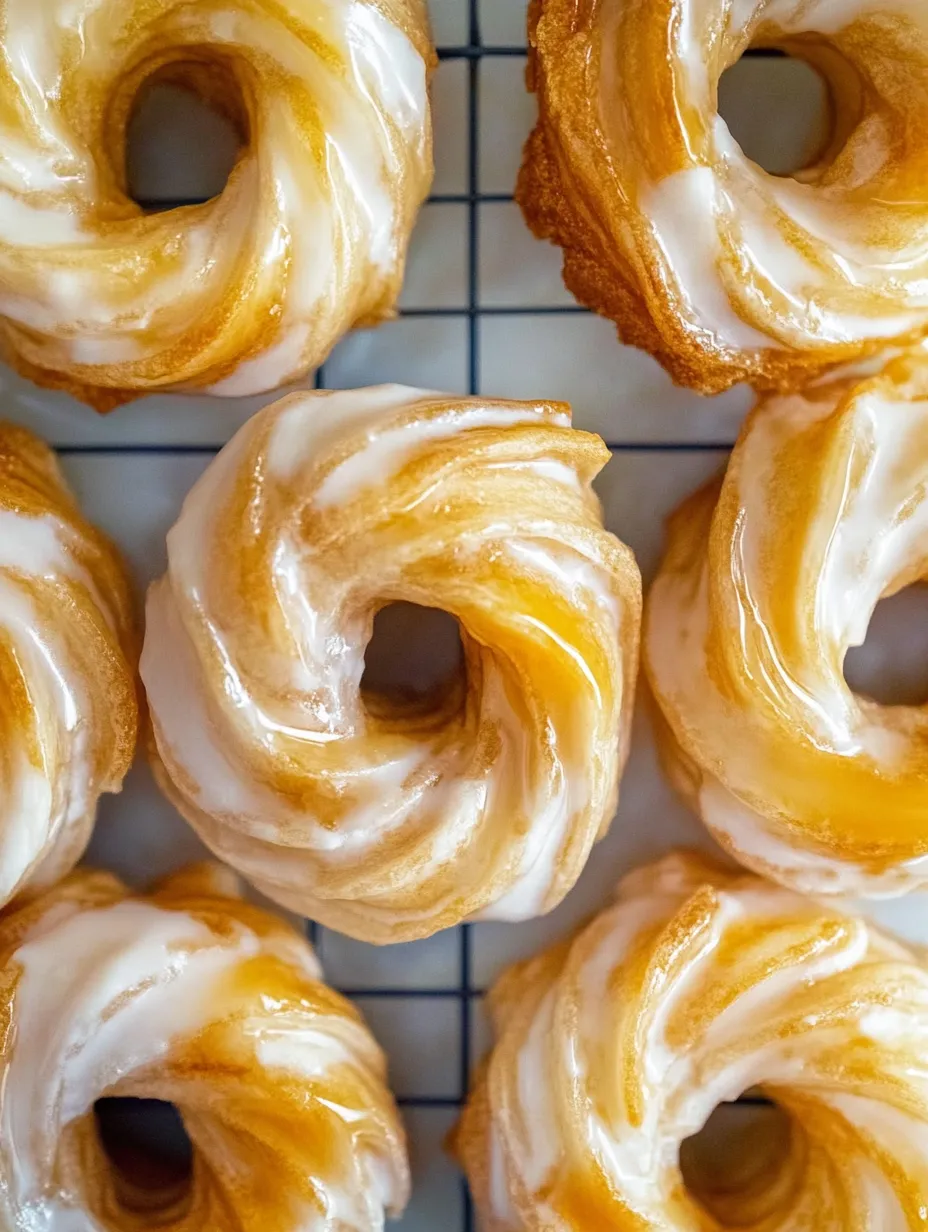
Dropping these frozen rings in your hot oil? Pure magic. They puff up and get toasty brown super fast. Flip them after a minute or so. The first one's always my "tester" to make sure my oil's hot enough.
For the glaze, it's just right—not too sweet, not too plain. Sometimes I use a splash of lemon for a zing, but vanilla works if you're keeping it classic.
Waiting until they cool is actually the trickiest part. I've burnt my mouth being too eager. They're absolute best when the glaze is just set and they're a little warm.
 Save
Save
Now these are my go-to for when overnight guests come by. They look way fancier than they are. Nobody guesses I only spend about half an hour making them. Sometimes the best things are the ones that look super hard but are totally doable.
Recipe FAQs
- → Why do crullers need chilling before frying?
- Chilling helps them keep their shape while frying and gives them a crispy shell with a soft middle.
- → Can you bake these instead?
- Typically, crullers are fried, but you could bake them at 400°F for roughly 20 minutes. The texture won’t be the same but will still turn out tasty.
- → What’s a good oil for frying crullers?
- Go for oils like canola, vegetable, or peanut—it won’t overpower the flavor and handles heat well.
- → How do you check if the oil’s hot enough?
- Either use a thermometer to ensure it’s between 325-350°F or toss in a tiny piece of dough—it should bubble and float up quickly.
- → How long do homemade crullers stay good?
- Best enjoyed fresh on the same day but can last 1-2 days in an airtight box. Avoid refrigerating; it ruins the texture.