
 Save
Save
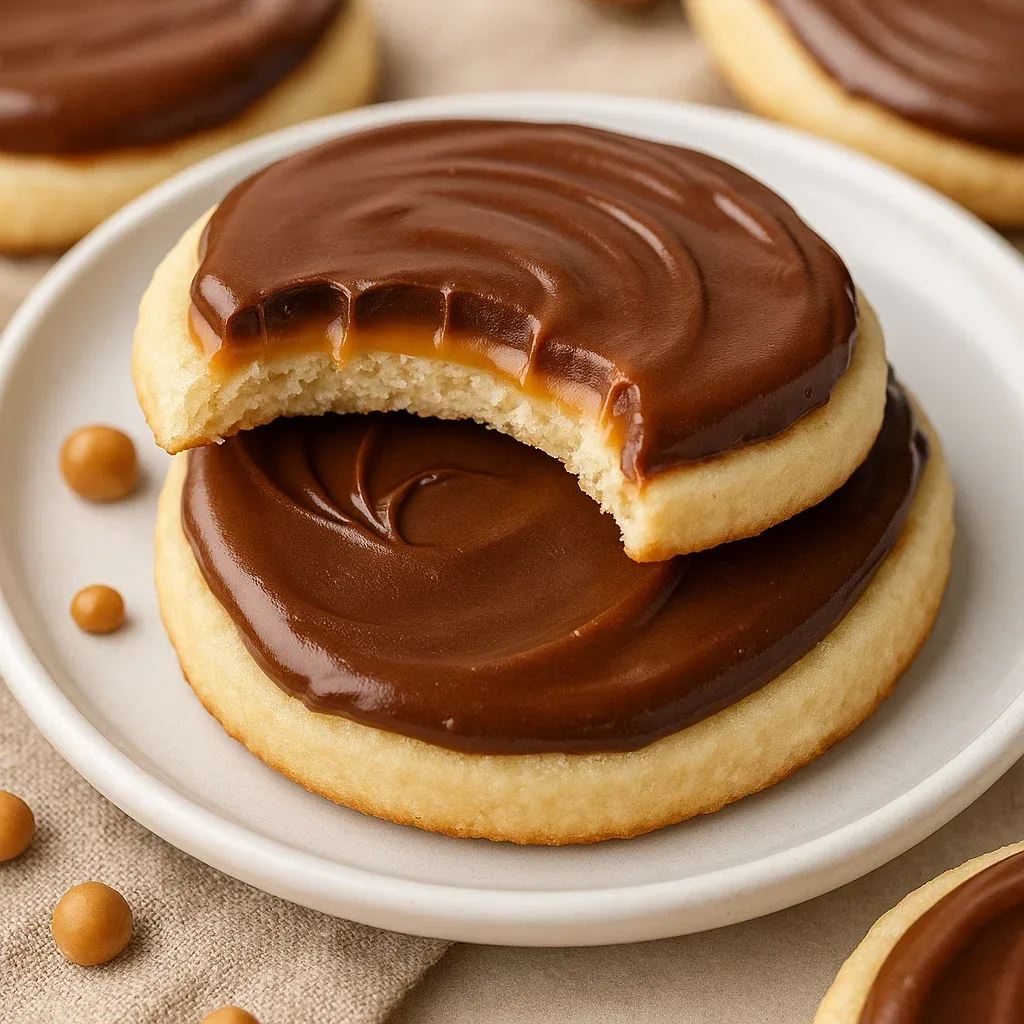
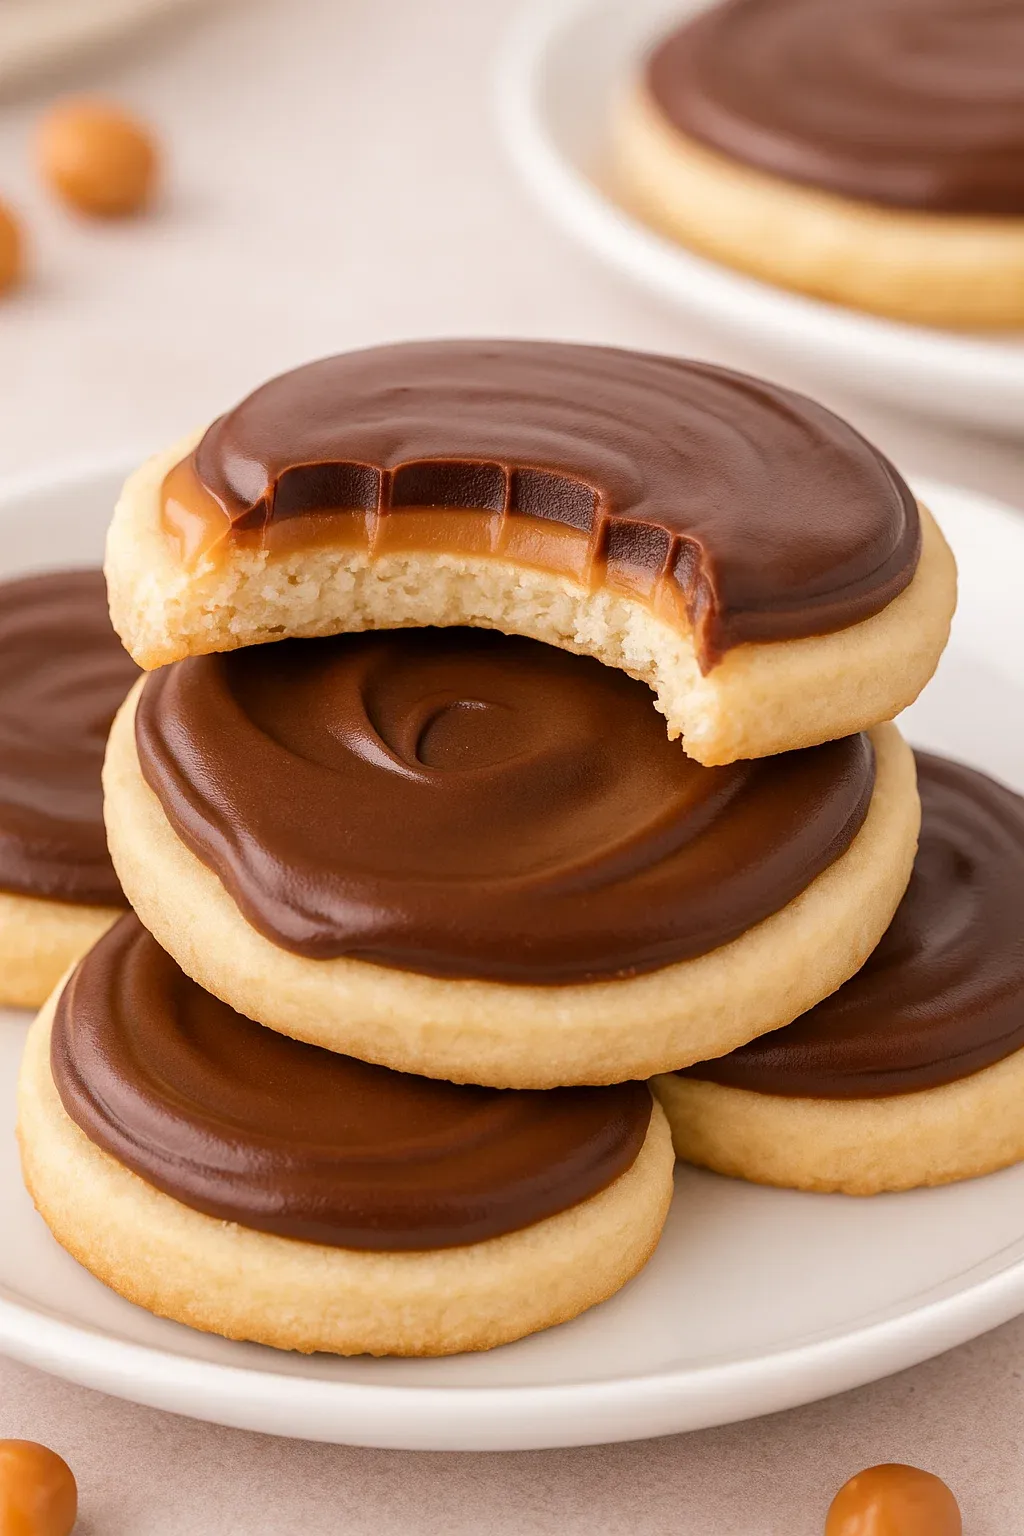
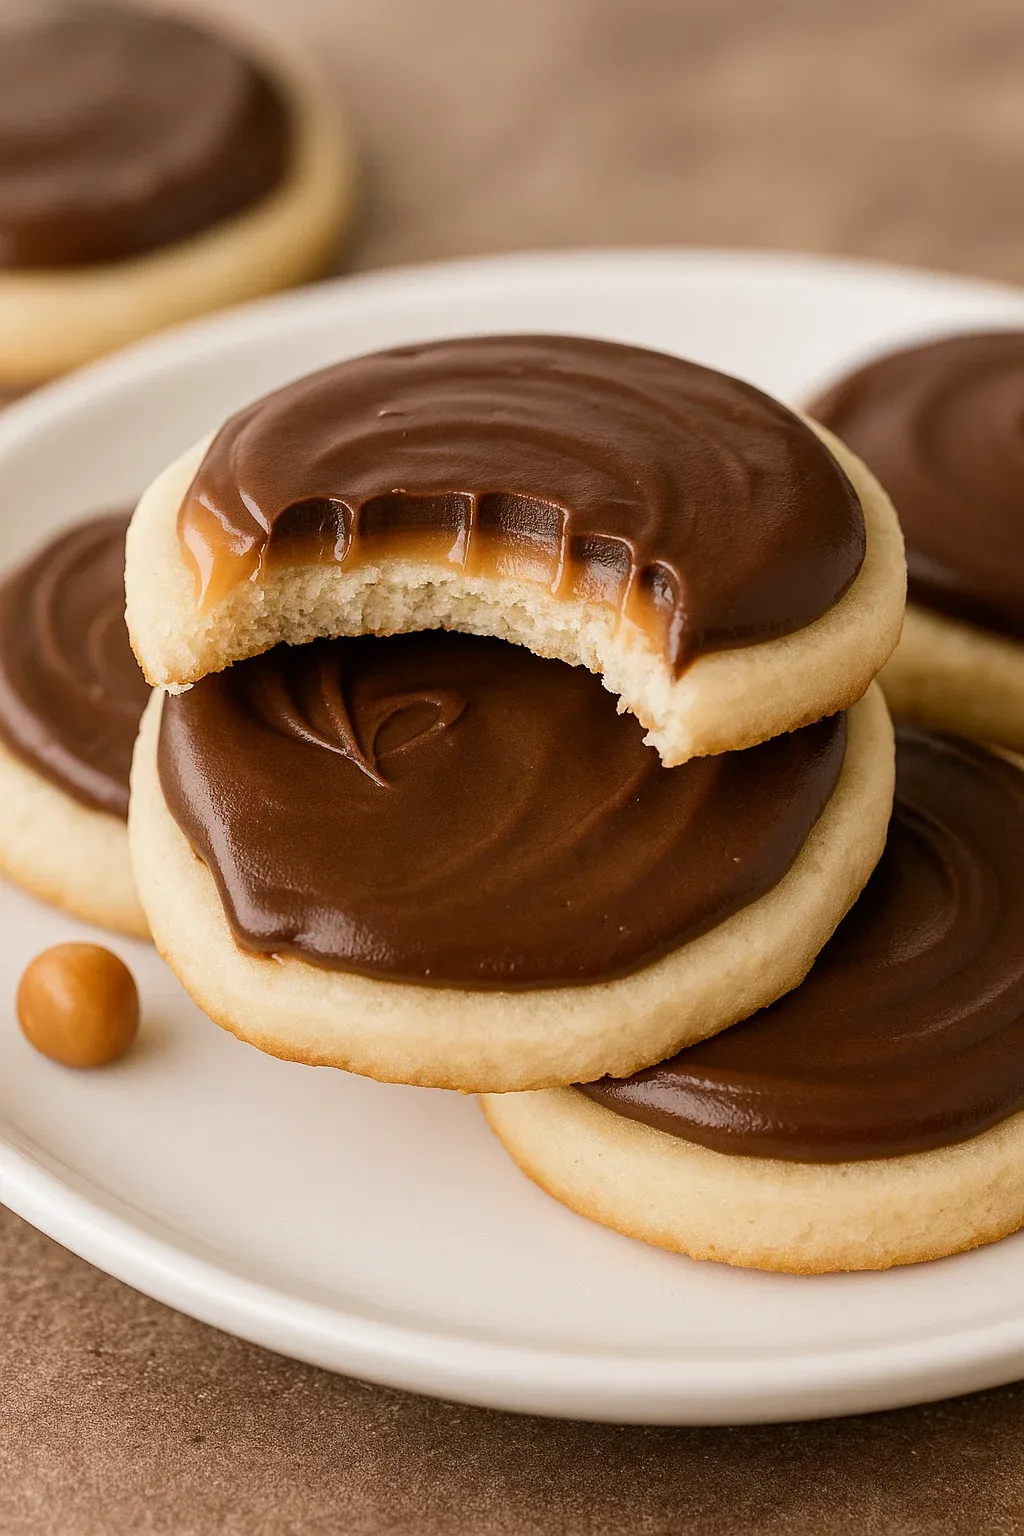
Turn everyone’s favorite Twix bar into something extra special at home. These treats have a rich cookie bottom, gooey caramel in the middle, and a silky layer of chocolate on top. They taste way fresher than store-bought, and one bite will show you why they’re hard to stop eating.
I whipped up a batch for my kid’s birthday, and wow—they vanished before I even sat down! Now I make them anytime people come over. These are my never-fail show-off treat that don’t tie me up in the kitchen all day.
Tasty Ingredients
- White cake mix: this shortcut makes the cookies perfectly tender and crisp, and it’s super easy to use
- Flour (all purpose): keeps your cookies firm so they don’t fall apart after baking
- Salted butter: brings loads of flavor and keeps the base and toppings rich
- Caramel bits: melt down soft and create the classic gooey middle just like the candy
- Semi sweet chocolate chips: give a deep chocolate taste, not too sweet
- Extra butter: makes your chocolate topping shiny and smooth
- Heavy cream: helps make the caramel spread easily for that perfect layer
Simple Step-by-Step Directions
- Let Cookies Set:
- Once you’ve spread the chocolate, step back and leave them until the topping firms up. That’s how you get that snappy bite like biting into the real thing.
- Spread Chocolate On Top:
- Melt the rest of your butter together with chocolate chips, stirring after every few seconds in the microwave. Pour over the caramel and gently nudge it all the way to the edge.
- Add Caramel Centers:
- Scoop a teaspoon of gooey caramel onto each cooled cookie. Push to spread, but stop a bit before the edge so things don’t get messy when you handle them later. Wait until the caramel firms up before adding chocolate.
- Make The Caramel Layer:
- For caramel, zap the bits with heavy cream in the microwave a few seconds at a time. Keep stirring so it’s smooth and the heat doesn’t burn it. You want it melty and spreadable but not so hot it disappears into the cookie.
- Bake The Cookies:
- Give your cookies plenty of space on the baking tray (an inch is good). Bake for about 6-10 minutes. They’re done when you spot golden edges—don’t walk away, or you’ll miss it and lose that fluffy inside!
- Shape The Cookies:
- Roll the dough out thick—about half an inch—on a floured board. Use a round cutter (2 inches across works great) to punch out cookies. Too thin and they’ll get crunchy, so thicker works best for that classic shortbread vibe.
- Mix Up The Dough:
- Blend your cake mix and flour first. Add soft butter a little at a time and beat until it’s all pulled together into one soft dough. If your butter is cooler it could take a few extra minutes, but the dough should come off the bowl sides and feel just a little sticky.
- Get Ready To Bake:
- Put parchment on your pans and set the oven to 350°F. Parchment cuts out sticking and makes cleaning up fast. That temp makes cookies golden but keeps them soft inside.
 Save
Save
The caramel layer really makes these shine. Give it some extra care as you spread it so every bite is just right. My partner says they win over regular Twix bars since they’re so much fresher straight from your own kitchen.
Easy Make-Ahead And Storage Ideas
You can actually make these ahead of time and they get even better after a day—the flavors blend so nicely. Once they’re totally cool and set, store in a tight container. If you stack them up, put parchment in between layers to keep them neat.
At normal room temp these taste awesome for a week or so. Pop ‘em in the fridge and they’ll last about two weeks but will be a bit firmer. Go even longer by freezing—just stack them carefully with parchment in-between and stash in a sealed container for up to three months.
Fixing Common Problems
Caramel keeps sliding off? If the caramel seems too runny, wait a couple minutes after microwaving so it thickens up before you start spreading. If your cookies are spreading too much in the oven, chill the dough rounds for 15 minutes before they go in.
If you want glossy, shiny chocolate, don’t overcook it while melting. Stop microwaving just before every chip’s melted, then keep stirring to let the leftover heat do the rest. Want to jazz them up? Once the chocolate’s set, drizzle extra chocolate in zigzags over the top.
Fun Changes To Try
Want a new twist? Flip the flavor by swapping caramel and add-ins. For a Snickers vibe, sprinkle salty chopped peanuts onto the caramel. More into Milky Way? Use milk chocolate chips instead. A mint version is just a drop of peppermint extract in your chocolate layer away.
Dress them up for holidays by tossing sprinkles over the wet chocolate, or use bright colored candy melts instead of regular chocolate. Drizzle with white chocolate for an elegant party bite or just for fun.
 Save
Save
Recipe FAQs
- → Can I swap the chocolate for another kind?
Definitely! You can use dark chocolate, milk chocolate, or even white chocolate to change it up however you'd like.
- → How do I keep the caramel soft and easy to spread?
Microwave the caramel bits in short bursts, stirring often, and toss in a little heavy cream to keep them smooth.
- → Can I use pre-made cookie dough to save time?
Sure thing! Ready-made dough makes this process even faster and just as delicious.
- → What’s the best way to store these to keep them fresh?
Pop them into an airtight container. They stay good for a week at room temperature, two weeks in the fridge, or up to three months in the freezer.
- → Can I add sea salt for that salty-sweet combo?
You bet! A bit of sea salt makes the flavors pop and pairs perfectly with the caramel and chocolate.
- → How thick should the cookies be before baking?
Roll the dough to about a half-inch thick. That gives them the perfect balance of soft and crisp.
- → Can I make these in advance for a party?
Yes, you can prep them a day or two ahead. Just keep them chilled or frozen until you’re ready to serve.