
 Save
Save
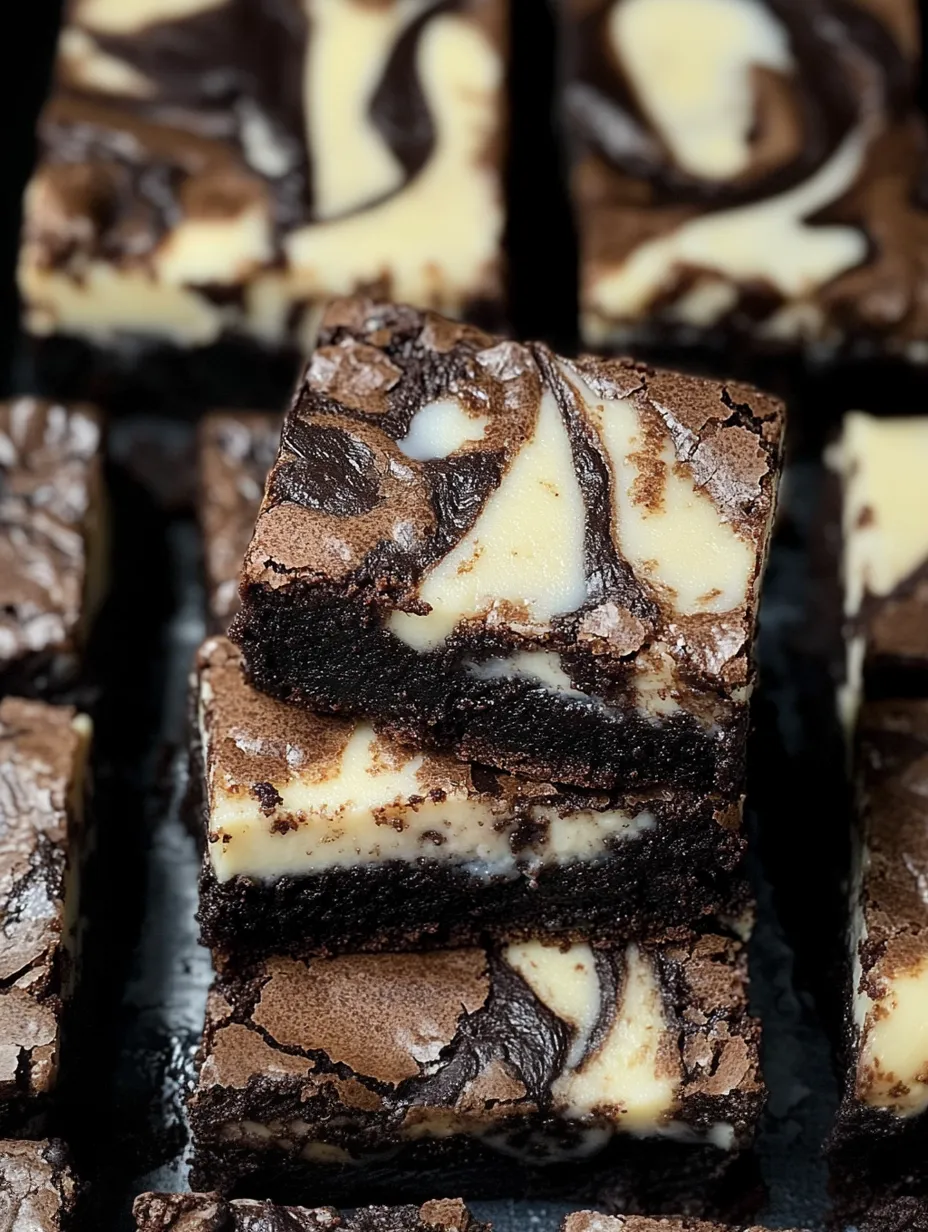
This is my go-to dessert when I wanna impress a crowd. I first whipped these up years ago after being totally torn between brownies and cheesecake for a dinner party. The mix of super fudgy dark chocolate and zippy cream cheese is just unbeatable. Everybody's convinced you spent forever making them even though the fancy swirly top is a breeze—just give it a little swirl with a knife and it looks straight outta a bakery.
I brought a batch of these to last month’s office potluck. Mark from accounting, who’s not even into sweets, grabbed one just to be nice then ended up sneaking two more before lunch wrapped up. His wife actually emailed me that night asking how to make them since he couldn’t shut up about “those killer brownie squares.” Now he bakes them for every family get-together.
Irresistible Key Ingredients
- Dark chocolate chips: These give you that bold chocolatey base. Skip the milk chocolate or it’ll be too sweet—dark is key for that tasty balance with the cheesecake swirl.
- Unsalted butter: Makes brownies rich and moist so they stay fudgy all week. I’ve tried swapping in oil but it just isn’t the same—the taste and feel are best with butter.
- Cream cheese: Gotta use full-fat and let it soften fully to keep things extra creamy—lower fat kinds end up a bit crumbly and not as smooth.
- Cocoa powder: Stirred in with the melted chocolate, it adds extra depth. Dutch-processed makes it even richer, but the regular kind totally works too.
- Vanilla extract: Just a splash rounds out the flavor for both layers. Go for the real stuff if you can—it really does make a difference.
 Save
Save
Simple Step-by-Step Directions
- Getting it swirled:
- Let some of the brownie batter hang back so you can drop it on top for cool marbling. Don't stress about neatness—the less perfect, the cooler the stripes look.
- Making the cheesecake:
- Don’t start until your cream cheese is good and soft—otherwise you'll get chunks no matter how long you mix. Give it an hour on the counter, or cut it in cubes to speed things up.
- Mixing just right:
- Go easy when you blend everything for the brownie base. Overdoing it ruins the fudginess. I like using a rubber spatula to fold in the flour for better control.
- Melting it all:
- Slowly melt butter and chocolate together over gentle heat or zap in short microwave bursts. Stop with a few small pieces left—let what’s already hot finish melting so it stays smooth.
- The swirling magic:
- For that baker-style pattern, gently drag a knife or skewer just under the surface in random figure-eights. Don't go wild or you’ll lose the contrast—just a few sweeps is plenty.
- Baking it up:
- Take these out while the center is still kinda wobbly. They’ll keep setting up as they cool. Overbaking is what makes brownies dry so pull them out sooner than you think!
I’ve been tweaking this one for ages, changing little things every time. I kicked off with semi-sweet chocolate but after trying dark, I can’t go back—it makes them feel so much fancier. I also experimented with how much brownie versus cheesecake for a while and finally nailed it where both shine. Used to make the cheesecake part extra sweet but cutting back let the tang come through and makes the whole thing pop.
Fun Ways to Serve
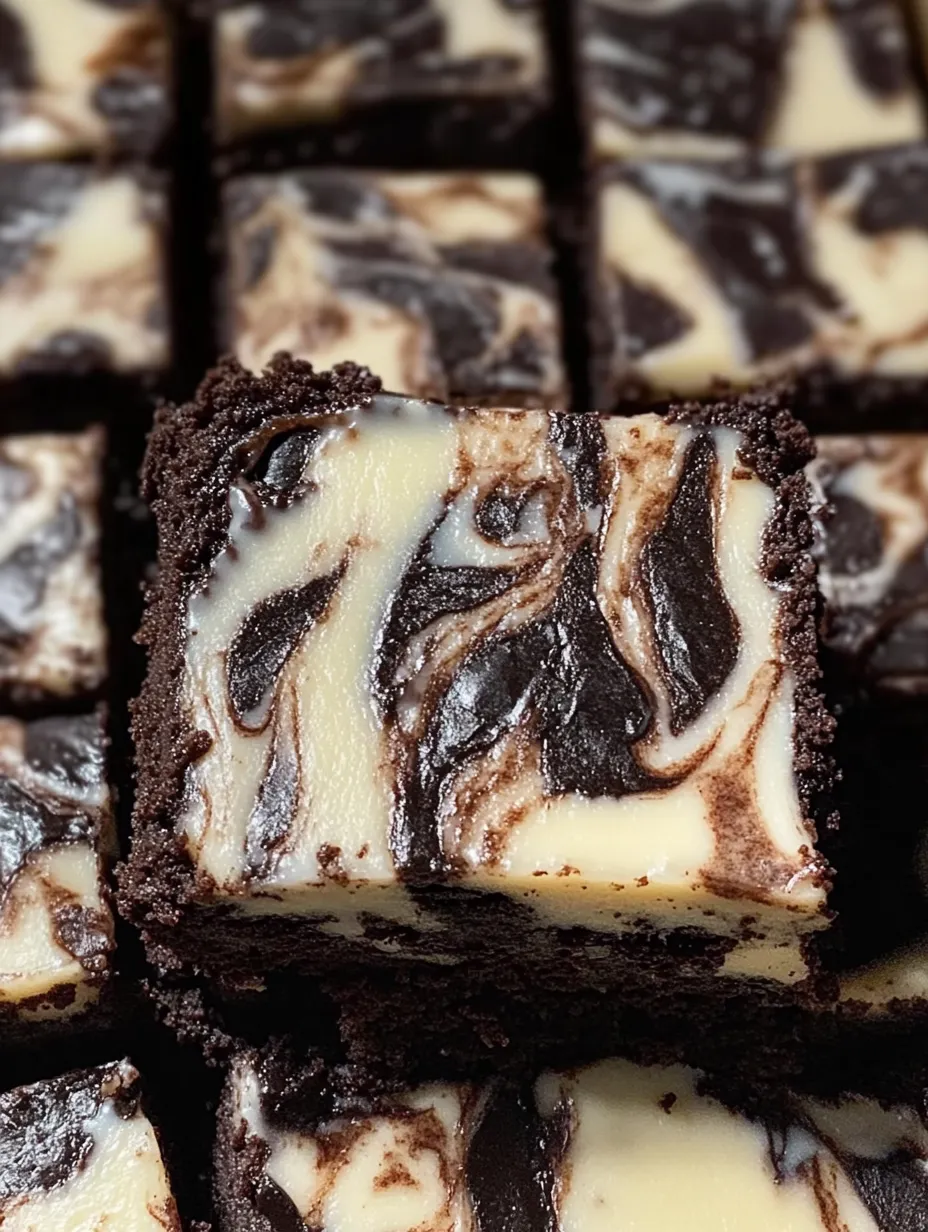
I like chilling these for super crisp layers and easy cutting. Want to splurge? Zap a piece in the microwave for 10 seconds, then top with vanilla ice cream. For fancy vibes, dust the top with cocoa powder using a sieve and pop a few raspberries on the side. If they’re part of a mixed dessert tray, I’ll cut smaller squares so everyone can sample different sweets.
Yummy Variations
Stir a teaspoon of instant espresso into the brownie base for a treat coffee fans go wild over. Need a zestier note? Toss some orange zest into the cheesecake part—a little citrus is amazing with dark chocolate. When it’s holiday season, I add just a drop of peppermint to the brownie for a festive spin. For more crunch, sprinkle mini chocolate chips over the cheesecake before you start swirling.
Keeping Them Fresh
Pop these brownies in an airtight container in your fridge and they’ll stay great for up to five days. Letting them chill actually makes them even tastier and the texture gets fudgier too. Want to keep some longer? Cut into squares and freeze individually wrapped—good for three months. Just thaw overnight in the fridge or for about an hour at room temp before eating.
 Save
Save
I’ve baked these for everything, from movie nights on the couch to swanky dinners, and they’re always a hit. That mix of luscious chocolate and tangy cheesecake is just something everybody loves. They look way fancier than they are to make, plus they travel really well for bake sales or potlucks. Friends have even started requesting them by name whenever there’s a get-together—I love having a staple everyone raves about.
Recipe FAQs
- → Can I swap out dark chocolate for semisweet chocolate?
- Definitely! Semisweet chocolate chips will work fine and bring a touch of extra sweetness.
- → How can I tell when these brownies are ready?
- Keep an eye on the edges—they should firm up and pull away slightly from the pan. The center will stay just a little soft but sets as it cools.
- → Do these bars need to be stored in the fridge?
- Yes, because of the cheesecake layer. Pop them in an airtight container and keep them in the fridge for up to five days.
- → Can I freeze leftover bars?
- For sure! Wrap them tightly and freeze for a max of three months. Let them thaw in the fridge overnight, and they’ll be good to go.
- → What causes cracks in the cheesecake topping?
- Cracks usually show up when you overbake or cool the bars too fast. Try a shorter baking time and letting them cool on the counter first.