
 Save
Save
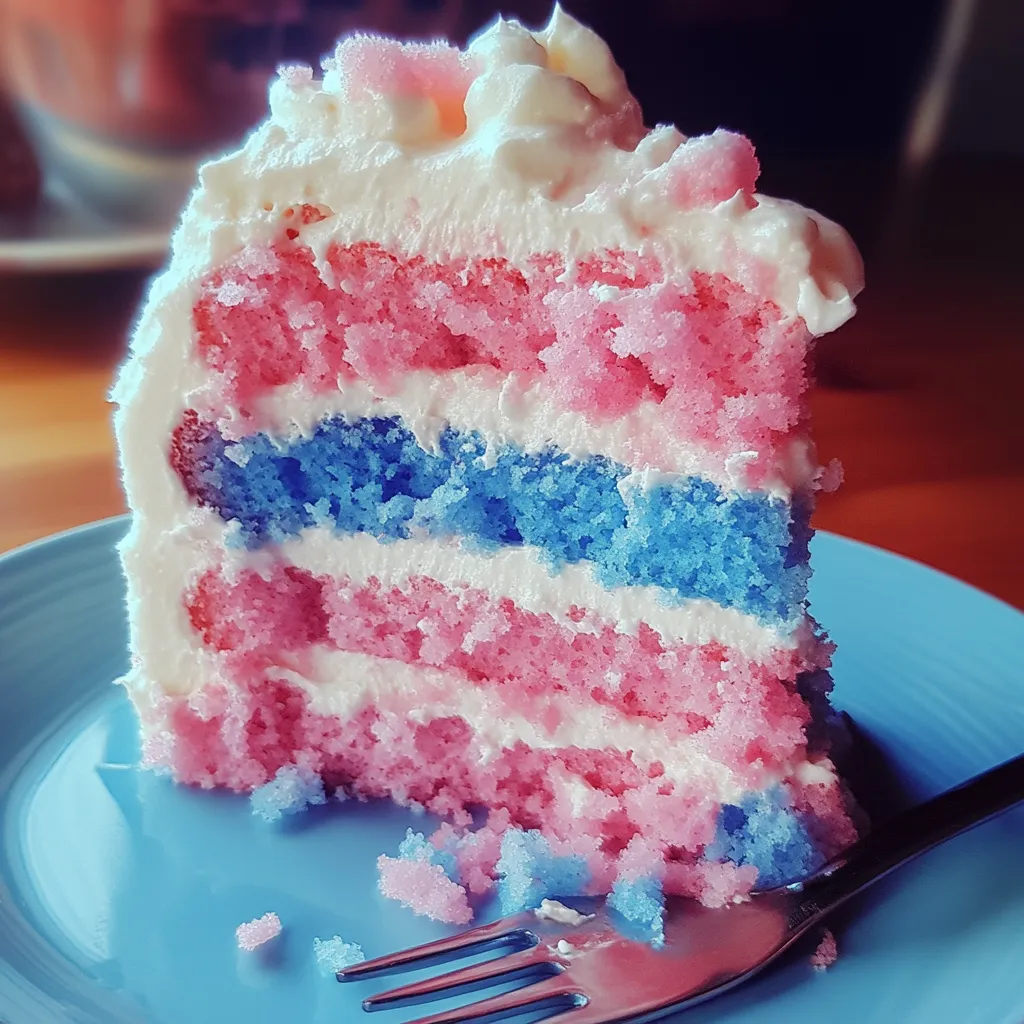
Soft, cloud-like cotton candy gets folded right into pillowy cake, bringing you back to sunny summer days and carnival fun. With pastel blues and pinks, you'll feel like you're at a fair just looking at it. Every bite has that sugary, airy taste inside buttery cake. It's a total crowd-pleaser, bringing together old-school nostalgia and modern baking for a playful showstopper everyone's curious to try at a party.
This was the cake I baked for my kid's seventh birthday after her endless requests for carnival themes. When I cut into those striped, pastel layers, her face just lit up. The best part? Grown-ups kept coming back for another slice, laughing about visits to the fair. Somehow, it's a hit with everyone—fancy eaters and those just chasing sweet memories alike.
Dreamy Ingredient Picks
- Baking powder: Kicks the cake up, making it rise high—just be sure yours is still fresh or it won't work well
- All-purpose flour: Sets a soft base for the cake; use unbleached for a cleaner look and taste
- Cotton candy flavoring: Brings that sweet carnival kick; oil-based works best for an even, bold hit
- Heavy cream: Makes frosting fluffy—regular pasteurized works better than ultra-pasteurized for whipping
- Granulated sugar: Adds the classic sweet touch; superfine melts in perfectly for that awesome crumb
- Whole milk: Keeps the cake moist and rich; don't swap for light milk or it'll taste flat
- Unsalted butter: Gives a tasty, rich background; go for European butter for next-level flavor
- Food coloring: Dials up those bright pastels without thinning the batter if you pick gel types
Simple Baking Guide
Getting the Oven Ready: Warm up your oven well ahead, putting the racks in the middle so heat hits the cakes evenly from all sides.
Lining the Pans: Smear your pans generously with butter, then slap on perfectly cut parchment rounds at the bottom—makes popping cakes out super easy once they're done baking.
Dry Mix Kickoff: Give all your dry stuff a good whisk to fluff it up and make sure the rising helpers get everywhere for an even cake.
Butter & Sugar Magic: Start by beating softened butter until it looks light and fluffy. Slowly add sugar, mixing until you've created a super airy base for the cake layers.
How to Add Eggs: Add one egg at a time, keeping your mixer on medium and letting each one blend in totally before you toss in the next. This helps everything come together smooth.
Mixing it All: Mix in dry ingredients and milk by thirds, starting and ending with flour. That way, your cake stays sturdy but soft.
Packing in the Carnival Flavor: Carefully fold the cotton candy flavor into your mixed batter, then divide and swirl in those pastel colors till it looks just right.
Knowing When It's Done: Watch for the edges of your cakes to pull away from the pan and poke the middle with a toothpick or skewer—no crumbs left behind means it's ready.
 Save
Save
My grandma always laid a clean towel on the cake after baking, so it stayed moist. It really does make a difference and keeps every layer soft. When I do this with cotton candy cake, the flavor gets evenly spread, so you never end up with bland bites or weird flavor pockets.
Playful Serving Ideas
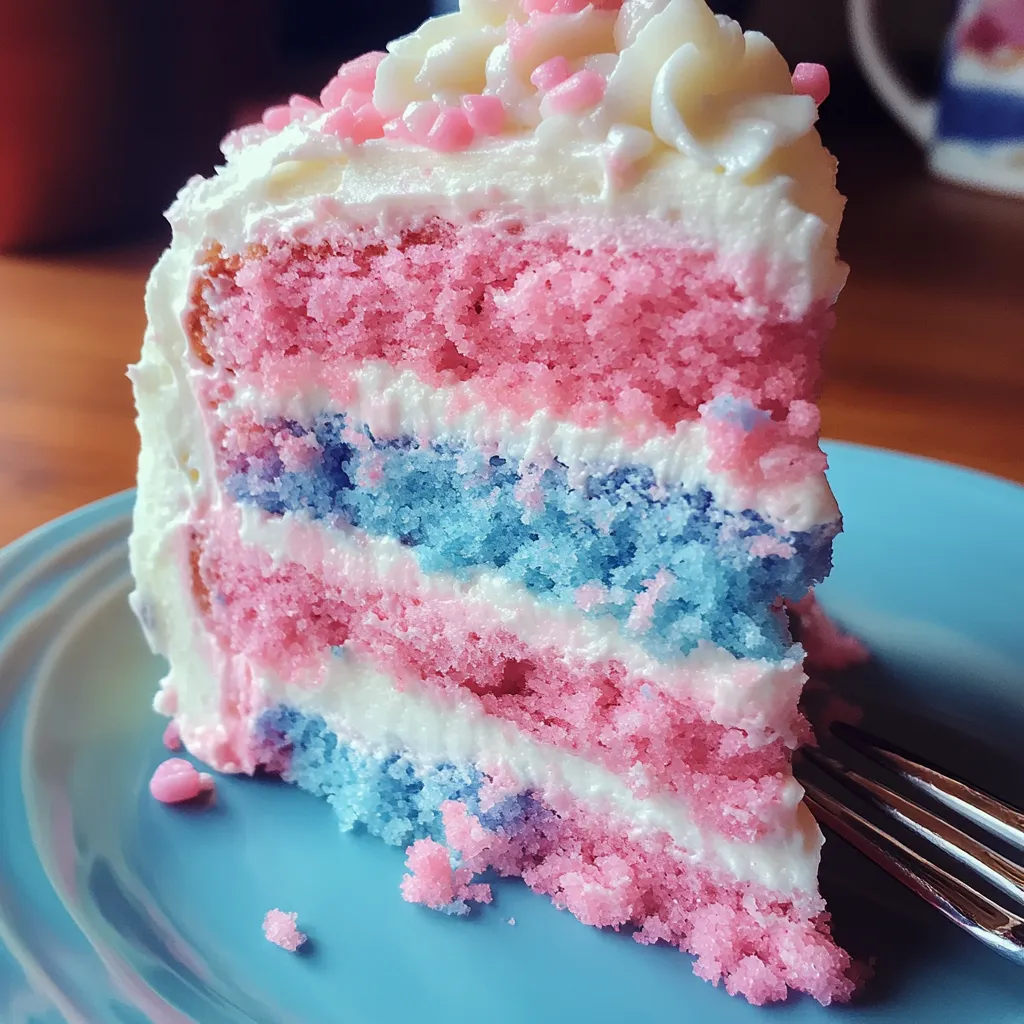
Wow your crowd by putting this bright cake on a spinning stand, rimmed with fresh cotton candy wisps for extra flair. Cut up medium slices and pair with vanilla ice cream for a hot-cold treat. Want kid-friendly? Make cupcakes with two-tone frosting and mini cotton candy tufts on candy sticks—easy to grab, less mess, huge smiles.
Tasty Swaps
Switch things up by mixing in freeze-dried strawberry bits for one color and blueberry powder for another—gives natural color and soft fruit flavor. Try almond or coconut extract instead of vanilla for a new twist that still goes with the cotton candy taste. Want bold? Make shockingly blue and pink layers, breaking them up with plain white so every slice pops.
Keep It Fresh
Keep baked layers fresh by wrapping tight and storing at room temp (unfrosted) for two days before stacking. Once frosted, pop it under a tall dome—keeps icing safe and moisture locked in. Need to freeze? Freeze individual pieces on a tray, wrap in plastic and foil, and jot down the date so you can treat yourself later.
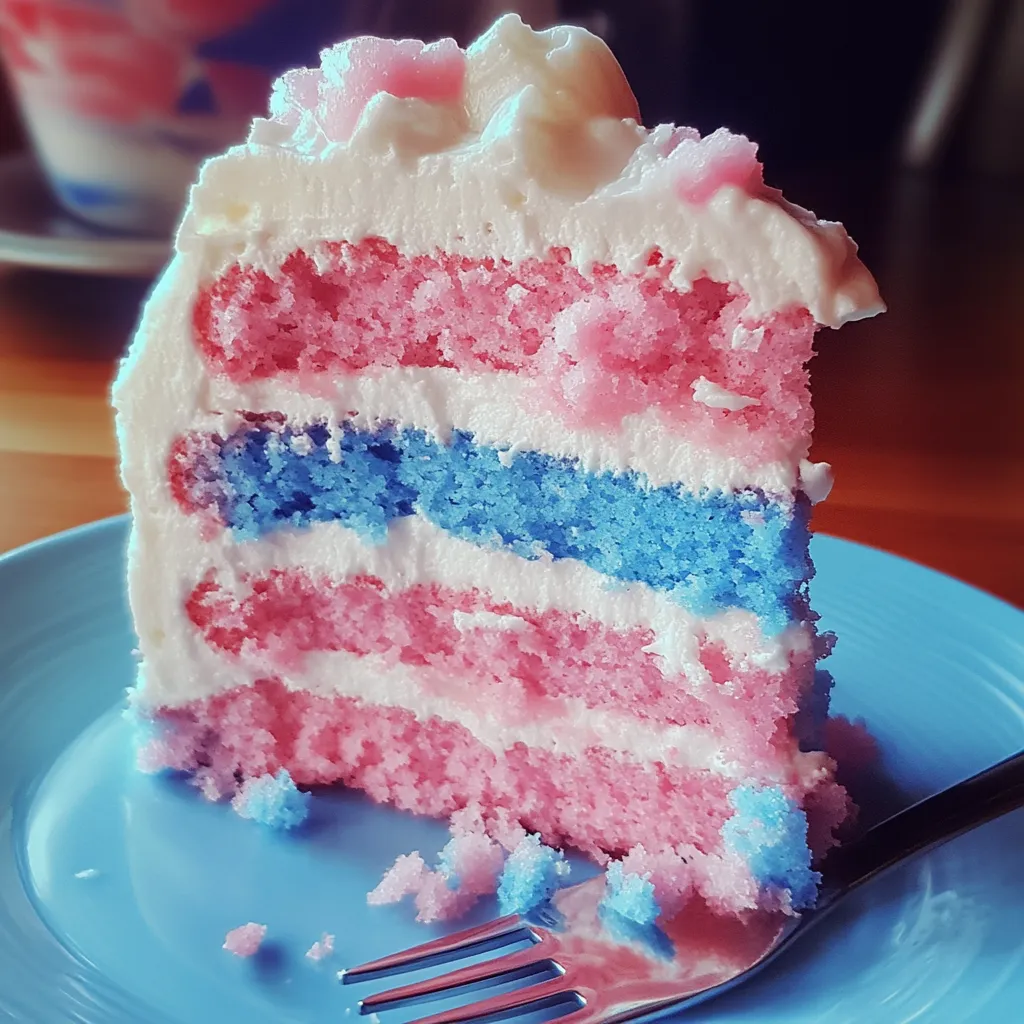
I've baked tons of cakes for parties, but every time I make this one, people get sentimental fast. Watching those first bites—people's faces just light up with recognition and happy memories. Sure, baking technique matters, but being able to connect folks with the simple joys of childhood through a sweet slice? That's the best feeling. Even my foodie friends lean into their nostalgia for another helping of this fairground-inspired favorite.
 Save
Save
Recipe FAQs
- → What’s the best place to buy cotton candy extract?
- You’ll often find it in specialty baking supply stores, craft stores with baking aisles, or on online platforms like Amazon. If unavailable, you can combine vanilla extract with a bit of almond or raspberry flavor.
- → Can it be made ahead of time?
- For sure! Bake the cake layers and mix the frosting a day before. Just wait to decorate with cotton candy until serving time, since it melts quickly when it’s out in the open air.
- → Can I swap homemade cake with boxed cake mix?
- Yes, go for it! Use two boxes of white cake mix, follow package instructions, add 1-2 teaspoons of cotton candy extract, and split the batter to color it pink and blue.
- → How should leftovers be stored?
- Keep leftover cake in an airtight container on your counter for up to 2 days. Take off any cotton candy decorations first, as they’ll dissolve and turn sticky.
- → Is this cake freezer-friendly?
- You bet! Cover the plain layers tightly with plastic wrap and freeze for up to 3 months. You can also freeze the fully frosted cake (without cotton candy on top) for about a month.
- → What if my layers aren’t perfectly flat?
- No worries—just slice the tops off with a serrated knife to even them out. Save the scraps for cake pops or just snack on them with extra frosting!