
 Save
Save
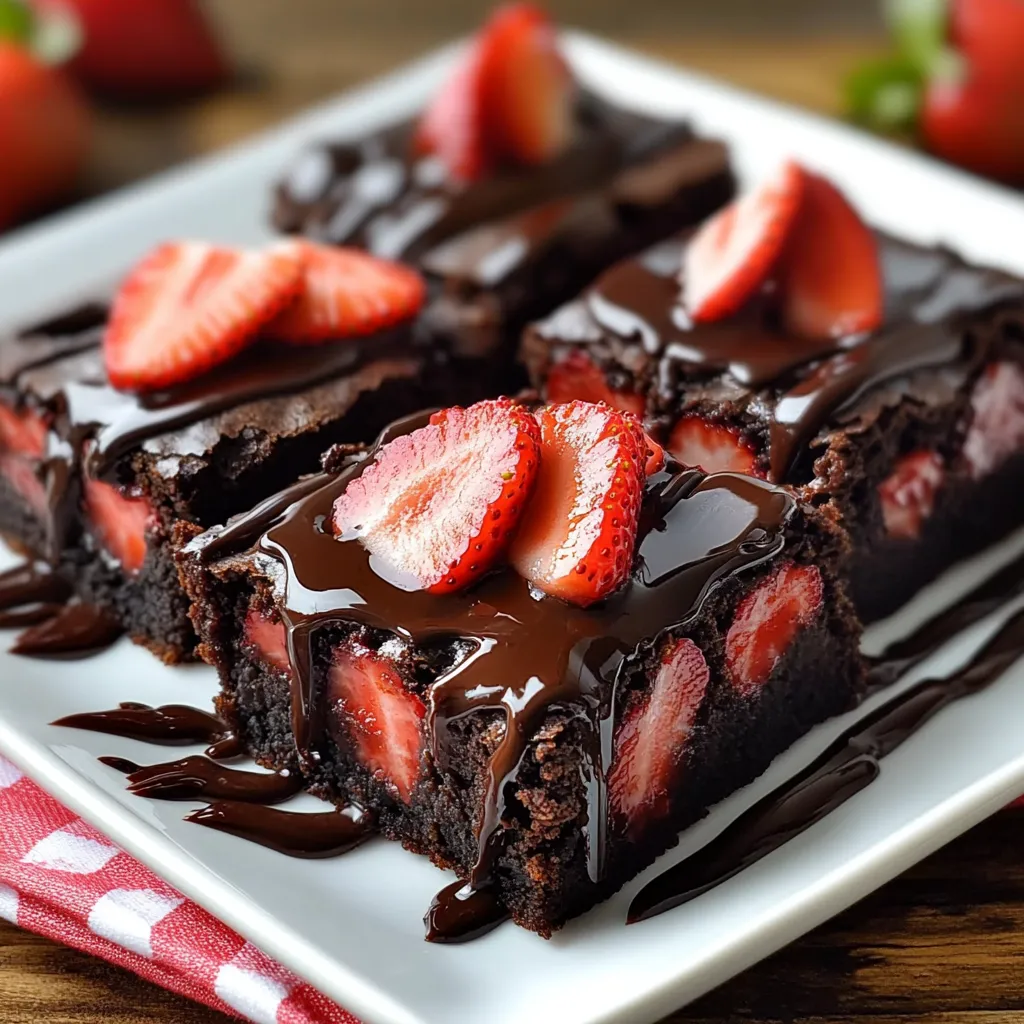
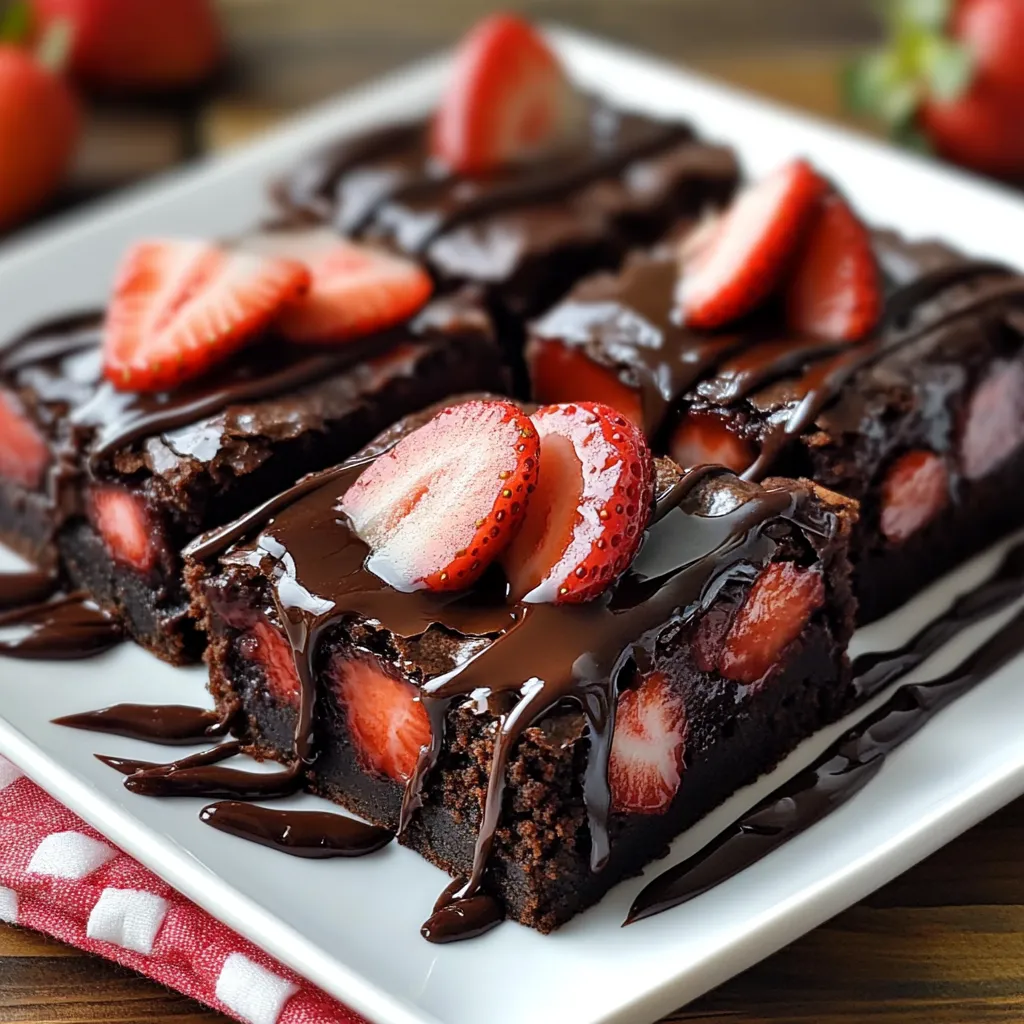
These brownies with chocolate and strawberries smash together two crowd favorites into something really special. They're basically thick, gooey brownies, loaded up with fresh fruit, then finished with a creamy layer of rich chocolate on top. You'll get a punch of deep chocolate from the brownie, zingy berry flavor in every bite, and a super soft ganache cap to round it all out. I whipped this up for a Valentine's party ages ago because I just couldn't pick between chocolate strawberries and a gooey square, and now everyone's always asking for them when we celebrate.
The first night these went public at my place, a shy friend grabbed one, took a bite, and shouted, “This is love in dessert form!” There’s just something about chocolate, fruit, and that creamy top all coming together in a way you don’t expect. The berries cut the richness so it never feels heavy, and the ganache is like a tidier, silkier cherry on top. Even folks who claim they can't manage dessert end up sneaking a piece of these.
Lush Ingredients
- Unsalted Butter: Gives you those soft, chewy brownies as your base. Unsalted lets you control the salt so it tastes just right.
- Unsweetened Cocoa Powder: Packs a punch of chocolate flavor and keeps things dense and moist. Dutch-processed cocoa is extra smooth.
- Fresh Strawberries: Add color, juiciness, and a fresh bite that cuts through all the chocolate. Pick ones that smell sweet.
- Quality Chocolate Chips: These make your ganache silky and full of flavor. Semi-sweet is a nice middle ground when everything else is so rich.
- Heavy Cream: Turns melted chocolate into that dreamy ganache texture. The extra fat makes it super creamy.
- Pure Vanilla Extract: Brings out chocolate notes and gives a lovely cozy scent. Go for real stuff over the fake—trust me.
- Large Eggs: Help hold the brownies together and make them rich. Let them warm up a bit before using so they mix in smoother.
Easy Steps
- Silky Ganache Topping First:
- Dump good semi-sweet chocolate chips in a heat-resistant bowl. Warm up heavy cream in a pan or the microwave until it's just starting to bubble on the sides (don't let it boil or it might turn grainy). Pour the hot cream on your chips, leave it alone for two minutes, then stir from the middle out with a spatula. Keep going until smooth and shiny, but don’t whip—just stay gentle so bubbles don’t mess up that glossy top. While it's still flowing, pour the ganache over the brownies and strawberry layer (cover most, but peek some berries out for the look). Let sit at room temperature about 15 minutes, then chill to fully set for an hour or two.
- Add Those Berries:
- With the brownies totally cool, get your strawberries clean and very dry (paper towels work great). Juice makes the ganache slide off and can get the bars mushy, so really dry matters. Chop heads off then slice berries how you like. Spread pieces across the brownies with the cut parts down, pressing lightly to hold but not smash. You want a berry bit in every square. Space looks cool and helps later on for serving.
- Bake Like a Pro:
- Spoon the thick batter into your lined pan and smooth it out so it hits every edge—don’t forget the corners. Thump the pan on the counter a few times to pop big air bubbles. Set on the oven’s middle rack and bake 25 to 30 minutes, but check early because a few minutes can mean the difference between gooey and dry. You’ll know it’s ready if the sides pull back from the pan and a toothpick poked in the middle comes out with just sticky crumbs, not wet batter. Your thermometer? It should hit 180°F. Let it cool fully right in the pan on a rack for best results.
- Mix Up the Brownie Base:
- Heat your oven to 350°F so it cooks evenly. Line a 9×13 pan with parchment, letting it hang over for easy brownie-lifting later. Melt butter in the microwave in short bursts till just liquid but not hot. Stir in sugar and beat for a minute to help get that crackly top going. Drop in eggs one by one, whipping in air after each. Add vanilla for flavor. In a different bowl, sift together flour, cocoa, salt, and baking powder to avoid dry weird chunks. Carefully fold these dry parts into the wet mix just until no flour shows (don’t work it too much or you’ll end up with cake, not fudge brownies).
 Save
Save
Learned my lesson about strawberry prep the first time: didn't dry them well, and the brownies went soggy in spots. My baker buddy told me just an extra minute with the towel is a cherry-on-top moment for the texture. We go crazy for these when berries are best in summer. Even my teen son, who avoids fruity bakes, sneaks these and says it’s "the only time fruit belongs in chocolate."
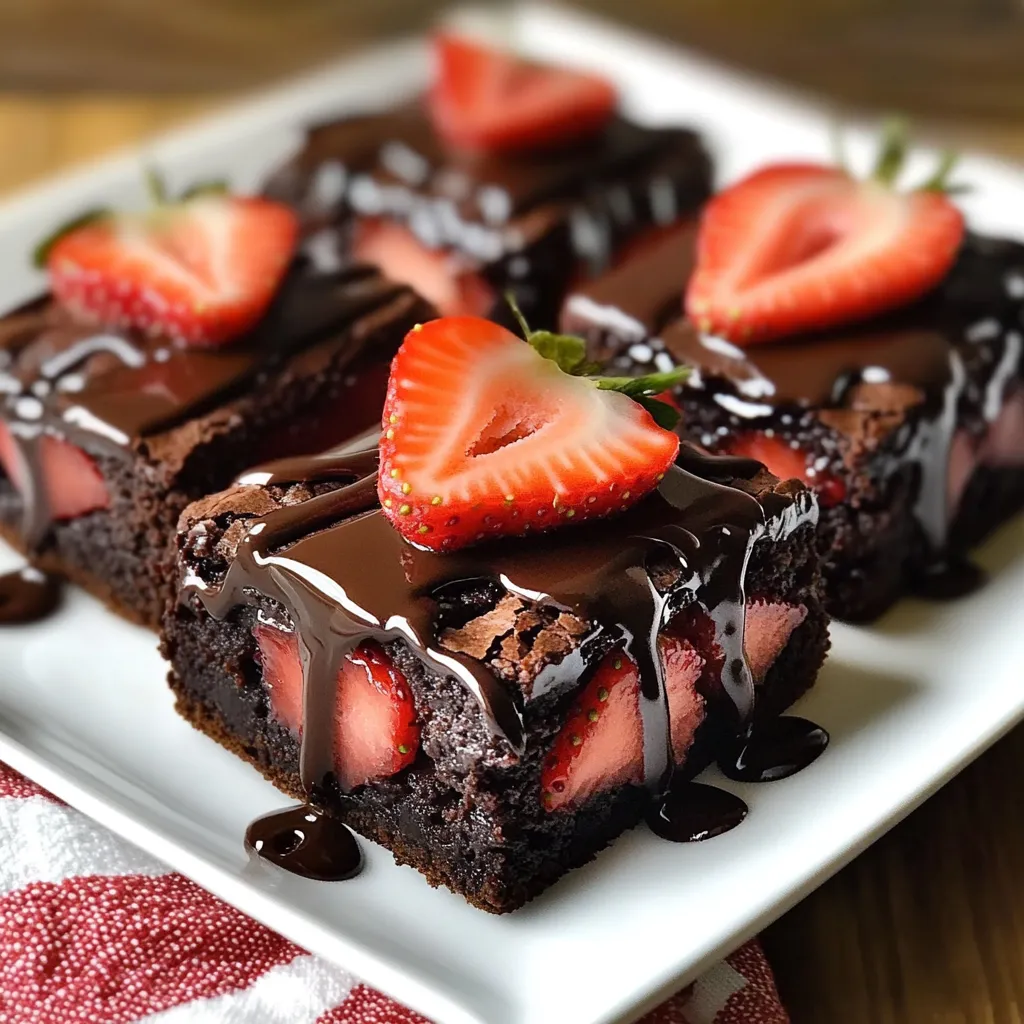
Serving Fun
These brownies fit in anywhere. For fancy vibes, plate a square upright, add a scoop of just-whipped cream, and throw on a mint leaf and strawberry. All those combos look and taste straight outta a restaurant.
More chill mood? Lay them on a simple white tray, scatter extra berries around, and let 'em shine—the ganache gets a cool shine at room temp. Headed to a picnic? Wrap pieces in parchment and keep chilled till you dig in.
They kill it as gifts too—just pop in a bakery box with ribbon and tuck in a tip to keep them cold and eat up in two days for freshest flavor.
Cool Swaps
Ivory Ganache: Try melting in white chocolate chips instead of semi-sweet for your topping. That pale cream next to red berries and dark brownie looks striking. Stir in some orange zest for a fresh twist.
Berry Change-Up: Or swap the strawberries with fresh raspberries. Since they’re small, you can get a fruit burst in every bite—and their bright tartness wakes up the chocolate even more. Top with a dusting of freeze-dried raspberry for added punch.
Triple Chocolate Dream: For chocoholics, stir a cup of assorted chips (think dark, milk, and white) into the batter. Skip the strawberries and spread chocolate hazelnut over the cooled base before ganache. Super rich.
Keeping Them Fresh
Fridge Zone: Since they've got berries, keep these airtight in the fridge. They’re best in the first three days, as after that the fruit softens a lot. Let sit out a bit to warm up before eating for the tastiest bites.
Freezer Friendly? Sort Of: Your best bet is freezing just the plain brownie layer for up to a month—thaw before topping with berries and ganache. Finished bars? Skip the freezer, or the fruit goes mushy and weird.
On The Go: Chill brownies before transporting, tuck them into a cooler with ice packs to keep everything perfect. Cutting before travel also keeps them looking sharp.
 Save
Save
I love these brownies not just for the flavor but for how they pull everyone around the table. There’s a little sense of surprise when you see classic flavors teaming up in a new way, and it always gets folks chatting. What started as something sweet for Valentine’s Day is now the go-to treat for every big moment in our family. The mix of dark fudge, tangy berry, and creamy chocolate makes it feel special and just—satisfying in a way plain old strawberries or brownies alone never could.
Recipe FAQs
- → Is it okay to swap fresh strawberries with frozen ones?
- Fresh ones are definitely better since frozen ones release their juices when thawed, making the squares soggy in spots. If frozen is all you’ve got, drain and dry them thoroughly before using.
- → How can I tell when these chocolate treats are done?
- Check doneness by poking the center with a toothpick—it should come out with just a few moist crumbs, not raw batter. The edges should look set and even start pulling away from the pan a little.
- → Is it possible to prep these ahead of time?
- Sure, you can! Make them a day in advance, store them chilled after adding the toppings, and they’ll taste even better as the flavors come together. They’ll stay great in the fridge for up to 3 days.
- → What’s a good swap for strawberries?
- Raspberries or sliced bananas are wonderful swaps. You could also spread on a layer of raspberry jam instead of fresh fruit, or stick to the ganache alone if you prefer just chocolate.
- → Why did my ganache turn gritty or chunky?
- It might have seized if overheated or if any water got into it. Heat the chocolate and cream gently, stirring often, and always use dry tools. If it does mess up, stir in a tablespoon of warm cream to try saving it.