
 Save
Save
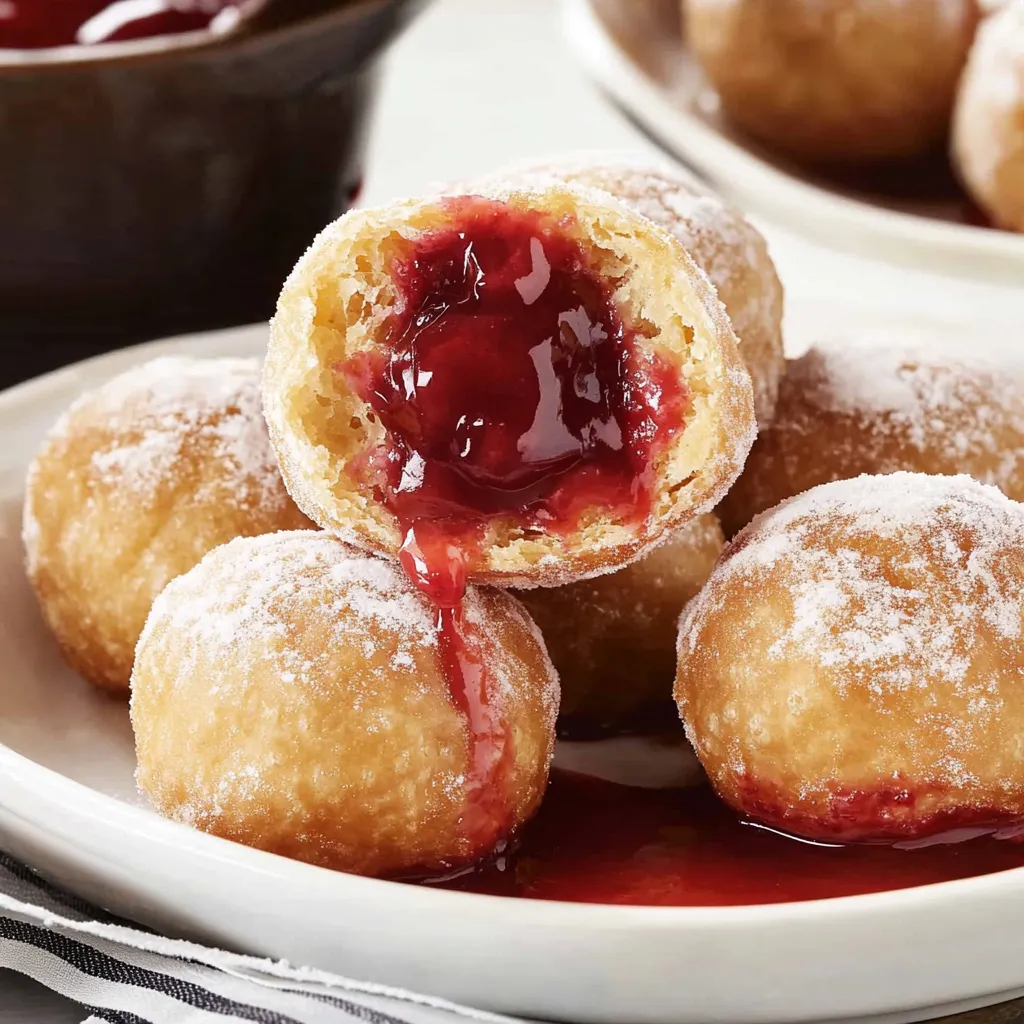
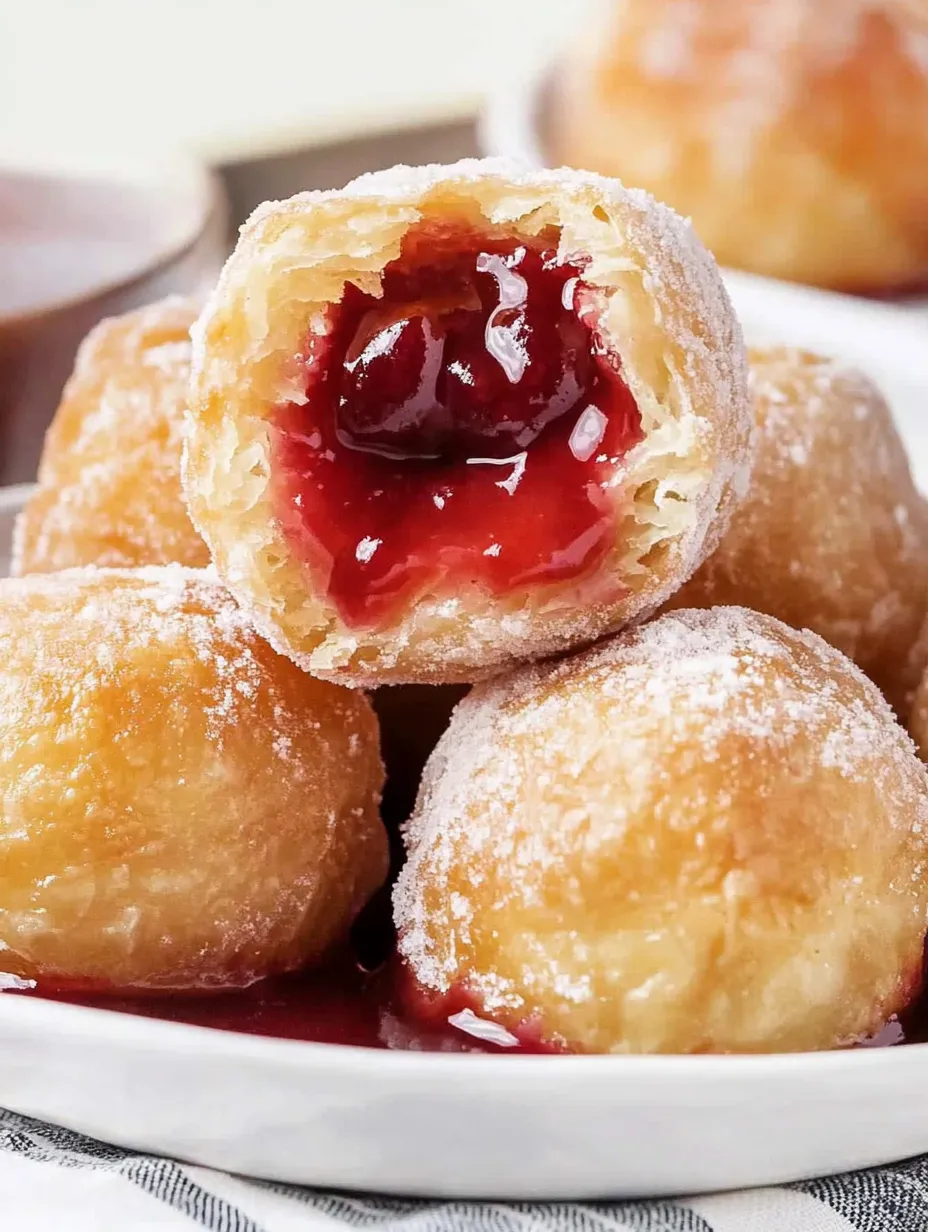
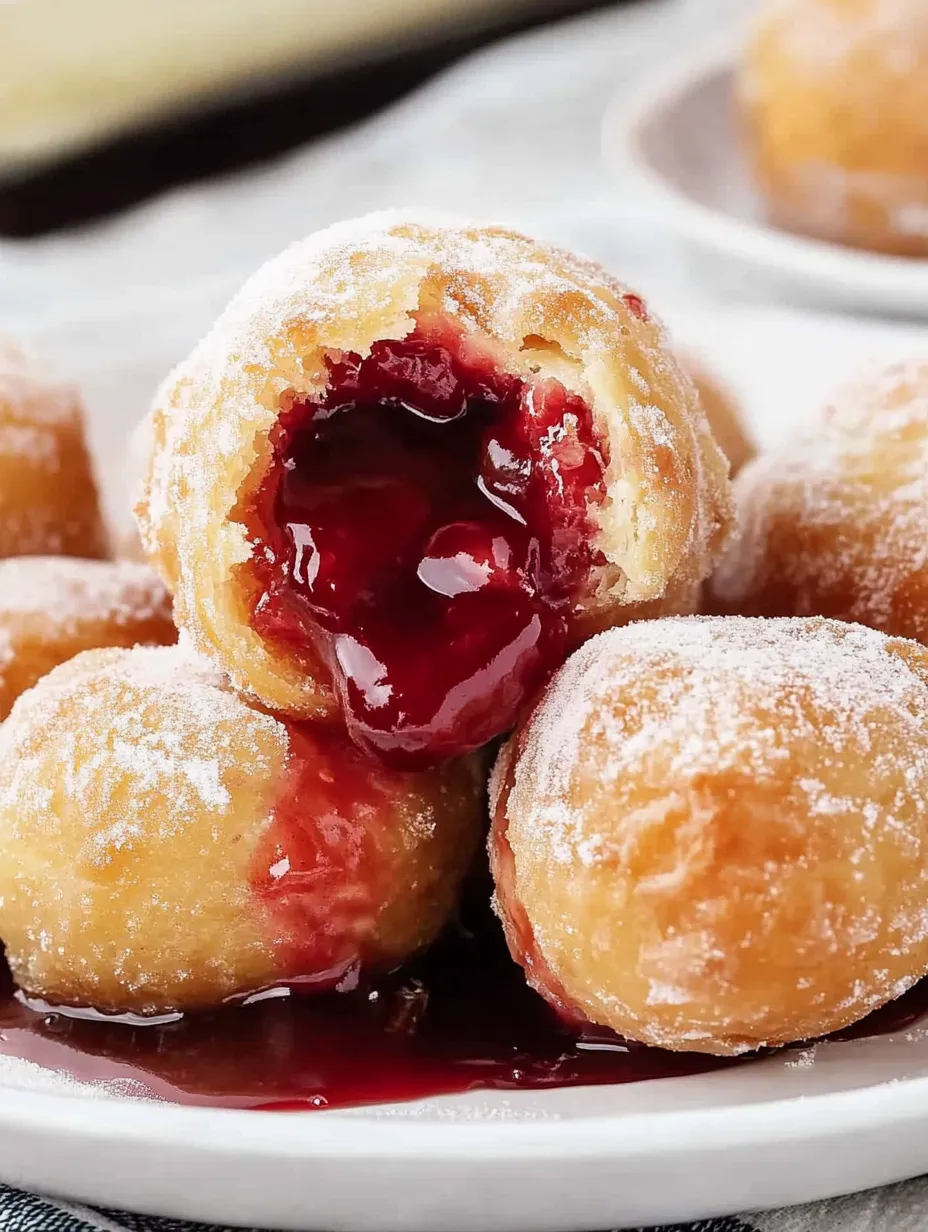
Cherry bombs popped into my life during a wild late-night kitchen brainstorm that actually worked out way better than planned. I craved that classic cherry pie vibe but wasn’t about to mess with pie crust. My shortcut fix for this sweet tooth emergency turned into the number one treat folks ask me to make for get-togethers. There’s just something about breaking through that crunchy, sweet top to get to all the warm, sticky cherry bits inside—it’s irresistible. And you can have a batch ready before you could even get a pie in the oven. Plus, I swear they taste even richer than the old-school pie version.
My brother-in-law keeps swearing up and down he’s not into cherry pie—but the last time I made these, he polished off four, then hit me up for directions so he could make them for his card buddies. I think the little handheld shape and just-right mix of crust and fruit won him over. My neighbors’ kids actually started calling me 'the cherry bomb lady' after I brought a platter to a cookout. Pretty sure if you end up with a nickname like that, you’re doing something right in the kitchen.
Irresistible Ingredients
- Cherry pie filling is the secret to that perfect juicy pop—just grab canned, though homemade is a fun switch if it’s cherry season
- Sugar glaze is a must—skipping it makes everything a little sadder, trust me
- Flaky biscuit dough works great and saves you from wrestling with pastry—homemade just isn’t worth the mess here
- Corn syrup in the icing keeps things smooth and shiny instead of gritty
 Save
Save
Clear Steps To Make
- Babysit the fry oil for best results.
- Don’t be tempted to drop dough in until you’re sure it’s right at 325°F on a candy thermometer. My first try, I rushed and ended up with outsides that burned while the middle stayed raw.
- Get tough biscuits open the easy way.
- Tug biscuits open gently from the sides, not the top. If they resist, poke in a fork. Don’t rip them or you’ll have a mess to patch up.
- Stick to the right amount of cherry filling.
- Overstuffing is tempting—I know I’ve done it—but trust me, a level tablespoon is plenty. Pile in more and the whole thing oozes out when you cook it.
- Seal dough shut with real pressure.
- I used to just pinch the dough closed and move on—not good. Now I go all the way around, squeezing tightly, then gently roll in my palms to finish sealing so nothing leaks out.
- Keep checking the oil temp.
- Don’t walk away! If the oil’s too cool, you get greasy bites. Too hot? They brown way too fast and stay doughy. I just watch my thermometer and adjust the burner as needed to keep that 325°F sweet spot.
- Keep turning them in the oil.
- I used to drop them in and forget, but now I roll them every half minute with a slotted spoon so they cook evenly and don’t get dark spots.
My first batch was actually apple filling because that’s what was in the cupboard, and honestly they were delicious. But cherry? Game changer. I’ve messed around with lemon glaze on blueberry or made a maple glaze for the apple version—it all works. Stick with the fry and stuff technique and you can swap fillings any way you want.
Fun Ways To Serve
Eat these when they’re still a little warm and you’ve got ultimate comfort food. For brunch, stack them on a stand with some fresh berries. As dessert, serve with vanilla ice cream for an awesome warm-and-cold hit. If you’re traveling, pop them in a foil pan and keep them covered—they’ll stay warm about an hour that way.
Fresh Ideas
Switch up the filling and keep things interesting—blueberry, peach, or apple are all excellent. Stir cinnamon into the icing for autumn vibes when using apple. During the holidays, a tiny splash of almond extract in the cherry filling is a pro move. Make several types at once so everyone can go back for new flavors—people love it.
Storing Tips
They’re honestly the best on day one, when you get all the crispy and soft contrasts. If you have to prep ahead, wait to glaze and stash them in a sealed container at room temp for a day. Warm them in a 300°F oven for about five minutes before glazing. Don’t refrigerate ’em or they get weirdly soft.
 Save
Save
I’ve whipped these up for birthdays, cravings, last-minute parties—you name it. It’s super satisfying to turn basic ingredients into something that actually surprises everyone. Frying and glazing each one is almost meditative now. What started as an easy cherry pie fix is now the go-to dessert my friends beg for before any party.
Recipe FAQs
- → What other fruit fillings can I try?
- Go for it! Apple, peach, blueberry, or strawberry fillings all taste great. Just drain any extra juice first.
- → Could I bake them instead of frying?
- Sure can! Pop them in the oven at 350°F for 15-18 minutes until they’re a light golden color. They’ll be softer but still tasty.
- → Is corn syrup necessary for the glaze?
- Not mandatory, but it makes the glaze look smoother and shinier. Skipping it is fine, but the glaze will look less glossy.
- → How do I keep the oil hot while frying?
- Use a thermometer to track the heat and change the burner as needed. Fry just a few at a time to keep things even.
- → What’s the best way to store leftovers?
- Keep them in a sealed container at room temp for a day or two. They’re freshest when eaten right away, though!