
 Save
Save
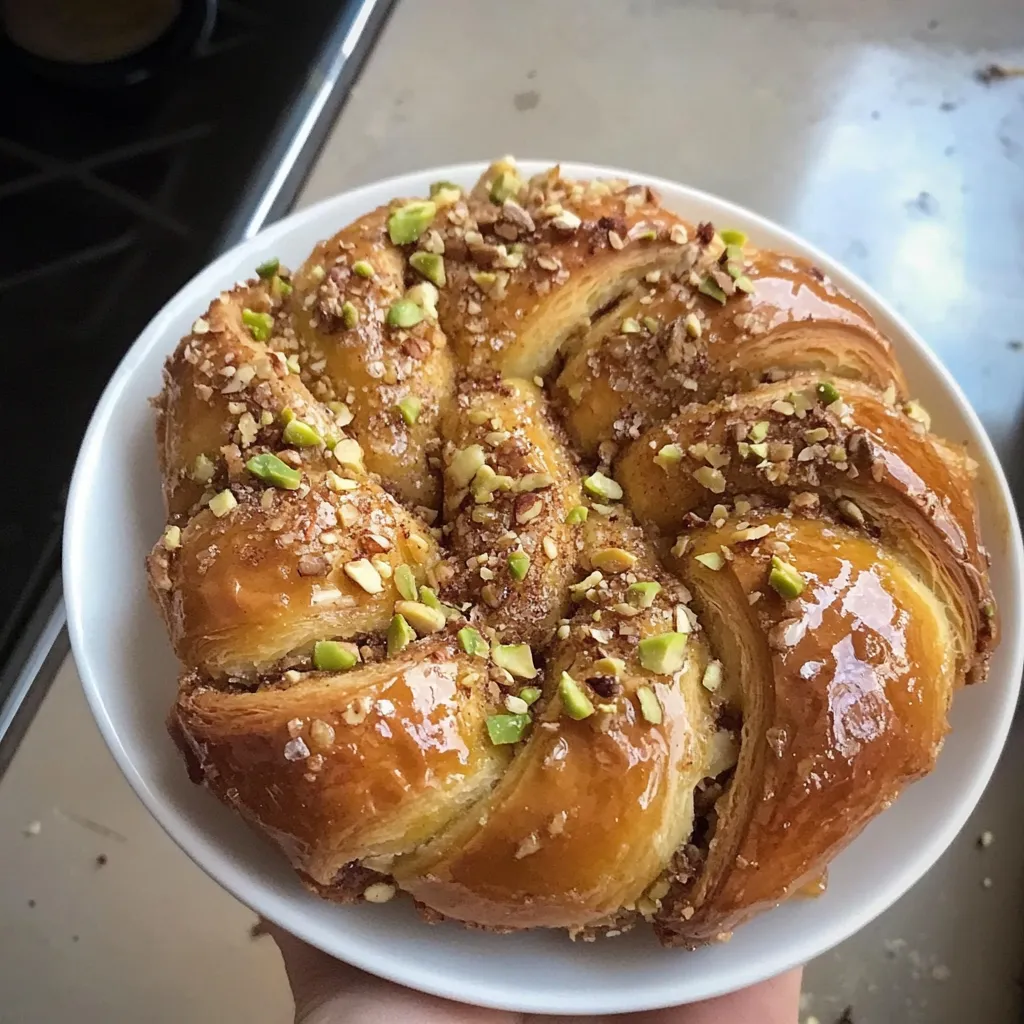
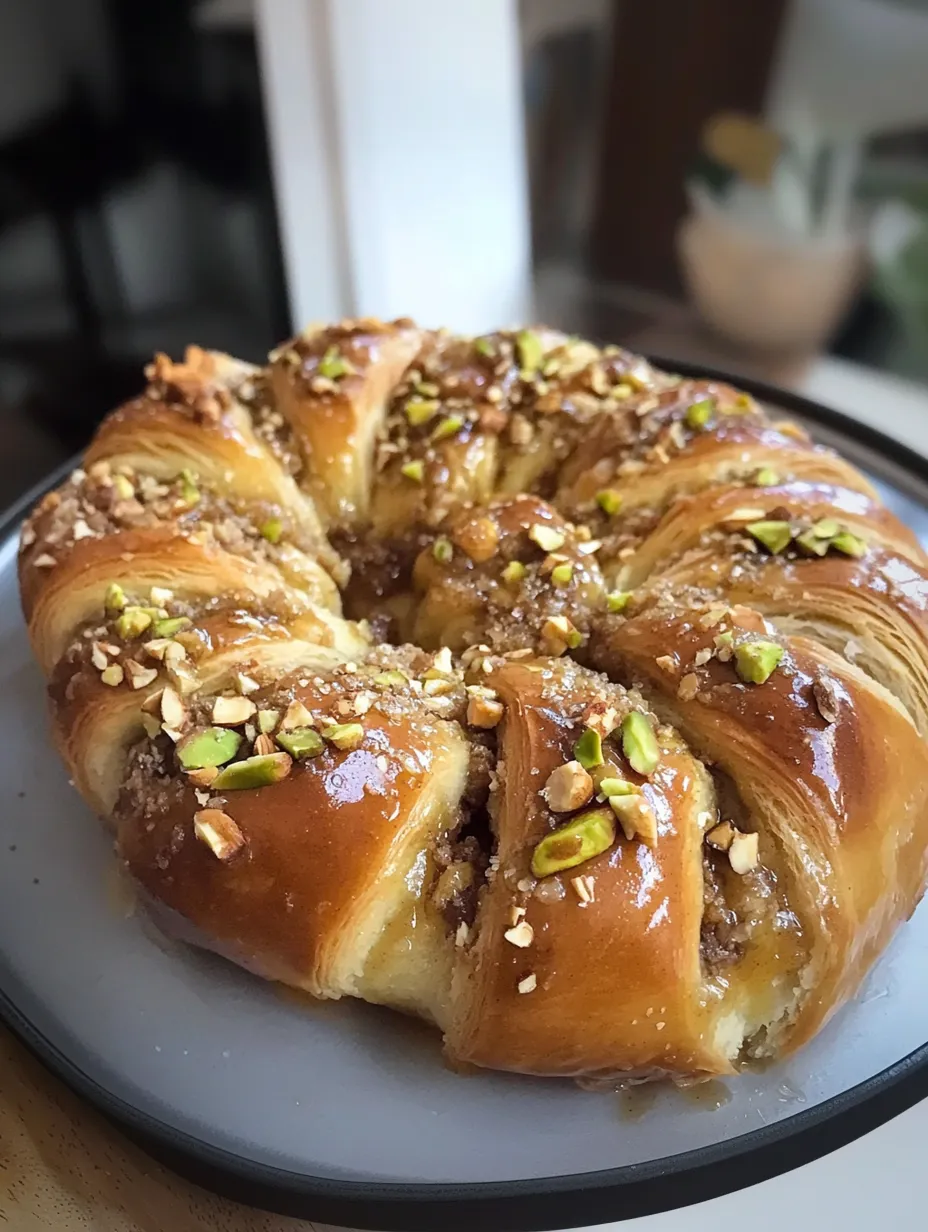
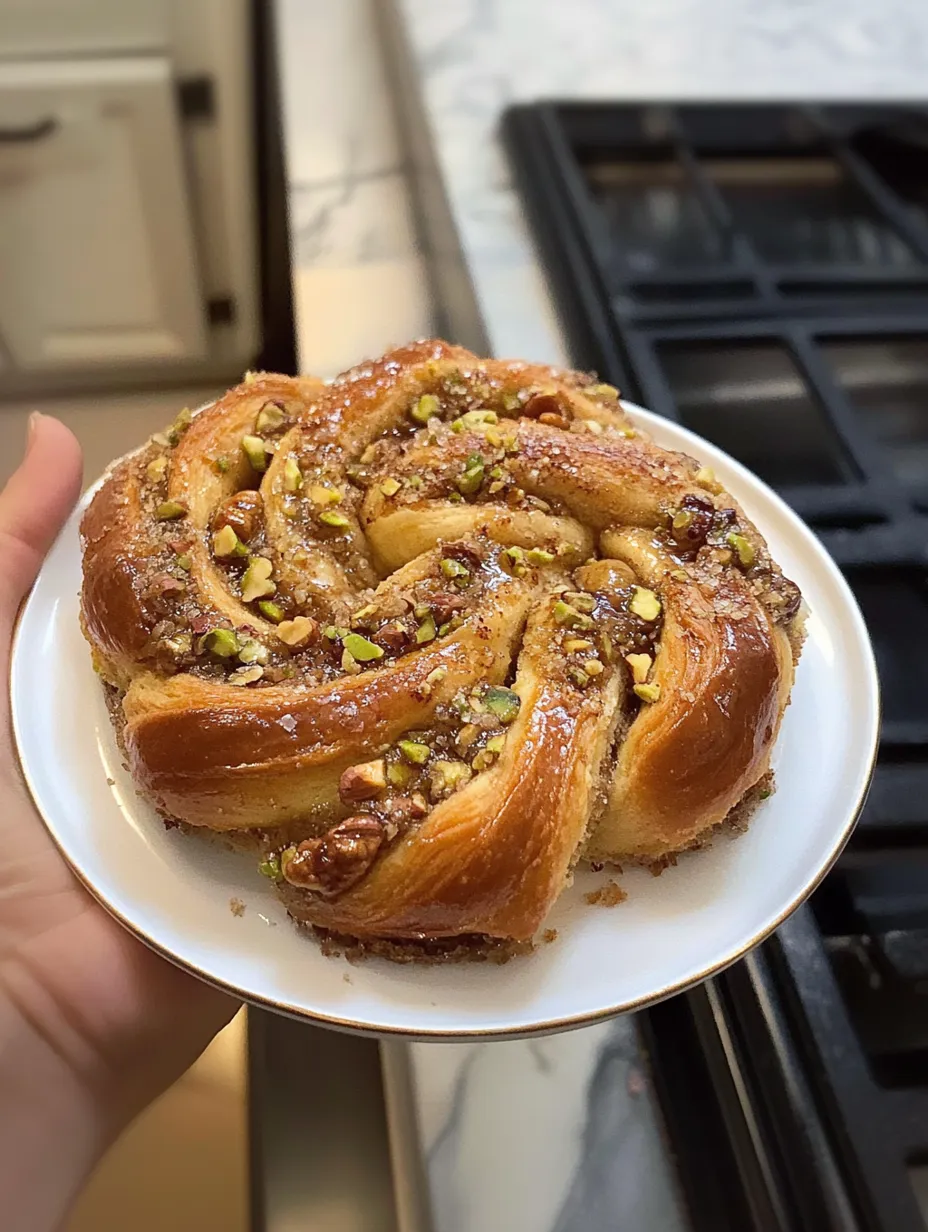
I mixed up these baklava babka buns on a lazy Sunday when I couldn’t settle on one treat for a family hangout. Growing up in a house with a Greek grandpa and Jewish grandma meant both desserts were constant favorites. That day I figured, why not mash ‘em together? The result: sweet, swirled buns bursting with buttery babka dough and gooey, honey-drizzled baklava flavor. Now, whenever there’s something big to celebrate, these buns hit the table. Just one bite of that sticky, cinnamon-filled goodness says 'you’re special' louder than words ever could!
My aunt, who seriously knows her way around an oven, begged me for this method after our last holiday breakfast. My teenage son, who usually demolishes food in seconds, took his time, savoring every bite and licking up every bit. That mix of buttery bread, cozy spices, and sweet, syrupy nuts really slows everyone down. It's a treat that makes breakfast feel like a big deal.
Amazing Ingredients
- Active dry yeast: Brings the dough to life with its pillowy texture. I’ve swapped in instant yeast before when that’s all I had, but active dry gives a richer taste in the end.
- Warm milk: Using milk (even almond or plant milk!) makes the dough richer and softer than just water. Almond works shockingly well for non-dairy folks.
- Mixed nuts: Walnuts plus pistachios make an earthy-sweet combo and look awesome together. If you’ve got almonds hanging around, toss those in too.
- Cinnamon: This spice ties everything together. I’ve gotten fancy adding a pinch of cardamom or cloves, but honestly classic cinnamon always wins.
- Honey: This is where the magic happens. Honey soaks into the buns for gooey sweetness. Use whatever you have, but orange blossom honey adds extra flavor if you're feeling fancy.
 Save
Save
Simple Steps
- Syrup soak
- While the buns are baking, I whip up the syrup so it’s ready and warm. Once the buns come out but are still hot (not burning), I poke a few holes in the tops and pour the syrup slowly so it soaks all the way in. This makes them crazy sticky and delicious.
- Baking know-how
- Ovens all run a bit different! I check five minutes before the timer, and if the buns are browning too much, I grab some foil to lightly cover. They should be beautifully golden but still soft inside.
- Twist and shape
- That fancy baker look is easier than it seems! After rolling up the dough, I chill it in the fridge for 15-ish minutes if it feels floppy. Then I slice it longways so you get two strips full of layers, twist them together, then coil into a bun. Don’t worry about making them perfect — the messy ones bake up the prettiest.
- Rolling it out
- Roll your dough out into a thin rectangle (as thin as you can go without holes!). Spread the filling, but leave a bit of space on the edge. Roll it up the long way for lots of swirls, or the short way if you want bigger ones. Just avoid stretching or yanking the dough so it doesn’t tear.
- Just-right filling
- I go for nuts chopped about the size of peas, not ground to dust. The food processor works — just pulse and don’t let it turn into butter. If the pieces are too big, your filling falls out; too small, you lose texture. Go for that happy medium.
- Dough texture
- Getting the babka dough on point is all about balance. Mix dry stuff first, then add wet slowly. Dough should feel soft, even a little sticky, but not glued to the bowl. Don’t stress if it starts sticky — after rising and kneading it’ll sort itself out.
I’ve spent the last few years playing with this bun to get the perfect nut-spice-syrup combo. I started with way more honey but found less is better to avoid soggy buns. I love mixing up the nuts—hazelnuts or pecans both switch things up in a fun way. My daughter cheers when I work in a little orange zest for a bright, citrusy punch.
Easy Morning Treat
When serving these show-stoppers, I like going all out! For holidays, I stack them on my grandma’s old cake stand and toss fresh berries all around for color. Groggy mornings need strong coffee or tea on the side to balance the sweet. If you’ve got a hungry crowd, bake a double patch and do a big spiral pattern on a big platter! Each bun is pretty filling, but trust me, no one has ever stopped at just one.
Fun Variations
There’s all sorts of ways to make these buns your own. Chocolate fan? Dump in a handful of mini chips (dark chocolate is my pick). In fall, swap in bits of apple and a sprinkle of pie spice. For a nutty twist, spread a thin swipe of tahini before the nut filling. No time? Skip the individual rolls and make a big babka loaf instead. Still awesome.
Stay Fresh
Honestly, these are at their peak straight from the oven, when the bun is airy and the syrup glaze is sticky-sweet. Stash leftovers in a sealed container at room temp for a day or two. To revive them, warm in a 300°F oven for 5 minutes or zap them in the microwave for about 10 seconds. They won’t be exactly like new, but they’ll still hit the spot!
 Save
Save
Whipping up these buns started as a way to celebrate both sides of my family. Now, the whole process—kneading, rolling, twisting, and just soaking up the amazing smells—feels kind of zen. They take a little planning but most of it’s just waiting for the dough to rise. Every minute is worth it though when you see how excited everyone gets to dig in. That joy is the best pay-off!
Recipe FAQs
- → Is it okay to make these in advance?
- Definitely! Get the dough ready and let it rest in the fridge overnight. Make sure it warms to room temperature before working with it. You can also freeze baked buns without syrup and keep them up to a month.
- → Can I swap the nuts in the filling?
- Of course! While walnuts and pistachios are common, feel free to toss in hazelnuts, almonds, or your personal favorites for a twist.
- → How should I store these buns?
- Keep them in a sealed container at room temperature for 3 days max. The honey syrup helps lock in moisture. Reheat gently for the best taste and texture.
- → Why do my buns turn out dry even with syrup?
- Pour the syrup over the buns when they’re still warm—it helps soak it up nicely. Also, avoid overbaking since that can dry them out too.
- → What’s the right way to create the twist effect?
- Roll the dough into a log and slice it down the middle to reveal the layers. Twist the halves together with the cut sides up, then curl them into bun shapes for that striking swirl look.