
 Save
Save
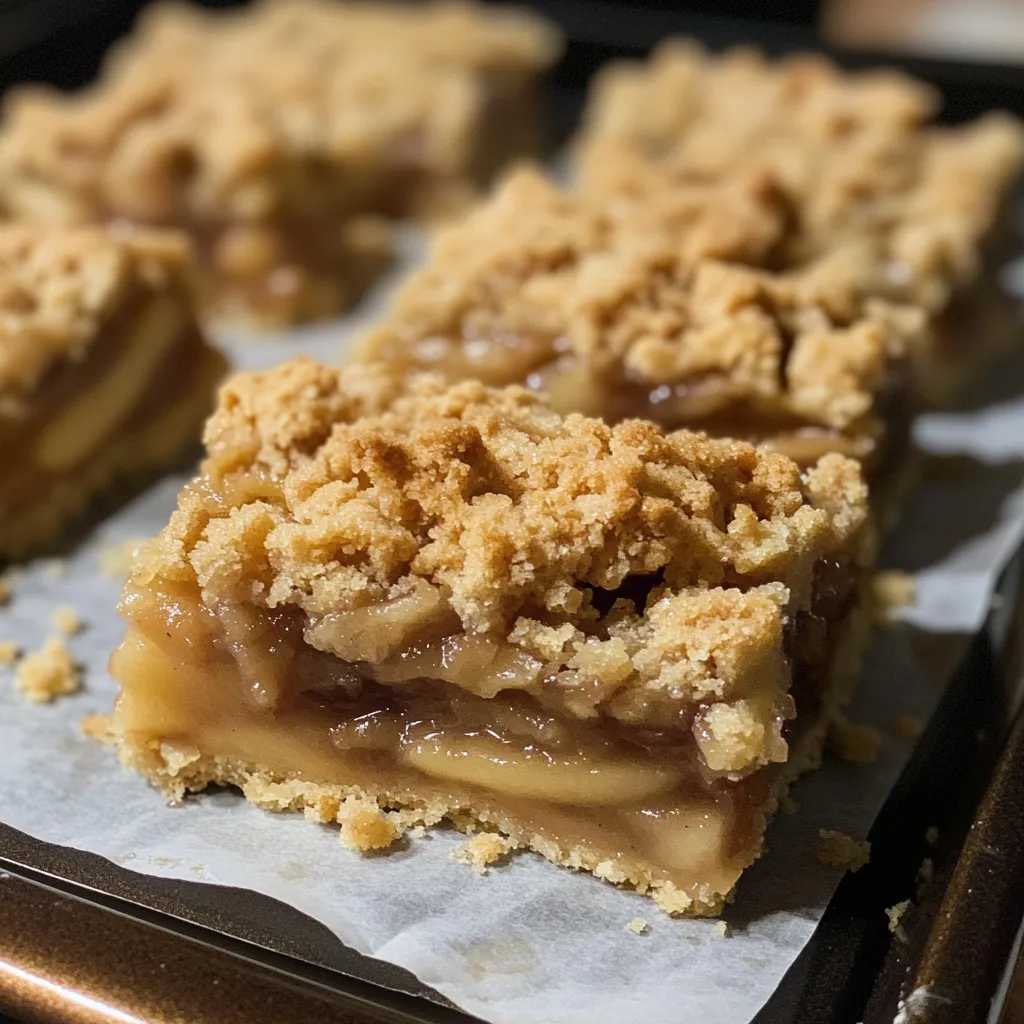
These bars loaded with apple goodness are my go-to dessert trick every fall. I found this idea years ago when a big family get-together snuck up and I didn't have energy or time for fancy individual pies. The crust is melt-in-your-mouth and buttery, there's a sweet-cinnamon apple center, and the crumbly bits on top? Total perfection. Everyone always thinks you slaved away in the kitchen, but actually, these are way less hassle to serve than regular pie. Skip the plates and knives—you don't need them!
Instead of my usual pie, I brought these for Thanksgiving last year. My uncle Mike—huge pie guy—ate three, then quietly stashed more in the fridge so nobody else would nab them. Seriously, my aunt busted him hiding leftovers! Now my family actually asks for "those apple bars" instead of classic pie during the holidays.
Irresistible Key Ingredients
- Frozen butter: You get a perfect crumbly base and topping if your butter is super cold. I like to freeze it for a bit, then cut into cubes before tossing in.
- Granny Smith apples: Super tart and hold their crunch, so your filling doesn't go mushy. These are usually my pick but use what you've got.
- Lemon juice: Stops apples from turning brown and gives everything a fresh, bright punch. Squeeze it fresh if possible, but the bottled stuff works too.
- Cinnamon: The main warm flavor classic to apple desserts. Sometimes I splash in a hint of nutmeg for more depth, but cinnamon is a must.
- Cornstarch: This keeps your filling just thick enough—no overly runny bars. It helps the apple layer set without being too sticky.
 Save
Save
Simple How-To Steps
- Finish with cooling:
- Resist the urge to cut in right away. Wait until they're totally cooled off before slicing so you'll get the neatest squares.
- Top it right:
- When adding the crumble, grab bits and squish some together so you get clumps on top. Bigger crumbs equal more texture.
- Chop your apples:
- Dice them into small, same-sized chunks—about half an inch is good. Too big and they're hard, too tiny and they'll get mushy.
- Press the crust:
- Spread out the bottom layer with gentle, steady pressure—I use a measuring cup bottom to flatten everything nice and even in the pan.
- Pulse with care:
- Only pulse ingredients until everything looks like rough crumbs. Go too far and the butter warms up and ruins the texture.
- Keep butter chilly:
- Only take the butter out when you're truly ready to mix. If it softens, you lose that awesome crumbly bite.
I've tweaked these bars through tons of bakes to get that perfect bite. Early tries were weirdly greasy because I went overboard with butter. Now the crust is just right—not crumbly, but holds up to grabbing, melts when you eat it. Cinnamon is another one I had to play with; too much was spicy, too little was bland. Now it's just cozy and balanced.
Fun Ways To Serve
Let these cool off to room temperature before you dig in—they taste best that way. Or warm one up quick and drop a scoop of vanilla ice cream on it for an easy treat. They're a hit at brunch with a cup of coffee, and if you're doing a dessert table, cut smaller squares so folks can nibble on different things. I dust them with a bit of powdered sugar right before putting them out so they look extra fancy.
Creative Mix-Ups
Mix half a cup of chopped walnuts or pecans into the topping if you want crunch. For holiday flair, toss in some dried cranberries with the apple layer—red and green look festive. Want caramel bars? Drizzle warm caramel on top before serving. You can even try pears instead of apples, or go half and half for a different twist, which tastes amazing in late autumn.
Smart Ways To Store
Keep your bars fresh by stacking them with parchment if you need, inside an airtight container. They last two days on the counter and about five in the fridge. Need even more time? Wrap them up and toss in the freezer for three months. Let them thaw out at room temp for an hour and you're all set. I usually make double so I can stash half away for surprise guests or last minute cravings.
 Save
Save
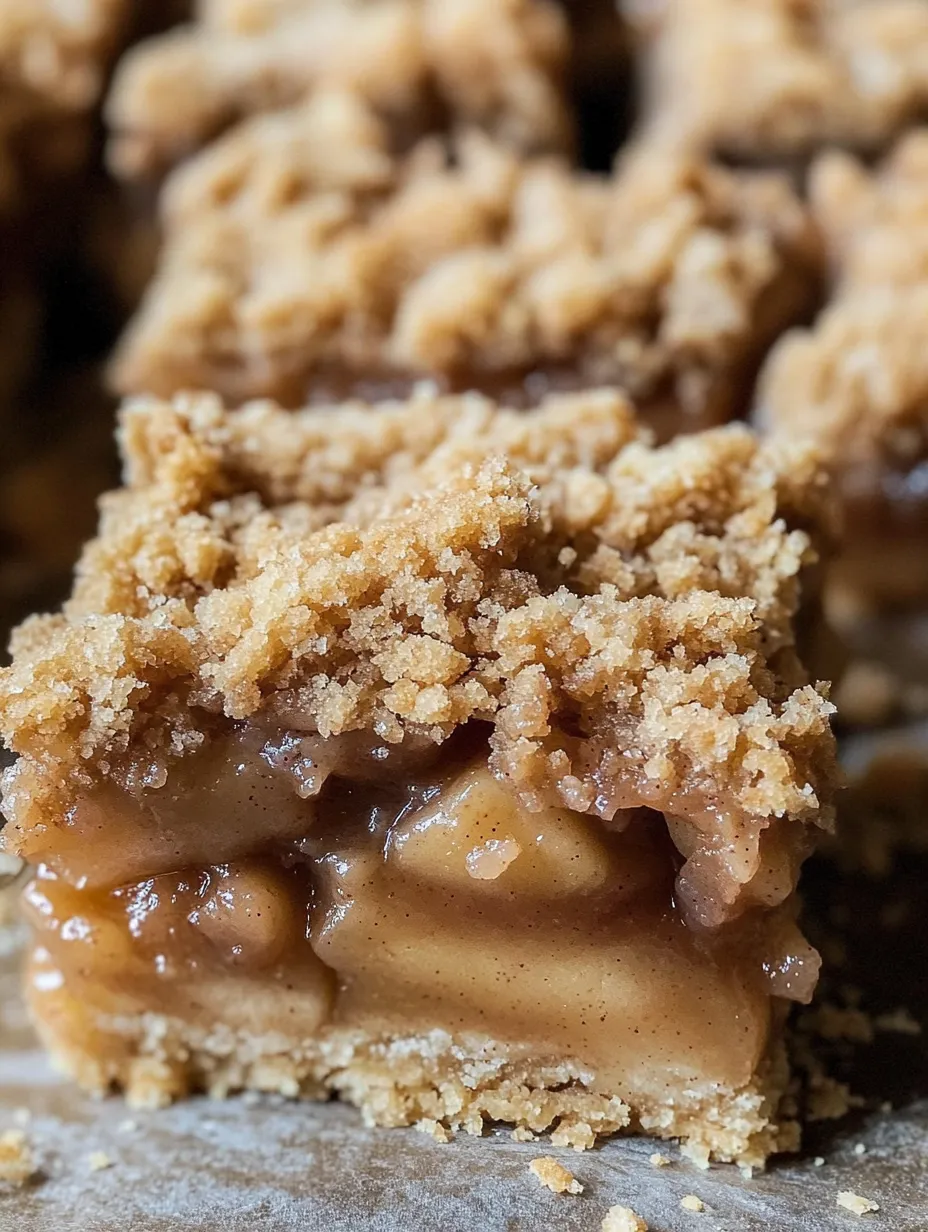
Countless fall potlucks and holiday feasts have featured these apple bars at my house. There's just something about soft crust, apple chunks, spicy topping—that's instant autumn comfort. These work any night of the week with family, but they're also pretty enough for guests. Plus, they're so much easier than pie and every bit as tasty. Total win in my book!
Recipe FAQs
- → Which apples should I pick for these bars?
- Go for firm, tart ones like Granny Smith. They keep their shape and balance the sweetness, but Honeycrisp or Braeburn also work nicely.
- → Can I prep these bars in advance?
- Sure thing! They’re actually better the next day since the flavors blend. Keep them on the counter for up to 2 days or refrigerate for 5.
- → Is it possible to freeze them?
- Totally! Wrap each bar tightly or stack them in a container with parchment between. They’ll last up to 3 months in the freezer.
- → What if my crust isn’t sticking together?
- Your butter might be too warm. It needs to be cold! If it’s still too crumbly, mix in a tablespoon or two of icy water.
- → Can I switch up the spices in the filling?
- Of course! Add nutmeg, some allspice, or a pinch of apple pie spice—it’ll boost the flavor and keep things interesting.