
 Save
Save
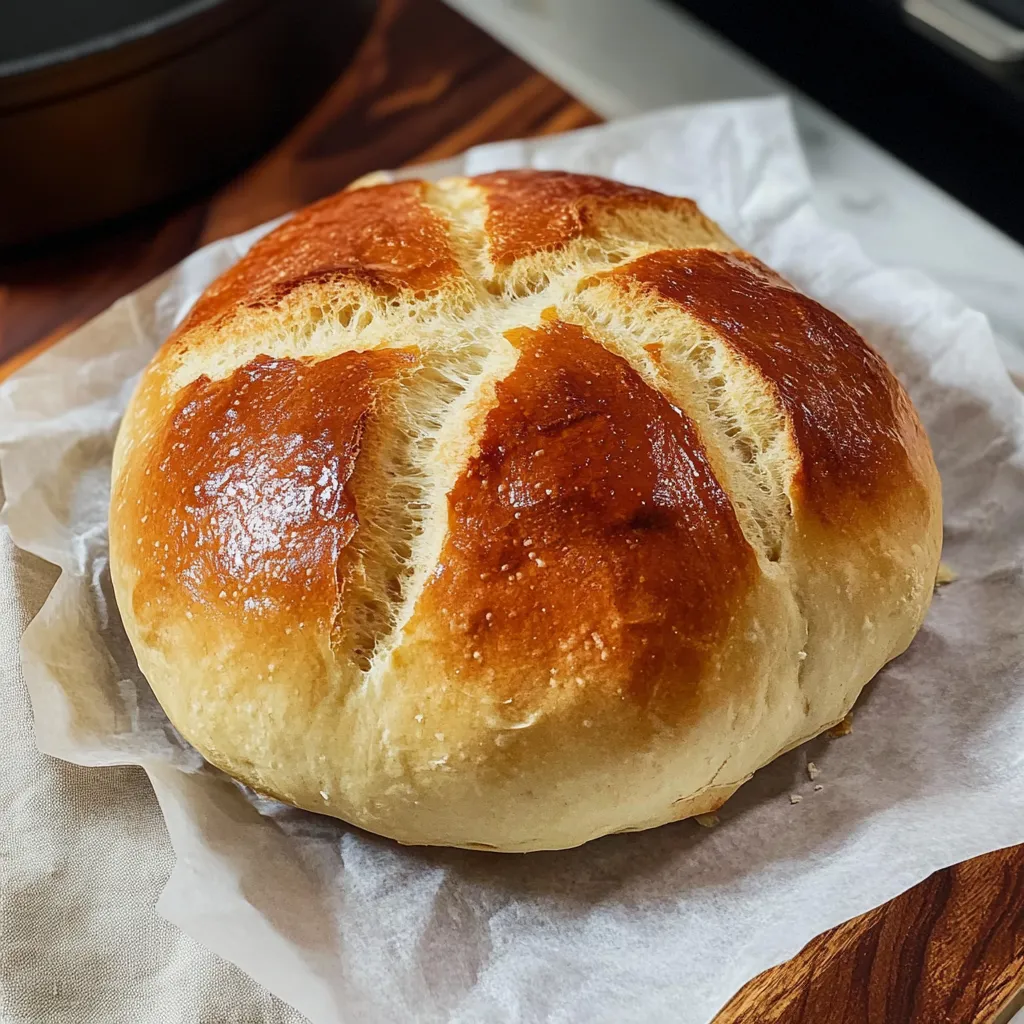
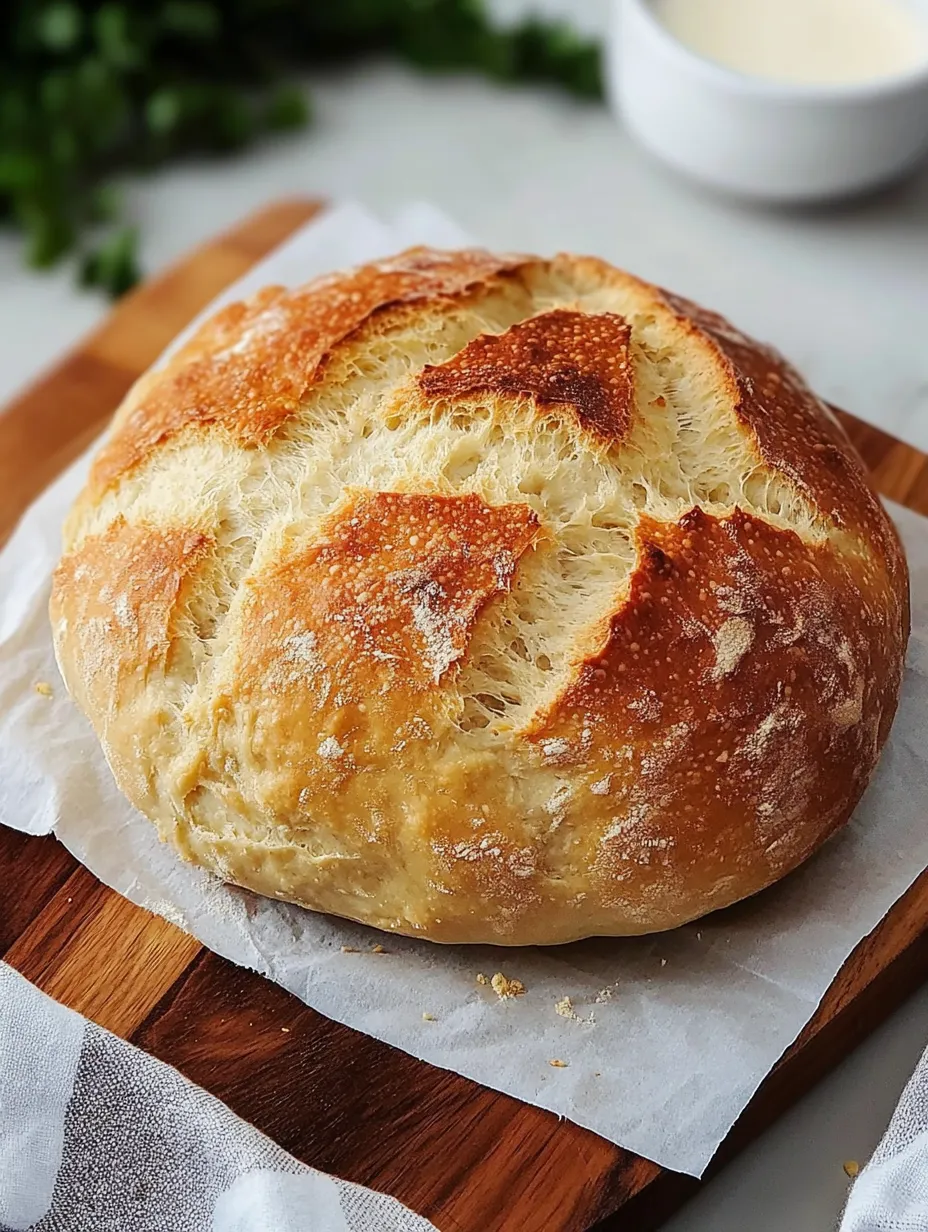
Baking my own bread at home totally shifted the way I feel about getting busy in the kitchen. I used to freak out just hearing words like 'proof' or 'knead'—it felt like only pros could even try. But when everyone started baking during the pandemic and you couldn't find yeast for love or money, I lucked into a super simple trick. That first loaf came out golden and crackling, and I honestly couldn't believe I'd made it with so little effort. This is my secret when I want to impress people or just treat myself without a lot of work. The crisp crust with that pillowy inside basically makes buying bread feel like a waste of time.
When I first offered this to my neighbor over coffee, she didn't buy that it was homemade—she just kept asking which bakery in town was hiding. Even my teenager, who usually refuses plain bread, surprised me by not just eating it but asking me to bake more (with veggies!). Now it appears at every get-together and always gets that silent, wide-eyed moment on the first bite.
Effortless Ingredients
- Warm water wakes up the yeast, but you want it comfy like a bath—not super hot, or you'll mess up the yeast's vibe
- Kosher salt packs more flavor than table salt—I tried swapping once, and it just wasn’t the same
- Bread flour brings extra chew and bounce, though I’ve subbed in all-purpose plenty of times when the specialty bag was empty
- Instant yeast jumps right in without proofing, making everything super simple and less likely to go sideways
 Save
Save
Easy How-To
- Mixing up the dough is honestly a breeze.
- At first, I thought I needed to follow all these steps—now I just toss in ingredients, stir, and step away. There's no magic to it.
- The longer your dough chills, the better the end result.
- If I’m rushing, I let it rise for an hour and it’s fine, but four hours gives you those big bubbles and way more flavor. I’ll start it before soccer runs and it’s ready when I’m home.
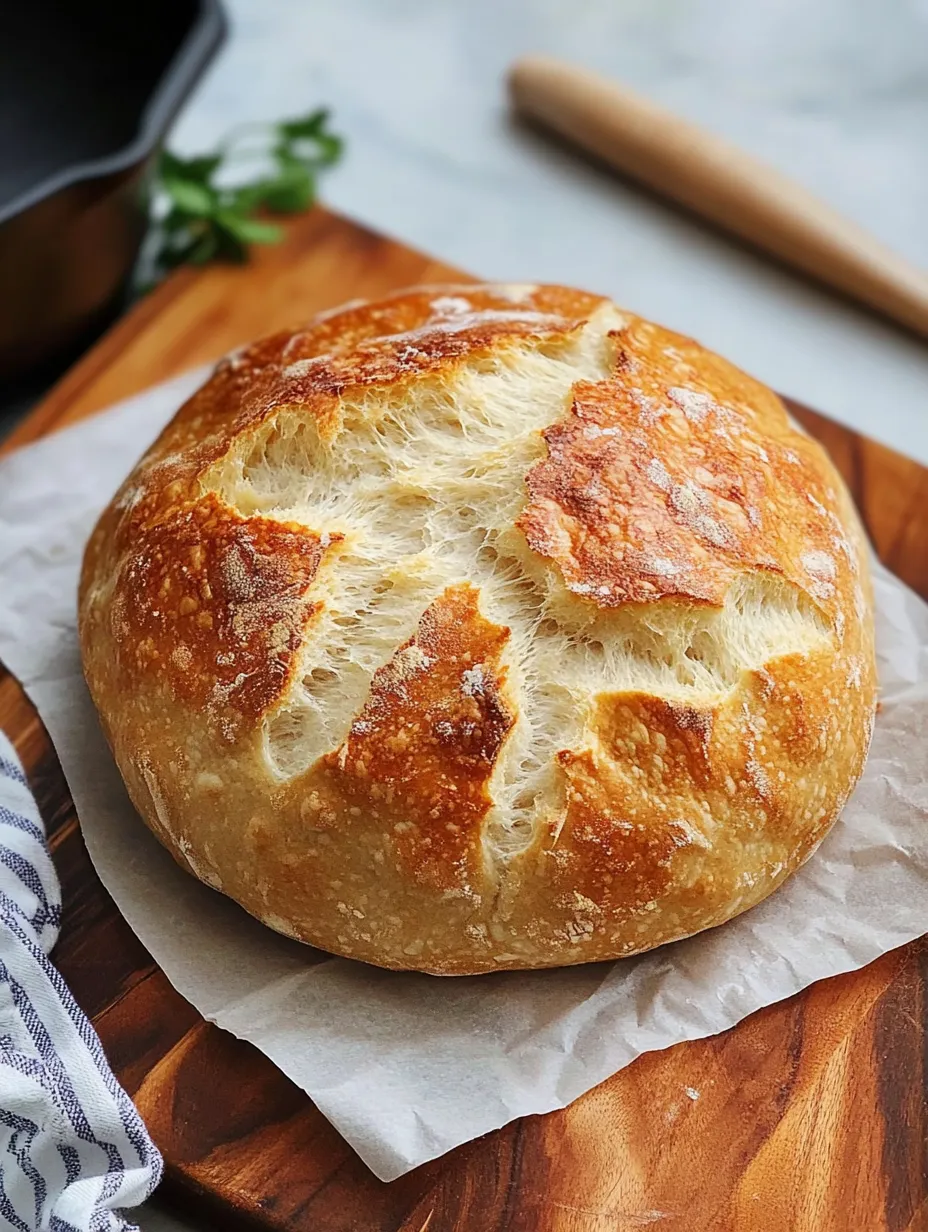
- Letting your Dutch oven preheat is the secret to crunchy crust.
- The one loaf I made without waiting had a soft outside. Get that pot blazing hot—this steams up fast for the crunch everyone wants.
- Parchment paper makes life easier.
- Trying to drop sticky dough straight in is a mess—form it on parchment and just lift it into the pot. Zero panic involved.
- Please let it cool off!
- I can never resist, but every time I slice hot bread, it’s gummy inside. Take that painful 15 minutes to let it set—the difference is huge.
My very first loaf actually turned out nice, but after tweaking and experimenting, I've learned a few tricks. Adding too much salt slowed my yeast way down, so I don't overdo it anymore. Mixing bread and all-purpose flour is now my sweet spot for just-right softness and chew. In summer, watch your dough—it rises faster with the heat, so forget the timer and pay attention to how it looks instead.
Perfect Combos
Spoon a little good butter on a thick slice when it’s still a bit warm and you’ll be spoiled. For guests, this bread soaks up every bit of soup or stew without falling apart. When I want something extra, I blend up garlic butter and broil slices for a couple of minutes. It’s also prime for sandwiches—stack with some tomato, mozzarella, and basil for a fresh lunch that looks and tastes fancy with zero stress.
Yummy Swaps
Mix in parmesan and freshly ground black pepper and you’ve got yourself a savory bite that works great with pasta. For a Mediterranean feel, try chopped olives, some dry herbs, and even lemon peel. In the fall, honey and dried cranberries make sweet slices awesome for breakfast. Want a wild twist? Swap half a cup of water with beer for richer flavor.
New Ways
Nothing beats this bread on the day it's baked, but it'll keep fine in a paper bag on the counter for two days. To hold on to it longer, I slice and freeze once totally cool and just reheat when I want some. Freshen up yesterday’s loaf by wetting it a little and heating for 5-10 minutes at 350°F—it gets crisp again fast. Use extras for killer croutons, bread pudding, or the ultimate French toast if any bread is left at all.
 Save
Save
I've whipped this up last minute for friends, bagged up loaves with nice olive oil as gifts, and made it more times than I can count just for the heck of it. It feels crazy that only four ingredients can turn out this good. Now, my kids know dinner’s about to be awesome when they smell bread baking. What started as a random pandemic hobby is now something we do all the time—and it takes less effort than running out to buy something that wouldn’t even come close.
Recipe FAQs
- → Can I swap bread flour with all-purpose flour?
- Yes, you can! All-purpose flour works fine, though bread flour makes the loaf chewier thanks to its higher protein levels.
- → What should I do if a Dutch oven isn't available?
- A heavy cast-iron skillet covered with foil works fine. A baking sheet is also an option, but the crust won’t crisp as much without the steam a Dutch oven provides.
- → Is it okay to mix in other flavors like cheese or nuts?
- Definitely! Stir in up to 1 cup of extras like cheese, fresh herbs, nuts, or olives while adding the dry ingredients.
- → How’s the best way to store this bread?
- Pop it into a paper bag or bread box, and it’ll stay good at room temperature for 2-3 days. To keep it longer, slice it and freeze the pieces in a sealed ziplock bag for up to 3 months.
- → Why is my loaf heavy instead of light and airy?
- Dense bread often happens when the rise was too short, your yeast was old, or the dough got overworked. Be careful when shaping to avoid squashing the air bubbles.