I always thought deviled eggs were fine as is, but then I decided to dye them once and totally changed my mind. Saw this trick a few years ago around Easter because I was tired of plain apps. As soon as your guests spot those bright whites, everyone's grabbing for their phones way before anyone actually grabs an egg. The whole thing only takes a smidge longer than regular deviled eggs. People will swear you spent all afternoon making them.
Why Try This
People are honestly shocked by colorful eggs – you'll see some hilarious reactions
You can go wild with the colors for any type of event – parties, holidays, even your favorite team
Even picky kids dig them (my nephew who “always hates eggs” inhaled four of these)
Doesn’t add much extra work if you already know how to do regular deviled eggs
When I brought these to Lisa’s BBQ last summer, she was convinced they came from a pricey caterer. I had to show her how fast it was to put these together. Now she’s made her own for her book group and sent me a bunch of texts with everyone raving about them.
Choose Your Ingredients
If you use eggs that have been in the fridge for about a week, peeling them is so much easier—supermarket eggs tend to work great
Stick to full-fat mayonnaise for the filling—one time I cut corners with light mayo and it was a letdown
Adding some pickle juice brings that kick that keeps people guessing
Forget fancy Dijon—regular yellow mustard works best for these, seriously
Lots of little dill pieces pack extra punch that a totally smooth mixture just can’t deliver
Now I’m obsessed with using older eggs for this. Keep them cold in your fridge for at least a week before you start cooking. The air space inside grows and makes the shell slide right off instead of ripping the whites. So much easier to keep the whites ready for their color bath later.
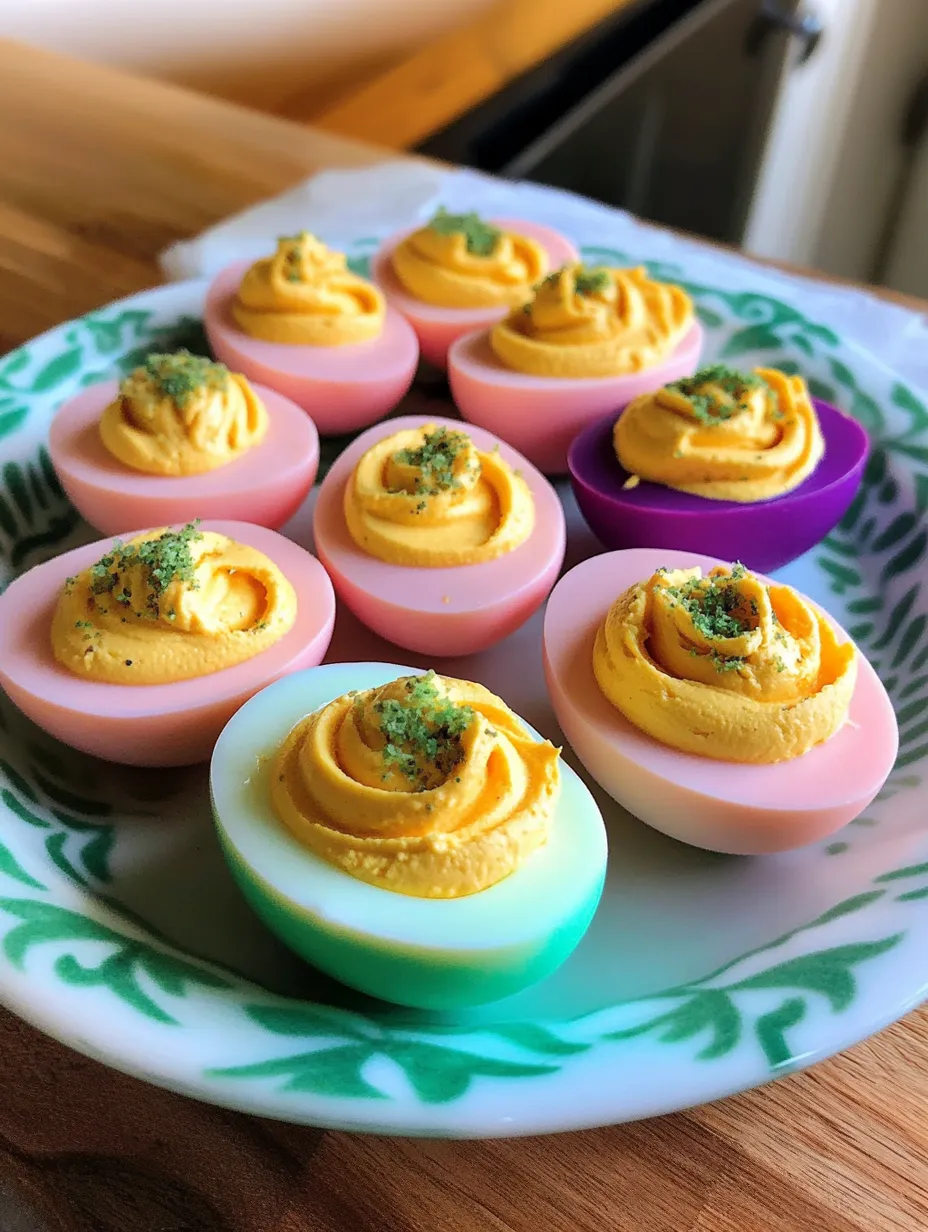
SaveBrightly Colored Deviled Eggs | homebitesbyana.com
Simple Step-by-Step
Cold Water Start
Put the eggs into your pot first, then cover with cold water by about an inch. Using hot water usually cracks the shells right away. Give them some space so they cook up nice and even.
Bubbling Boil
Crank the heat until the water’s at a rolling boil. Don’t wander off—timing matters here! I use my phone’s timer because getting distracted is way too easy. Go with medium-high so the eggs don’t smash around and burst.
Rest With Lid On
Turn that burner off and toss a lid on tight. Let the eggs sit there for around 12 minutes—the heat in the pot does all the work for you. Less time and they’re too soft, more and they get overcooked.
Chill Fast
As soon as they’re done, pour off that hot water and hit them with cold tap water. I always add ice cubes for good measure. This cools them down fast and makes the shells way easier to peel. Thanks Grandma for this move.
All-Over Crack
Roll each egg gently on the counter till it’s cracked all over. The air pocket’s on the fat end, so start peeling there. I often do this under running water—it helps wash away stubborn shell bits.
Sharp Slices
Grab your sharpest knife and wipe it clean between each egg. Cut lengthwise carefully—pressing too hard will bust up the whites and yolks. Nothing ruins good eggs like torn-up whites.
Gentle Yolk Removal
Ease the yolks into a bowl with the tip of your thumb or a soft spoon. Do your best not to poke holes in the whites—they need to stay whole to soak up the color. Sometimes I mess up but they’re still yummy…just not as pretty.
Mash Smooth
Crush the yolks first using a fork, then blend in mayo, mustard, and pickle juice till super smooth. Any lumpy pieces will make piping a mess later. Learned this by clogging bags more than once!
Pickle Power
Add diced dill pickles at the end. Tiny pieces are best or you’ll have a hard time piping the filling out. Dill beats sweet pickles for these eggs. Taste as you go—you can put in more salt but you can’t take it out
Squeeze Bag Trick
Scoop the finished mix into a zip-top bag, press it down into a corner, then seal. Snip off just a smidge at the tip. You can always go bigger with the opening, but never smaller once you cut it!
Get the Colors Right
Vinegar helps the dye grab onto your eggs—skip it and the color won't stick
Just use basic grocery store food colors—you don't need gel or anything fancy
Different brands will tint things a bit differently—McCormick has made richer colors for me
Tried to go all-natural with beet juice and turmeric for my friend Jen’s health kick. Only got pale pink eggs and bright yellow counter stains. Artificial dye just wins sometimes. Mom’s 60th? Mixed blue and red to make her favorite purple—it was the same shade as her kitchen and cracked her up.
Serve It Up
They pop on anything white—platter, dinner plate, whatever. For the Derby party, I made a wreath out of green eggs and mint in a ring. At a barbecue, I’ll toss them on a wood board and scatter herbs. People are always impressed—funny because it’s actually easy.
Twist Your Fillings
Try olive brine if you're into olives over pickles. My buddy Tony throws in a splash of Worcestershire for a little extra richness. If I’m feeling fancy, I’ll top these with shrimp or caviar for brunch. My brother goes bold with bacon bits—and his always vanish first.
Stay Fresh Longer
I keep the colored whites and the yolk filling apart until just before serving. Sitting out together too long and they get a bit runny. Traveling with them? Those dollar store egg carriers work great—no more sliding eggs everywhere. Never use plastic wrap on top—it ruins the piped filling every single time.
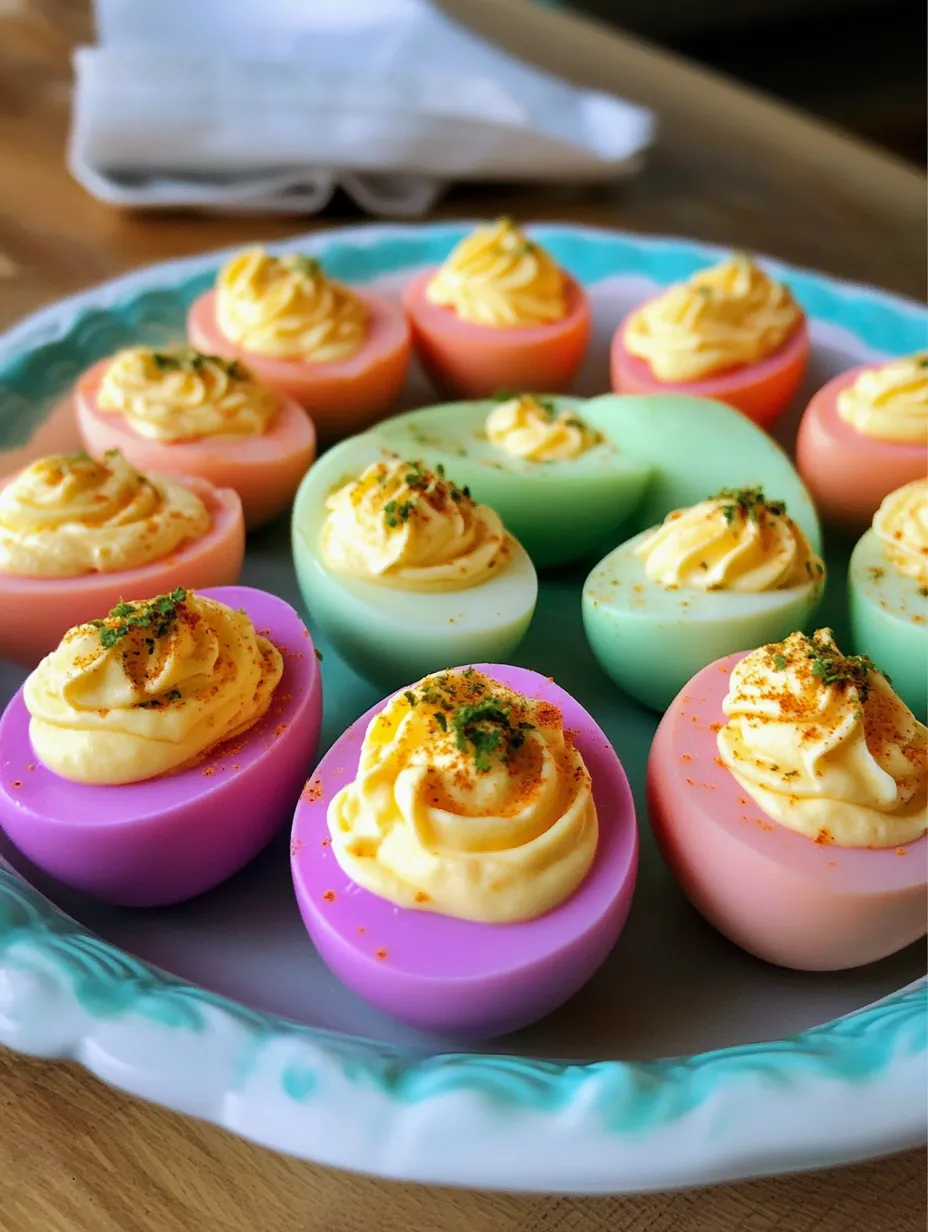
SaveFun Homemade Deviled Eggs | homebitesbyana.com
Kitchen Know-How
Let those eggs lose their chill before dyeing—they take color a lot better if they’re not freezing
For a marbled look, drizzle some oil in the dye and swirl things gently
Use a small spoon to create a little dip in the filling—perfect for toppings
No joke, I’ve probably whipped up hundreds of these by now. My family doesn’t even bother asking what I’m bringing—they just want my eggs. Dad always claims he’s not into deviled eggs but somehow puts away several every time. Amazing what a couple drops of food color can do for something so simple. Totally worth all the peeling, every single time.
Recipe FAQs
→ Does the vinegar flavor stick to the eggs?
Not at all! The vinegar is just to help the dye stick to the egg whites. It doesn’t change the flavor, so they taste normal.
→ How early can I make these ahead of time?
You can prepare them a day in advance. Keep them in the fridge until ready to serve. For longer prep, store the dyed whites and filling separately and combine later.
→ What kind of food coloring gives the best results?
Both gel and liquid food colors work well. Liquid is easier to use, but gel gives bolder hues. Start small and add more if the color’s not bright enough.
→ Can I try natural colors instead of artificial dyes?
Sure! Use beet juice for pink, turmeric for yellow, spinach for green, or blueberries for purple. Just remember, natural dyes take longer and may not be as vibrant.
→ Why do my eggs not peel well?
Older eggs peel much easier than fresh ones. Also, dunking them in ice water after boiling helps loosen the shells.
→ What if I want to try other fillings?
Go for it! This technique works with anything—try mashed avocado, hummus, or get creative with flavors that fit your event’s theme.
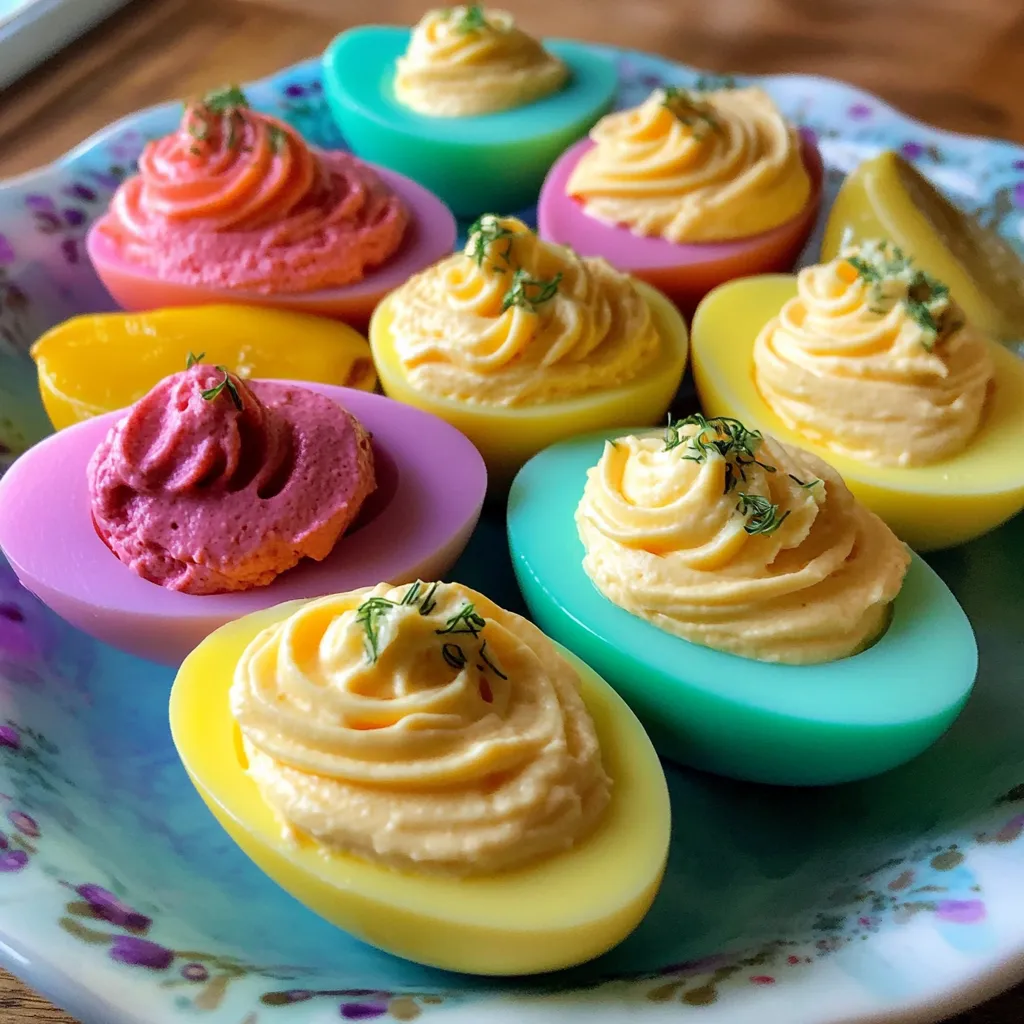
Vibrant Egg Bites
Deviled eggs get a makeover with vibrant, dyed egg whites. Perfect for Easter celebrations or baby showers.

 Save
Save
 Save
Save
 Save
Save