 Save
Save
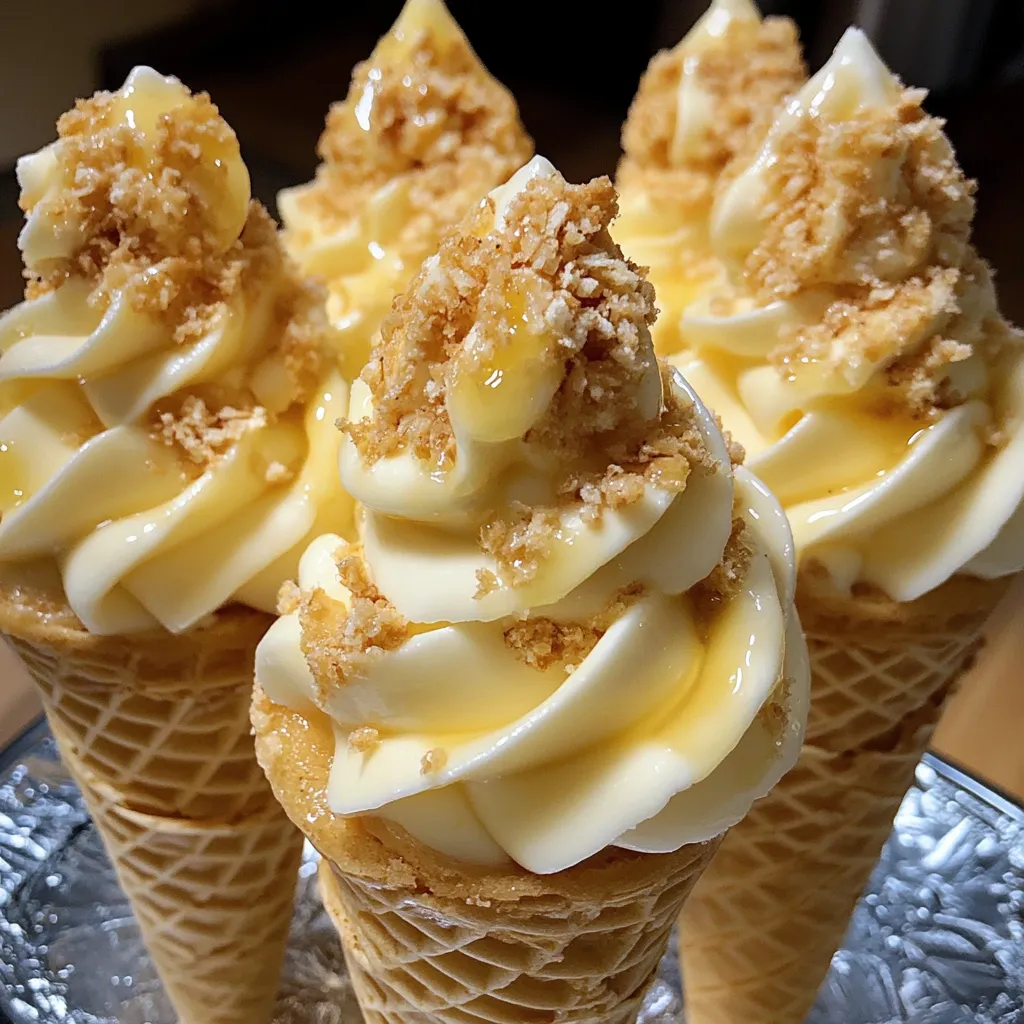
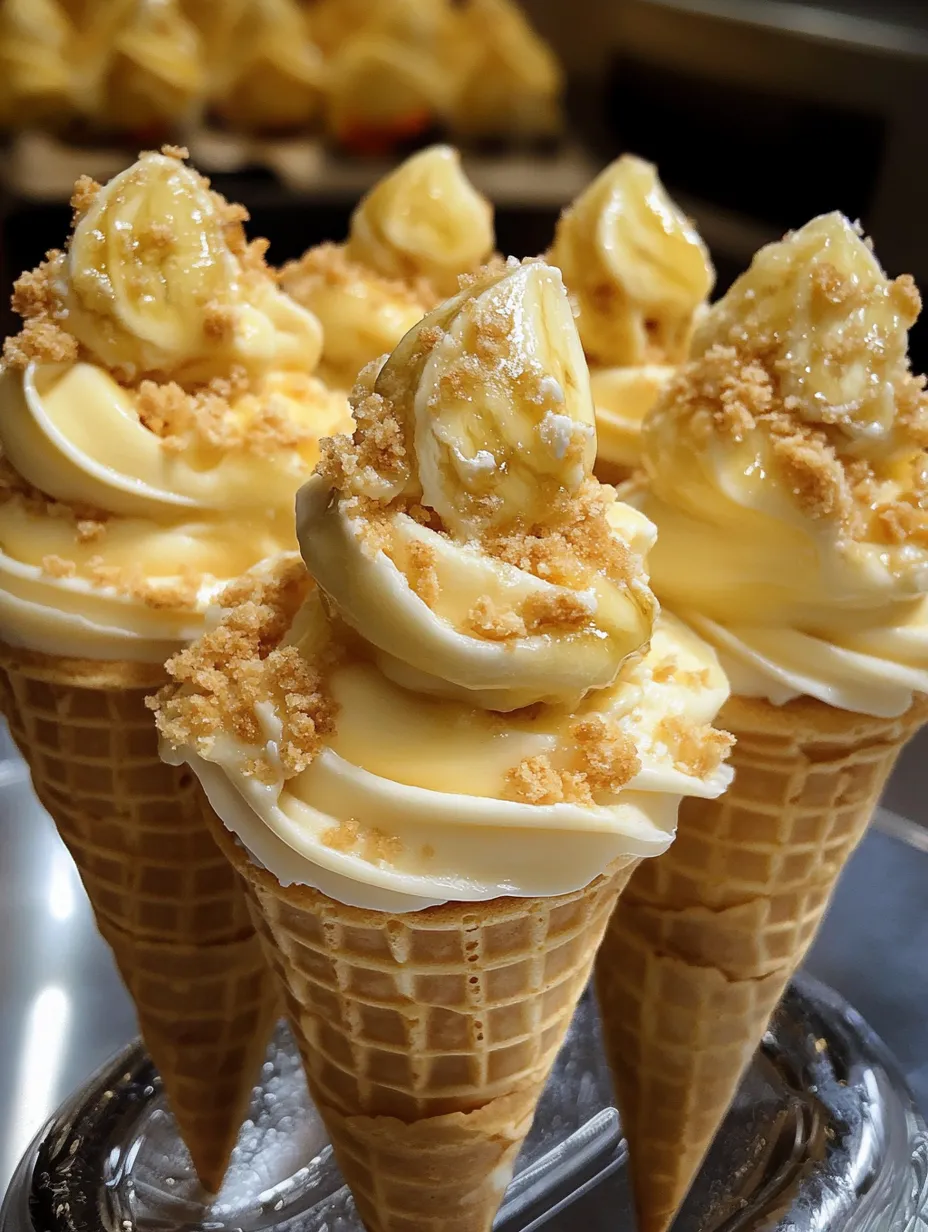
Last summer, I found myself searching for a treat that was perfect for my daughter’s end-of-school bash. Cupcakes were old news, plus I didn’t want the mess of plates and forks. These banana pudding cheesecake cones ended up being a total crowd-pleaser. They’ve got all the comforting vibes of banana pudding and rich, creamy cheesecake—just in a super fun, easy-to-carry cone.
Irresistible Reasons To Try This
- Shows off with hardly any fuss, folks think you did more work than you did
- No forks, no plates, less mess—eat it right from your hand
- You get the best of both worlds, banana pudding flavor with creamy cheesecake all in one bite
Funny story: my neighbor’s picky eater, who normally can’t stand anything banana, scarfed down two and kept asking what made the “ice cream” taste like banana pudding. Even the adults were convinced I’d slaved away, but honestly, it doesn’t take long at all.
Key Building Blocks
- Waffle cones - Pick ones that feel super crisp and fresh, or your cones might get soggy much sooner.
- Instant banana pudding mix - Brings that old-school banana flavor. Grab the instant kind, not the cook-and-serve stuff, trust me it works better here.
- Cream cheese - Go for the block, full-fat cream cheese for richest texture. Let it hang out on the counter for about an hour so it’s easier to stir.
- Heavy cream - Needs to be really cold before you start whipping, so you get max fluffiness.
- Vanilla wafers - Brings crunch and nostalgia. Smash ’em with your hands for chunkier bits instead of going super fine in the food processor.
 Save
Save
Foolproof Directions
- Get Everything Ready
- First, clear off your workspace so you don’t feel squished. Set the cones upright in glasses or a cone holder. Once you start, you can’t really stop halfway, so organize everything now.
- Blend The Cheesecake Layer
- Beat cream cheese until you don’t see any lumps—it might take a bit, but it’s worth it. Slowly sprinkle in powdered sugar while mixing, getting it fluffy and silky. Splash in the vanilla for the last little bit, then mix again.
- Fold In The Whipped Cream
- Whip cold heavy cream by itself ’til stiff peaks stand up when you lift the beater—look for just a soft curl at the end. Gently fold it into your cream cheese with a rubber spatula, keeping as much fluff as you can.
- Get Your Pudding Set
- Mix together pudding powder and cold milk. You don’t need fancy tools; a little arm muscle works. Wait five minutes—use a timer so it doesn’t get solid! You want it pourable, not firm, because you’re going to pipe it.
- Layer It All Up
- Spoon crushed wafers in the bottom of each cone to help them stay crispy. Fill piping bags with both cheesecake and pudding mixtures. Alternate layers: a squirt of cheesecake, a squirt of pudding, a sprinkle of wafers, then keep going until every cone’s packed to the brim.
I whipped these up once for a friend’s baby shower—she’d been craving banana pudding forever. When she took a bite, she seriously teared up. My husband calls these “dangerous” because if he grabs one, he can’t stop, even though they actually fill you up pretty fast.
Fun Ways To Serve
Stand cones up in a cute cupcake stand or pop them into individual glasses to show them off. Want to get fancy? Add a side of caramel sauce for dipping or drizzling. Great dessert for picnics and parties where folks are walking around. For the kids, set up a toppings bar—little bowls of mini chocolate chips, sprinkles, and whipped cream work wonders for DIY fun.
Tasty Twists
Give chocolate cones a try with this—banana + chocolate is a classic win. Swap in coconut extract and toasted coconut for a summery feel. In the fall, sub in pumpkin pudding and swap gingersnap crumbs for vanilla wafers. For anyone who loves salty and sweet, a tiny drizzle of salted caramel on top is next-level.
Staying Fresh
Put these treats together no more than four hours before you want to eat for the best crunch. If you’ve got to get a head start, stash the fillings in airtight containers in the fridge and keep crushed wafers in a baggie. You can prep the pudding and cheesecake up to two days ahead, easy. Doing these for tomorrow? Brush the inside of each cone with melted white chocolate and let it harden, so the cones don’t go soft so fast.
 Save
Save
Baking Pro Tips
Making these for little kids? Use flat-bottom cake cones—they’re less likely to tip over
Bringing them to a party? Stand them up in a cupcake carrier and use some crumpled foil to keep each one from falling over
If you’re adding banana slices in the layers, toss them in right before serving since they brown really fast
When I made these for our block party last summer, neighbors started calling them “my thing.” It’s just plain fun to turn familiar treats into something people don’t expect. They look fancy but honestly take less than half an hour to put together. The real battle? Finding enough fridge space to chill ’em all!
Recipe FAQs
- → Is it possible to prep these ahead of time?
- Sure, you can make the different parts up to a day before. Keep them chilled and separated in the fridge, but don't put the cones together until closer to serving—ideally an hour or two before, so the cones stay crisp.
- → What’s the best way to keep cones from becoming soggy?
- Adding some crushed cookies at the bottom can create a little barrier. Another tip is to coat the inside of the cone with melted white chocolate, letting it set before filling, for extra protection against moisture.
- → Can fresh bananas be added as a layer?
- Of course! Slices of banana can go between the layers nicely. Just remember that bananas can darken over time. Toss them in lemon juice if you're assembling them early to slow down browning.
- → What are some alternatives to waffle cones?
- If cones aren’t your thing, you can use small cups or dessert glasses for a layered pudding presentation. Sugar cones or even little bowls for ice cream would be other good swaps.
- → How do I store any leftovers?
- They’re really at their best freshly made, but you can keep extras in the fridge for a day. The cones might soften, but the flavor will still be tasty.
